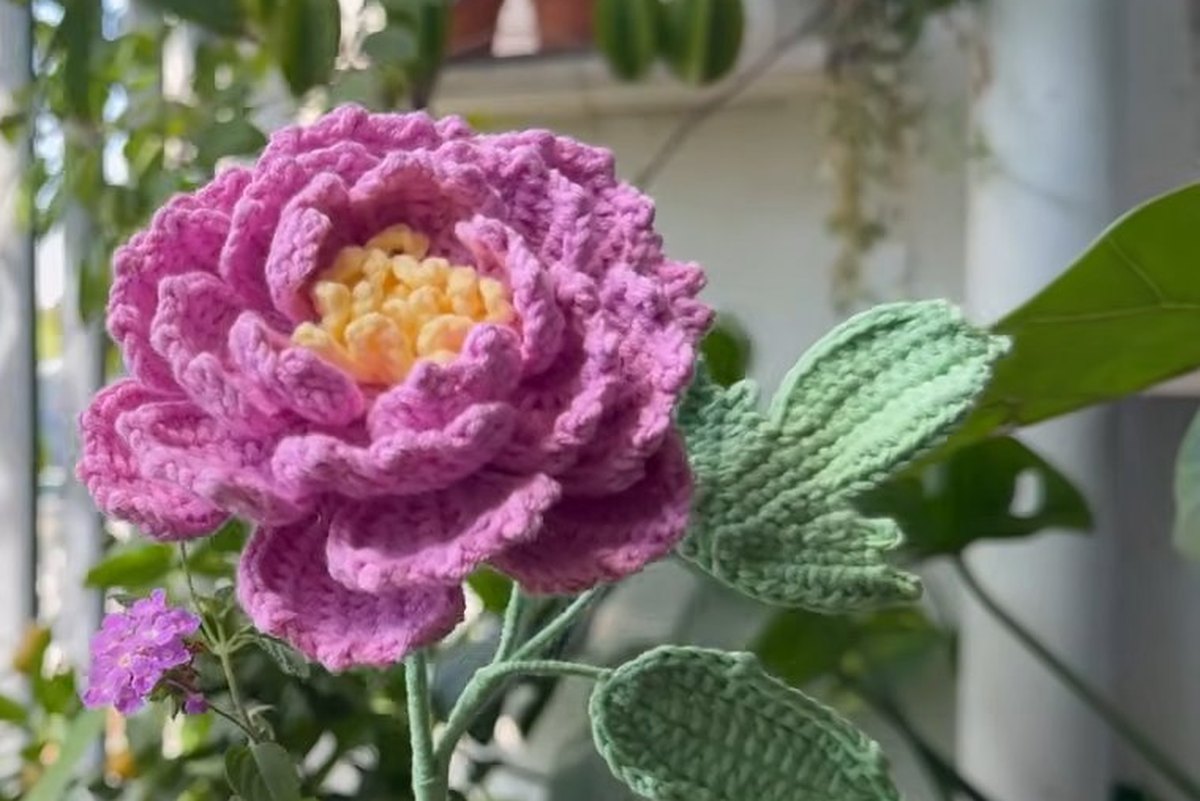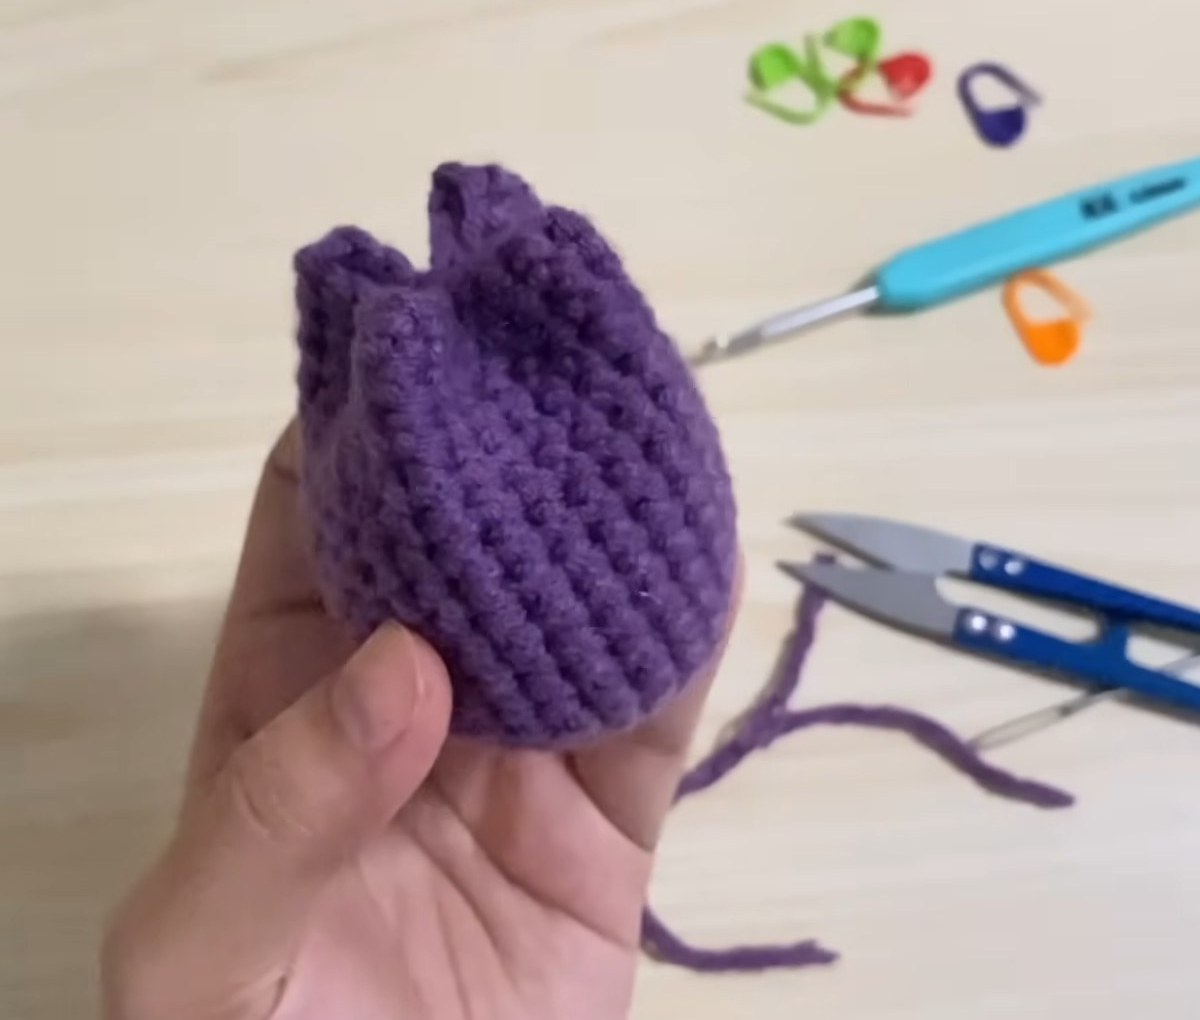

This free crochet tulip pattern makes a plump, stuffed purple tulip head from one magic ring, fifteen rounds of single crochet and a few neat stitches to pinch the petals together. It is a gentle project: one main stitch does nearly all the work, there are no tricky shapes, and the whole flower is written out below from the first loop to the last hidden yarn end.
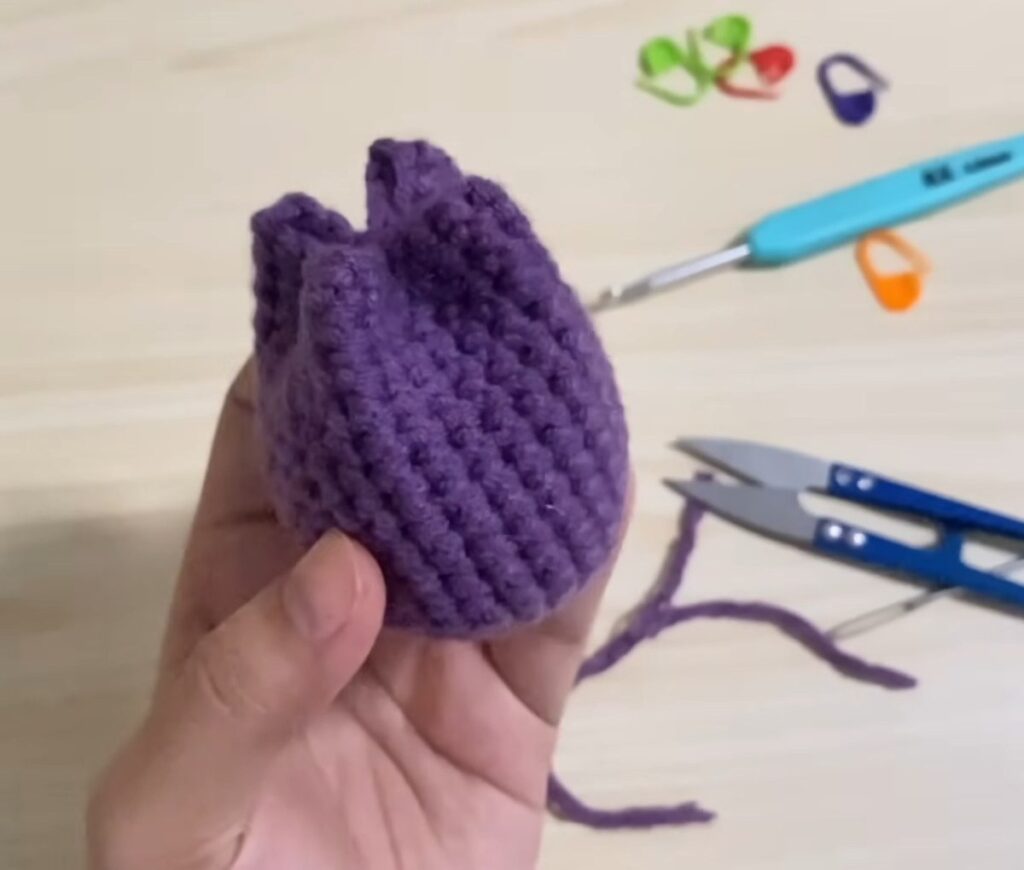
You get the whole free crochet tulip pattern in 20 photo steps, then a stitch-count plan, the places it goes wrong, the hook and yarn question, and five more free tulip patterns to compare. The designer makes the flower head in this lesson and keeps the leaf for a separate lesson, so we cover the head here and say plainly what is left out.
One note before you start: this free crochet tulip pattern lists a hook and every round count, but no yarn weight, no yardage, no gauge and no finished size. We don’t invent them. Where a number is missing we say so, and where two numbers disagree we show both.
- What you need
- Stitches and abbreviations
- The plan at a glance
- Step by step
- Where it goes wrong
- Hook, yarn and size
- Five more free crochet tulip patterns
- FAQ
- Where to go next
- Sources
What You Need for This Free Crochet Tulip Pattern
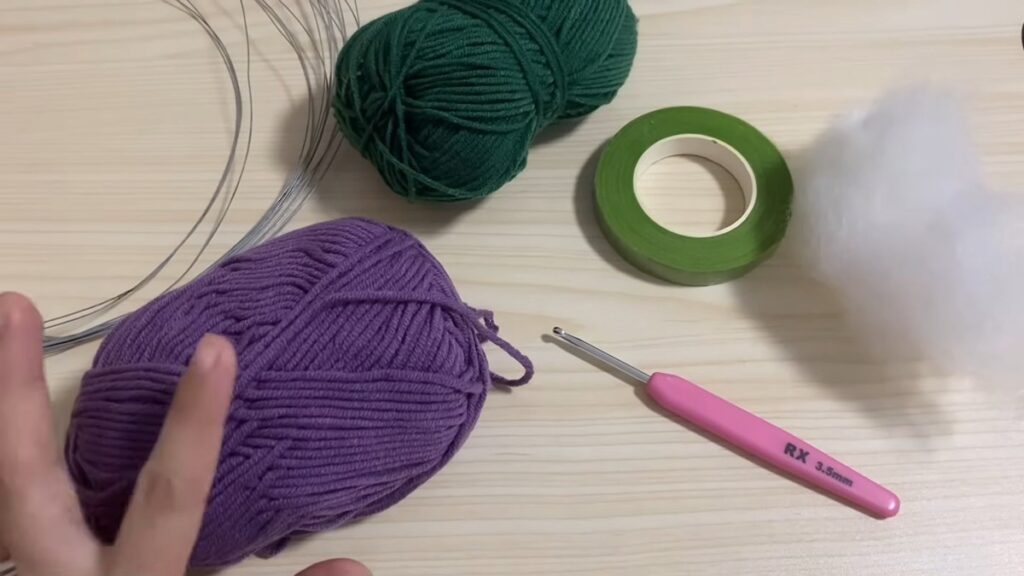
The free crochet tulip pattern needs one colour of yarn for the flower, a hook, fibre filling, scissors and a yarn needle. The materials list also names green yarn, a wire for the stem and floral tape, but those belong to the stem and leaf, not to the flower head you make here.
| Item | What to use |
|---|---|
| Yarn | Any colour you like for the tulip head. The yarn weight and amount are not given, and we don’t guess them |
| Hook | 4.0 mm, the size printed on the handle of the hook used in every step. The hook lying on the table in the materials shot reads 3.5 mm |
| Filling | Fibre fill, a small handful |
| Tools | Scissors, a yarn needle and a stitch marker for the first stitch of each round |
| Stem | Wire and green floral tape are listed, but the stem is not made in this lesson |
| Head | 15 joined rounds, 27 stitches in the widest rounds |
The Stitches Behind a Crochet Tulip
This free crochet tulip pattern uses only two stitches and a ring. Crochet has two naming conventions, so we give both and you never work the wrong stitch.
| Abbreviation | Name used here | Other naming convention |
|---|---|---|
| MR | Magic ring | Magic circle |
| ch | Chain | Chain |
| sl st | Slip stitch | Slip stitch |
| sc | Single crochet | Double crochet |
| inc | Increase: 2 sc in the same stitch | Same |
A quick word on one term. The narrator calls the joining stitch a slip knot, and corrects themselves in the notes: it is a slip stitch. A slip knot is the loop you start with; a slip stitch joins a round. There is no stitch multiple to divide by, because the shaping is written round by round, but remember that the third round is a repeat of 1 sc, then 2 sc in the next stitch, nine times.
The Plan at a Glance
Here is the whole free crochet tulip pattern in one table. The counts the designer states are marked, and the rest are our sums.
| Round | What you work | Stitches at the end | Source of the number |
|---|---|---|---|
| 1 | 9 sc in a magic ring | 9 | Stated |
| 2 | 2 sc in every stitch | 18 | Stated |
| 3 | Alternate 1 sc, then 2 sc in the next stitch | 27 | Stated |
| 4 to 15 | 1 sc in every stitch, 12 plain rounds | 27 each round | Stated |
| Total | 9 + 18 + 27 + 12 rounds of 27 | 378 stitches | Our sum: 54 + 324 |
Our own number: the finished flower head of this free crochet tulip pattern holds 378 single crochet stitches (9 + 18 + 27, then 12 plain rounds of 27 = 324). The chains and slip stitches are not counted. That is the figure to keep in mind when you check how much yarn is left on your ball.
Step by Step: Make a Free Crochet Tulip Pattern from Ring to Petals
Work the cup first, in rounds that are joined and chained, then turn it, stuff it and sew the opening into petals. Follow this free crochet tulip pattern in order and do the sewing slowly, because that is where the tulip takes its shape.
Step 1: Gather your materials
Lay out the coloured yarn, a hook, scissors, fibre filling and a yarn needle. Keep the green yarn, wire and floral tape to one side for the stem and leaf, which are separate jobs.
Step 2: Make a magic ring
Wrap the yarn into a loop around your fingers, insert the hook and pull a loop through to form the magic ring. Keep the tail on the side away from you, because you will pull it tight in a few steps.

Step 3: Work 9 single crochet into the ring
Work 9 single crochet into the ring, each one into the centre of the loop. Count them as you go, because everything after this step depends on getting 9.

Step 4: Pull the ring tight and join
Grip the tail and pull it until the hole closes into a small, firm circle. Then join the round: insert the hook into the very first single crochet and make a slip stitch. Chain one, and you are ready to start the next round.

Step 5: Round 2, two single crochet in every stitch
Work 2 single crochet into every stitch of round 1. That doubles the 9 stitches to 18. When the round is complete, close it with a slip stitch into the first single crochet of the round, then chain one.
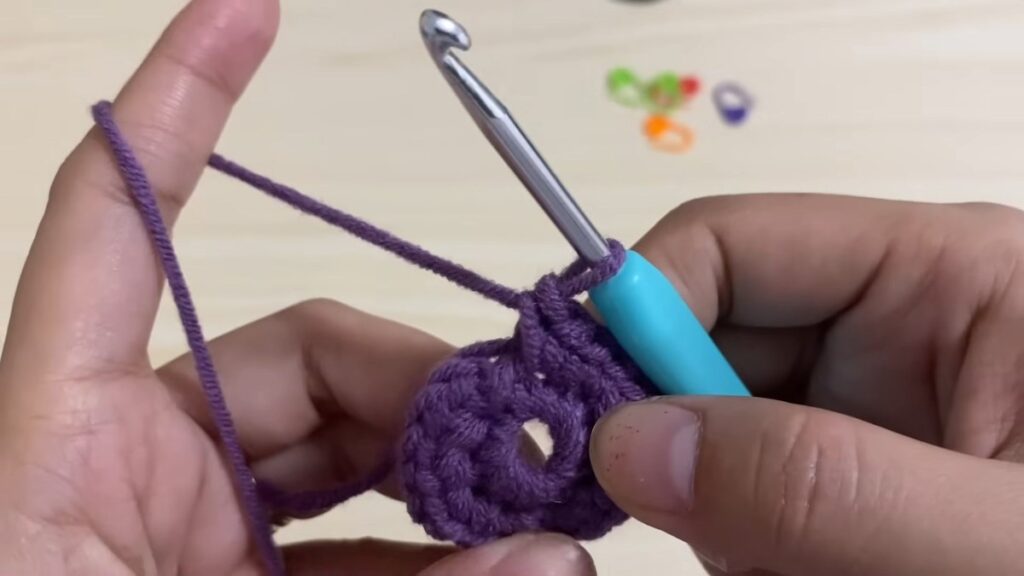
Step 6: Round 3, alternate 1 single crochet and 2 single crochet
Now alternate: one single crochet in the first stitch, then two single crochet in the next, and keep repeating that pair to the end. Nine pairs take the 18 stitches up to 27. Close with a slip stitch into the first single crochet and chain one. The flat disc is now finished and it will start to cup in the next round.

Step 7: Rounds 4 to 15, one single crochet in each stitch
From here on this free crochet tulip pattern has no shaping at all. Work one single crochet in every stitch, so the count stays at 27, and close each round with a slip stitch into the first stitch, then chain one. The sides of the disc fold upwards into a cup. A stitch marker on the first stitch of each round saves you from miscounting the 12 rounds.

Step 8: Keep the rounds even
Work steadily and watch your tension. The tulip is built from twelve plain rounds, so an even hand makes smooth, straight walls. If the sides flare outwards you are adding stitches; if they pinch inwards you are missing some, so count at the end of the round.

Step 9: Finish round 15
Count the rounds of your free crochet tulip pattern against the 15 in the plan, then complete the last one and join with a slip stitch. You should have a straight-sided cup, about as tall as it is wide once it relaxes. This is the last round, so there is no chain to follow it.
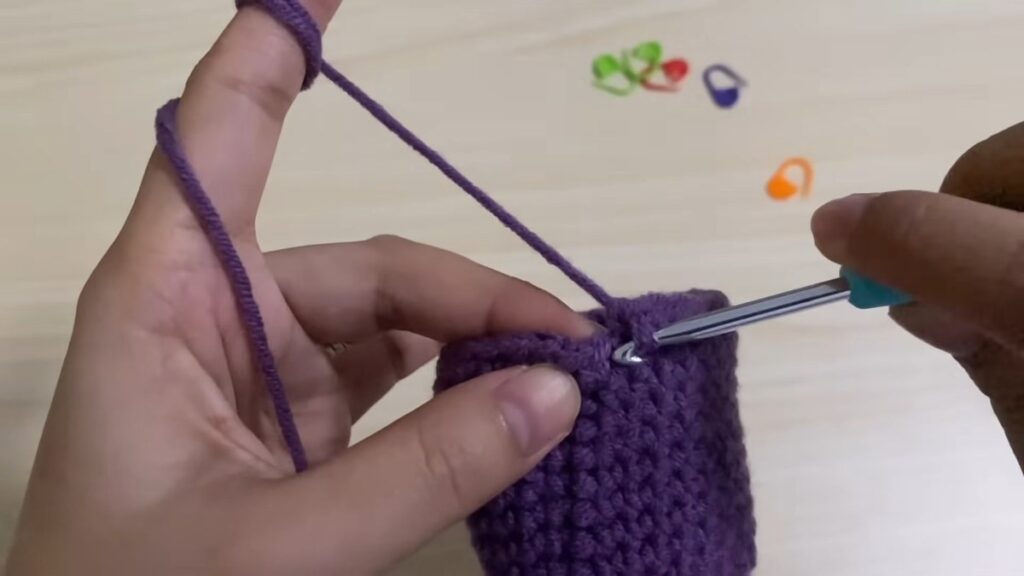
Step 10: Fasten off with a long tail
Pull the yarn through the last loop and tighten it, then cut the yarn, but leave a long tail. You need that tail to sew the flower together, so be generous: it is easier to trim extra than to run short halfway through the petals.

Step 11: Get the needle ready for the tail
Get a yarn needle ready for the tail. The cup now has a smooth, cylinder-like shape, and the tail hangs from the opening, ready for the sewing steps that give the tulip its petals.

Step 12: Turn the cup so the inner side faces out
Turn the cup inside out. The designer uses the inner side of the work as the outer face of the flower. Check that you like the side that shows, because that is the one everyone will see.

Step 13: Stuff the tulip
Next in the free crochet tulip pattern, push a small handful of fibre filling into the cup, using your fingers to ease it into the base. Add a little at a time: the head should feel plump but not tight, so that the petals can still be pinched and folded later.

Step 14: Tuck the tail away
Use the needle to hide the excess yarn inside the flower. Take the tail through a few stitches, pull gently, and the end disappears into the stuffing. This leaves a clean base with nothing hanging off it.

Step 15: Sew the middle to shape the tulip
Now the free crochet tulip pattern turns the cup into a flower. Thread the needle again and sew across the middle of the opening, pinching the edge so that it gathers into a tulip shape. This single seam is what separates a tulip from a plain stuffed cup.

Step 16: Lock the stitch and hide the end
In this free crochet tulip pattern, once you have locked your stitch with a small knot, hide the excess yarn inside the tulip again and cut it close. A secure lock matters here because the flower will be handled, so give it a firm tug before you trim.

Step 17: Sew the other ends so the petals cross
In a free crochet tulip pattern like this, sew the other ends of the opening so that the petals cross over each other. This gives the tulip its layered look instead of a flat closed top. Take your time and pull the stitches only as tight as you need to hold the shape.
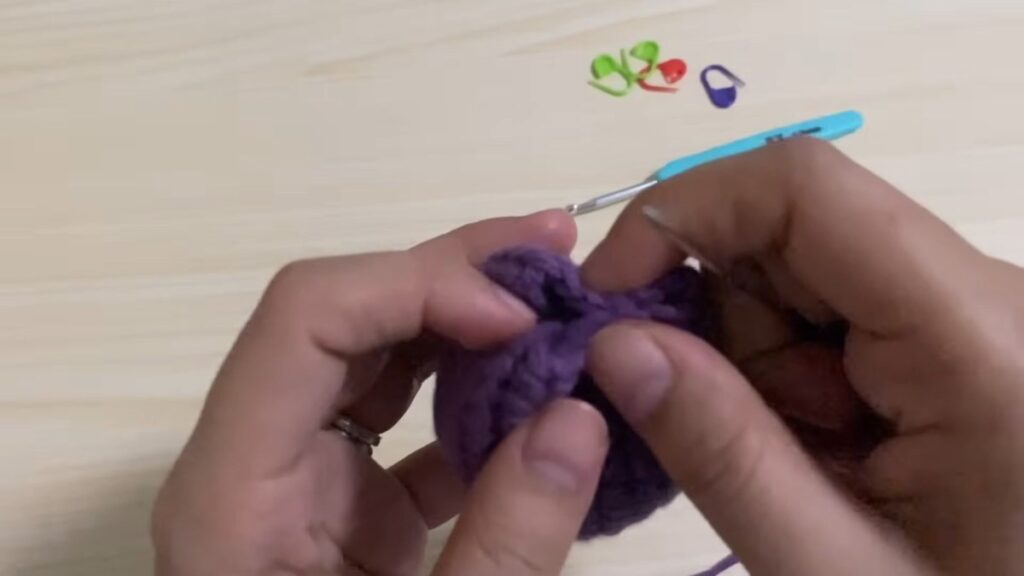
Step 18: Include the first middle knot
When you sew the second side, catch the knot from the first middle seam as well, so that both sets of petals sit at the same height. If you skip it, one pair of petals ends up lower than the other and the tulip looks lopsided.

Step 19: Check the finished flower
Turn the flower from your free crochet tulip pattern round in your hands. You should now have petals that cross at the top and a smooth, rounded base. Fix any gap by taking one extra stitch with the needle, and check that the yarn ends are still hidden.

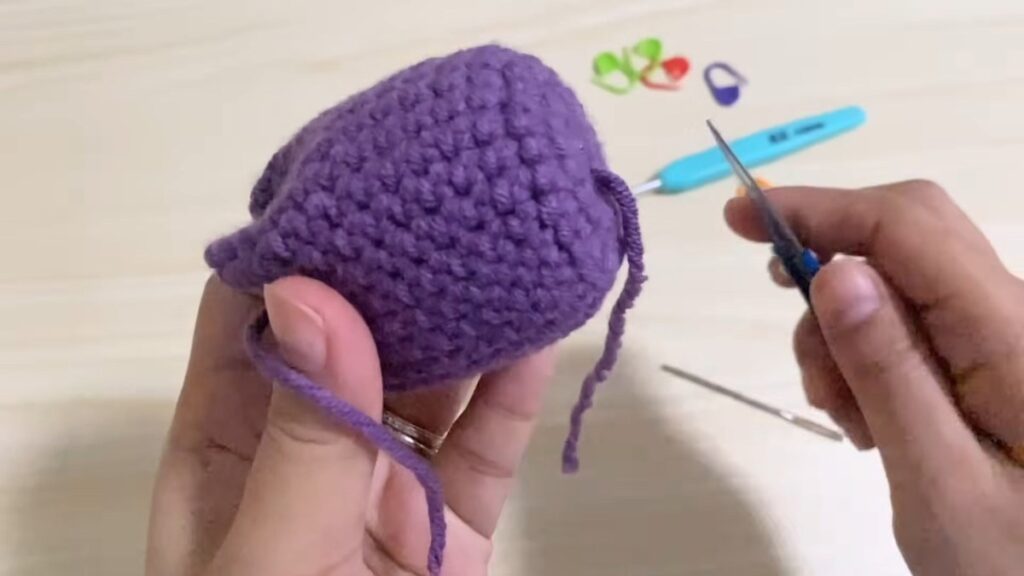
Step 20: Knot again and hide the last ends
Make a final knot and hide the last yarn ends inside the flower with the needle. Trim anything that sticks out. The tulip head of your free crochet tulip pattern is done, ready for a stem and a leaf.
Where a Free Crochet Tulip Pattern Goes Wrong
Four mistakes account for most of the trouble with a free crochet tulip pattern like this one:
- Losing count in the plain rounds. Twelve rounds of 27 look identical, so a stitch marker on the first stitch of every round is worth using. Your count should be 27 at the end of each one.
- Pulling the magic ring open. If the centre loosens, the base shows a hole after stuffing. Tighten the tail firmly in step 4 and weave it in at the end.
- Overstuffing. A tight head can not be pinched into petals. Add the filling a little at a time and stop while the walls can still fold.
- Cutting the tail too short. Every sewing step runs on that one tail. Leave it long when you fasten off and you won’t have to join new yarn in the middle of a seam.
A tip that saves the whole project: make the cup first and check it against the plan before you stuff it. This free crochet tulip pattern gives no gauge, so only your own swatch tells you how big the flower will be with your yarn and hook.
Hook, Yarn and Size for a Crochet Tulip
This free crochet tulip pattern uses a 4.0 mm hook, the size printed on its handle, although the hook lying on the table in the materials shot is marked 3.5 mm. The yarn weight is never stated, and the label is not shown, so we can’t tell you which Craft Yarn Council category it falls into. For reference, that table lists 4.5 to 5.5 mm for light worsted and 5.5 to 6.5 mm for worsted weight, and a 4.0 mm hook sits in the 3.5 to 4.5 mm band the same table gives for its finer category 2 yarns.
The five other free tulip patterns we checked use hooks from 2.5 mm to 5.0 mm, and none of them prints a total yardage either. That is why a swatch matters for any free crochet tulip pattern: a smaller hook with thin yarn gives a tulip a few centimetres tall, while the same 378 stitches in thicker yarn on a bigger hook give a much larger flower.
The lesson shows no finished size. For comparison, the other designers give 9 cm, 13 cm and 15 to 17 cm heights for their flowers. Weigh your leftovers if you want your own yardage figure, because no one has published a tested one.
Five More Free Crochet Tulip Patterns to Compare
Each of these free tulip patterns is on the designer’s own site. Check the hook, yarn and construction against yours before you start.
| Pattern | Hook | Yarn | Construction |
|---|---|---|---|
| Crochet Tulip Pot Amigurumi, VivCrochets | 4.0 mm | Cotton and a medium weight (4) acrylic | Tulip, soil and pot worked as three pieces, about 9 cm tall, pipe cleaner stem |
| Amigurumi Tulip, Punqa | 2.5 to 3.0 mm | DK or sport weight | Five petals with a green calyx and two sepals, 15 to 17 cm tall, rated intermediate |
| Sweet Spring Tulip Bulb, Sweet Softies | 3.25 mm | Medium weight (4) | Bulb, stem and tulip in one piece, about 13 cm tall, beginner level |
| Crochet Tulip Free Pattern, Craft Passion | 5.0 mm | Worsted weight | Ribbed rectangle sewn into a tube, cinched and stuffed, with a wire stem, about 3 in tall |
| Crochet Tulip Flower Pattern, Kathwool | 2.5 mm | Not stated | Joined rounds with a rod stem; the page says part of it has not been test-crocheted |
Need a stem and a leaf for the finished tulip? Our crochet rose with stem shows a wired leaf step by step, and the crochet flower with stem tutorial wraps a skewer stem. For one more small bloom, try the crochet rosebud.
Free Crochet Tulip Pattern FAQ
Is this free crochet tulip pattern good for beginners?
Yes, if you can make a magic ring and a single crochet. There are no increases after round 3 and the rest is sewing. The only fiddly part is pinching the petals together in steps 15 to 18.
What hook should I use for a crochet tulip?
This free crochet tulip pattern is worked on a 4.0 mm hook, but the yarn weight is not given, so make a swatch. Other free tulips use anything from 2.5 mm to 5.0 mm depending on their yarn.
How many stitches are in the flower head?
The head of this free crochet tulip pattern has 378 single crochet stitches in total: 9, 18 and 27 in the first three rounds, then 12 rounds of 27. The chains and slip stitches are not counted.
How do I make the stem and leaf?
This lesson stops at the flower head. It lists wire and green floral tape for the stem, and the leaf is a separate lesson. One of the patterns above, from Craft Passion, uses floral wire for the stem and a leaf worked as a chain on the wire.
How long does a crochet tulip take?
The designer’s flower is 15 rounds of one stitch plus the sewing, so it is a short project. A comfortable pace is an evening for the head, and the stem takes a little longer.
Can I change the colour or the yarn?
Yes, any colour works for the head. If you change the yarn weight, change the hook as well, and expect a different finished size from the same 378 stitches.
Where to Go Next
Once your free crochet tulip pattern is finished, add a stem and leaf, then make a few more in different colours for a bouquet. For more, browse every crochet flower pattern or the crochet flowers free pattern roundup.
Sources
- VivCrochets, Crochet Tulip Pot Amigurumi
- Punqa, Amigurumi Tulip
- Sweet Softies, Sweet Spring Tulip Bulb Amigurumi
- Craft Passion, Crochet Tulip Free Pattern
- Kathwool, Crochet Tulip Flower Pattern
- Craft Yarn Council, yarn weight system
Pattern credit: this tulip design is by Stitches and Me. Find more of their crochet work on the YouTube channel Stitches and Me.