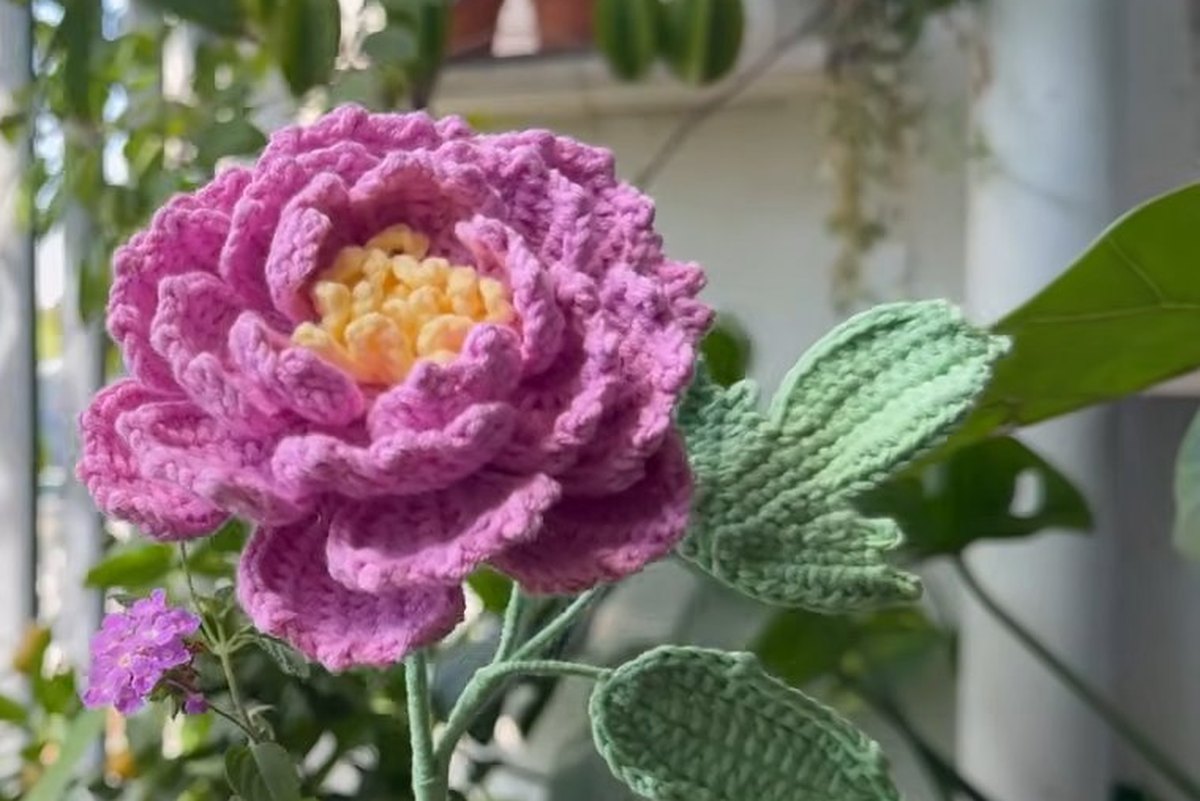
A crochet flower with stem, like the red rose on this page, is really three small pieces: a lacy red strip that rolls up into the rose, a green cup that holds it from below, and a wooden skewer wrapped in green yarn for the stem. None of the pieces takes long. The trick is the order you put them together in, and this page follows that order one photo at a time.

What follows is a free crochet flower with stem pattern written out from a video tutorial. The video has no speech, only music and short labels on screen, so every stitch count below is read off those labels and marked as stated. Where the video shows a move without labelling it, this page says so rather than guessing a number. Each step has its own photo from the tutorial.
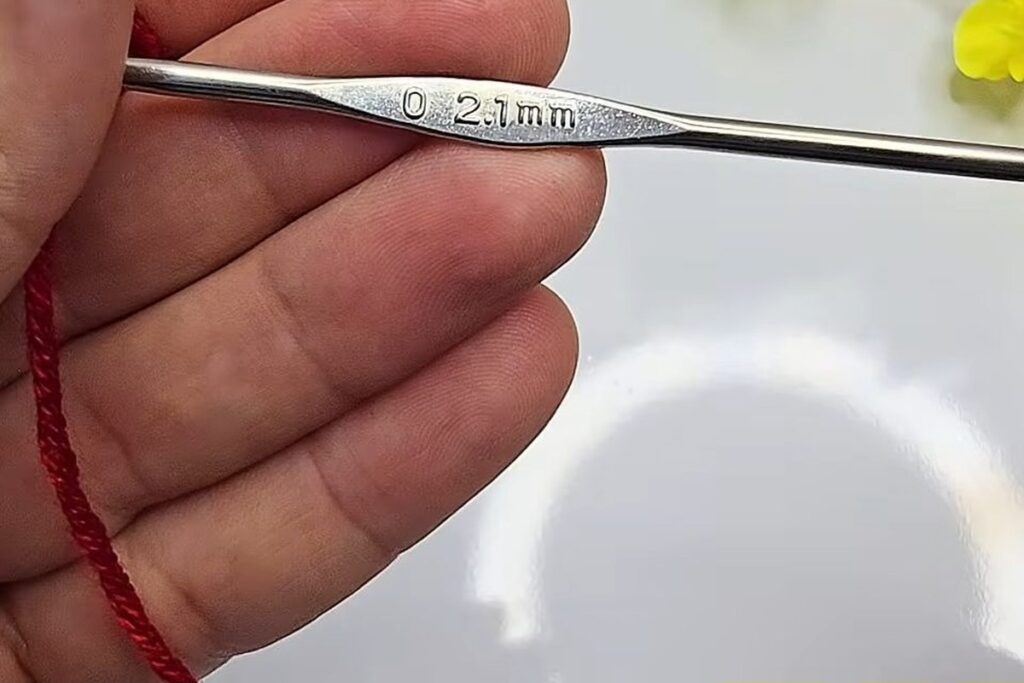
Key numbers. 2.1 mm hook (stated, printed on the hook) · 46 chains for the petal strip (stated) · first stitch in the 5th chain from the hook (stated) · petal = 3 ch, 2 tr, 3 ch, sl st (stated) · green cup starts with 3 ch + 11 dc = 12 stitches (derived) · round 2 grows to 18 (derived).
On this page
- What you need for this crochet flower with stem
- Stitches used
- The crochet flower with stem pattern at a glance
- How to make a crochet flower with stem: the rose, step by step
- Where this crochet flower with stem goes wrong
- Hook size and yarn for a crochet flower with stem
- Five more free flower patterns
- FAQ
- Where to go next
- Sources
What you need for this crochet flower with stem
The kit is small, but two items are not yarn: a hot glue gun and a wooden skewer. Have both ready before you start the stem.
| Item | What the tutorial uses | Note |
|---|---|---|
| Red yarn | A fine red yarn | Colour only is shown. Weight and brand are not given |
| Green yarn | A fine green yarn | Used for the cup and for wrapping the stem |
| Hook | 2.1 mm | Stated: the size is stamped on the hook in the first seconds |
| Stem | One wooden skewer | Pushed through the green cup |
| Glue | Hot glue gun | Holds the cup, the rose and both ends of the stem wrap |
| Tools | Yarn needle, scissors | The needle sews the rolled strip together |
| Finished size | Not stated | It depends on your yarn and how tightly you roll |
The video never names a yarn weight, a yardage or a gauge, so this page gives none. A 2.1 mm hook points to a fine yarn, and the sizing section below explains why.
Stitches used
Crochet has two naming conventions for the same stitches, and this crochet flower with stem uses the names printed in the video. If you learned the other convention, shift each name by one step.
| Name used here | Abbreviation | Other convention | Where it appears |
|---|---|---|---|
| Chain | ch | Chain | Foundation, turning chains, petal sides |
| Slip stitch | sl st | Slip stitch | Closing each petal |
| Double crochet | dc | Treble (tr) | Mesh strip, green cup |
| Treble crochet | tr | Double treble (dtr) | The body of each petal |
| Magic ring | MR | Magic ring | Centre of the green cup |
The treble is the tallest stitch here: yarn over twice, pull up a loop, then work off two loops at a time three times. That height is what makes the petals stand up once the strip is rolled.
The crochet flower with stem pattern at a glance
This chart lists every label that appears on screen, in order. The right-hand column says what is stated and what is our reading of it.
| Part | Label on screen | Stated or derived |
|---|---|---|
| Petal strip base | 46 ch | Stated |
| Mesh row | 5., Dc, 2 ch, Dc | Stated. “5.” is the first stitch in the 5th chain from the hook |
| Petal row | 3 ch, 2 tr, 3 ch, Slst | Stated, shown once, then repeated along the strip without labels |
| Cup, round 1 | 3 ch, 11 dc into a magic ring | Stated. 3 ch counts as a stitch, so 12 in total (derived) |
| Cup, round 2 | 3 ch, Dc 1, Dc 2 | Stated. Read as 1 dc, then 2 dc in the next, around: 12 + 6 = 18 (derived) |
| Assembly | No labels | Shown: roll, sew, glue into the cup, add skewer, wrap stem |
How to make a crochet flower with stem: the rose, step by step
The steps run in the same order as the video: the red strip first, then the green cup, then the assembly.
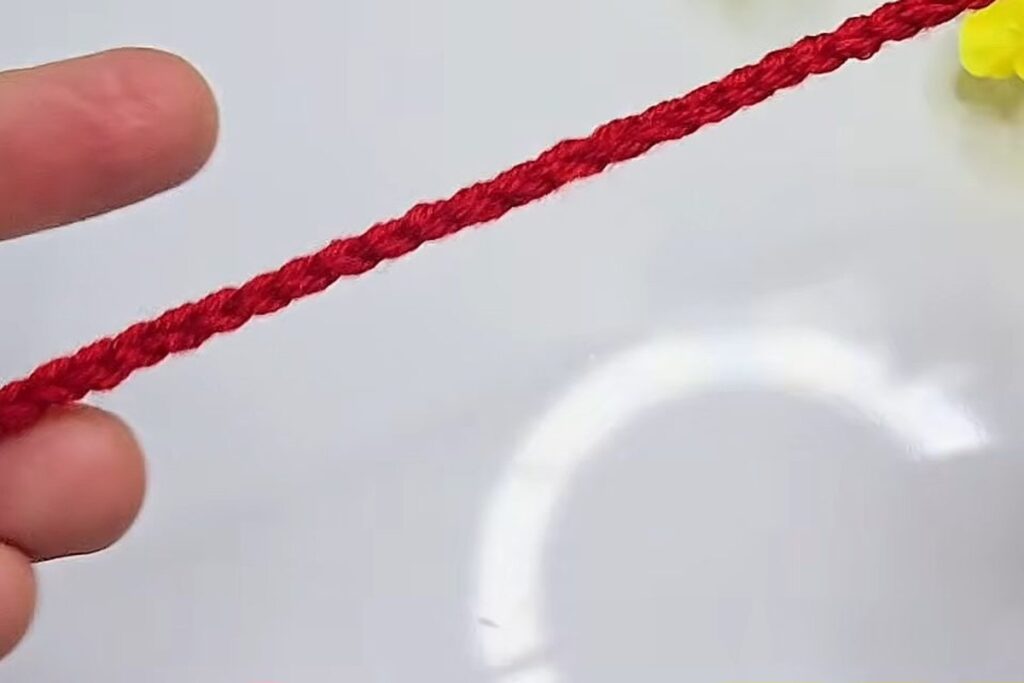
Step 1: Chain 46 for the petal strip
With the red yarn and the 2.1 mm hook, make a slip knot and chain 46 for the petal strip of your crochet flower with stem. Keep the chains even and not too tight, because you will work into every one of them next.
Step 2: First double crochet in the 5th chain
Double crochet into the 5th chain from the hook. The skipped chains stand in as the first post and the first gap of the mesh.

Step 3: Chain 2, double crochet, and repeat
Chain 2, then double crochet further along the foundation. Repeat that pair to the end of the chain. The video labels “2 ch” and “Dc” but does not print how many foundation chains to skip each time, and it prints no stitch multiple for the mesh either. So match the gaps in the photo below: each space should look about as wide as the posts are tall.

Step 4: Build the mesh ladder
Keep going until the whole chain is used. The piece now looks like a narrow ladder: upright double crochets with open spaces between them. Those spaces are where the petals will sit.


Step 5: Start the petal row with 3 chains
Turn the strip and chain 3. That chain lifts the hook to the height of the first petal.
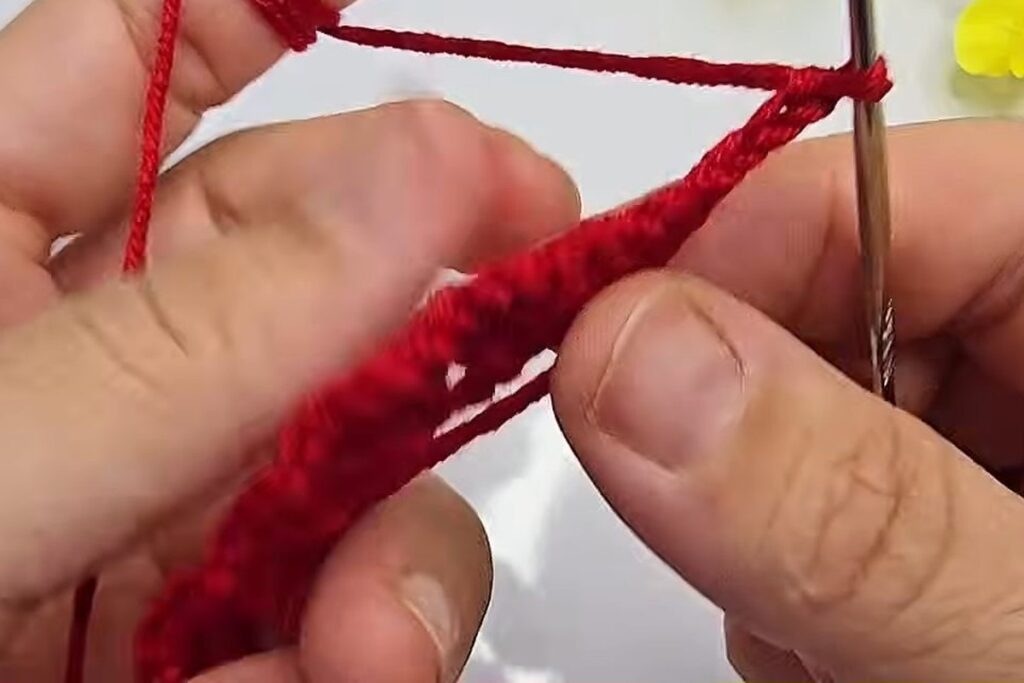
Step 6: Work the trebles for each petal
Into the next space, work the trebles of the petal. The label reads “2 tr”. Push each treble down to the base of the space so the petal fans out rather than leaning.

Step 7: Chain 3 and slip stitch to close the petal
Chain 3, then slip stitch into the space to close the petal. The full petal is “3 ch, 2 tr, 3 ch, sl st”, and the video shows it once with labels, then repeats it along the strip.
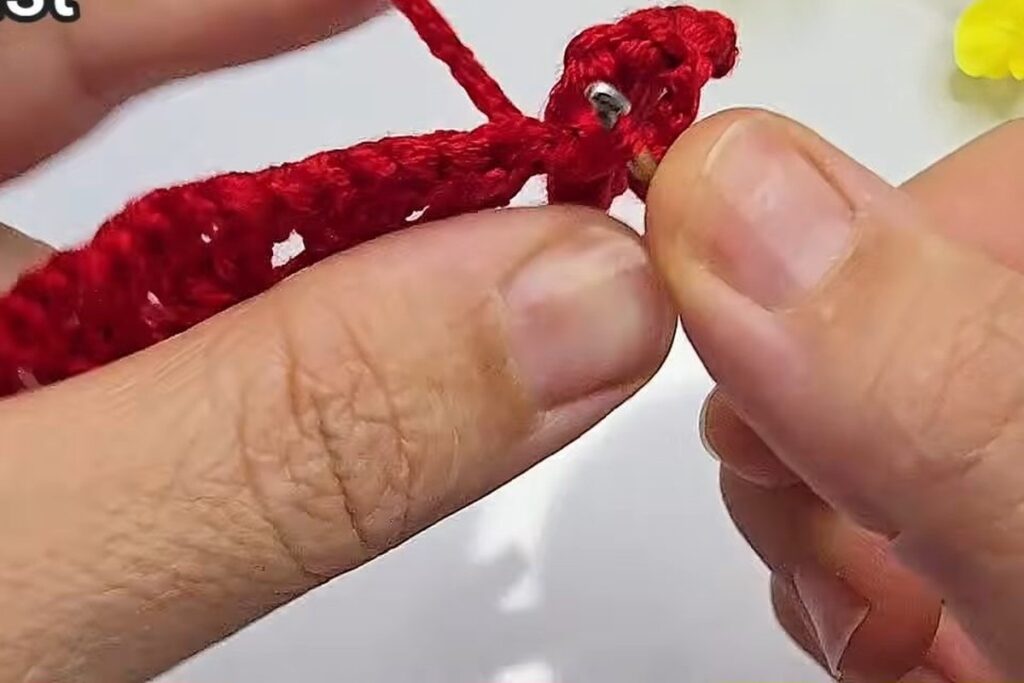
Step 8: Repeat the petals to the end
Carry on along the strip, one petal after another. By the end the strip has a scalloped edge along one side and the mesh along the other.
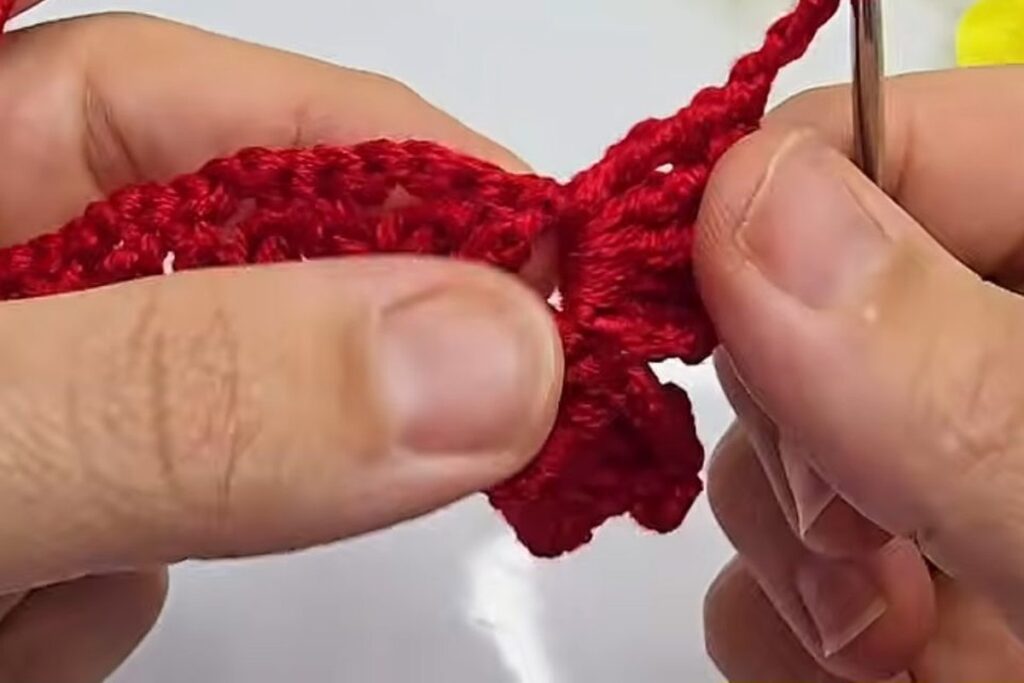

Leave a long tail when you fasten off. You will use it to sew the rose together in step 12.
Step 9: Make a green magic ring
Switch to the green yarn. Wrap it round your finger to make a magic ring. This is the centre of the cup that holds the rose.

Step 10: Chain 3 and 11 double crochet
Chain 3, then work 11 double crochet into the ring. Pull the tail to close the centre and slip stitch to the top of the chain 3. Counting the chain 3 as a stitch, the round has 12 stitches.

Step 11: Round 2, and let the edge curl into a cup
Chain 3 and work round 2. The labels read “Dc 1” then “Dc 2”: one double crochet in a stitch, then two in the next, repeated around. That gives 18 stitches. The video then keeps working without labels until the edge turns up, so stop when your disc has curled into a shallow cup like the one below.


Step 12: Roll the petal strip into a rose
Start at one end of the red strip and roll it tightly for the centre, then more loosely as you go, with the petals facing up. Use the long tail and a yarn needle to stitch through the base every turn or two, so the roll cannot spring open.

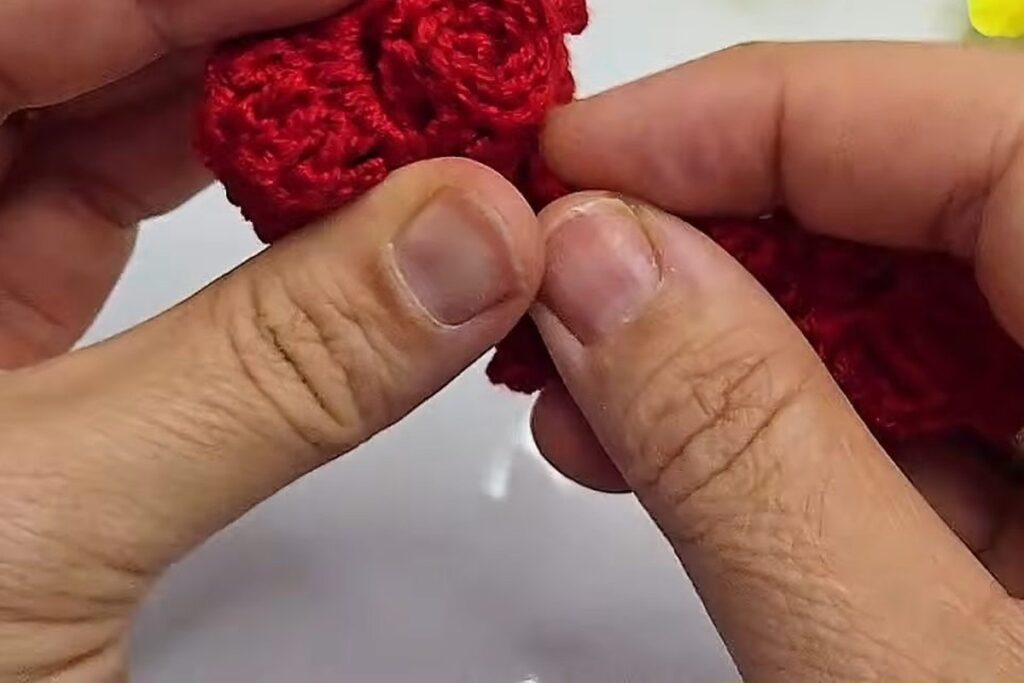
Step 13: Shape the rose
Once the whole strip is rolled and sewn, press the petals outward with your fingers so the outer ones open more than the inner ones. Fasten off and trim the tail.

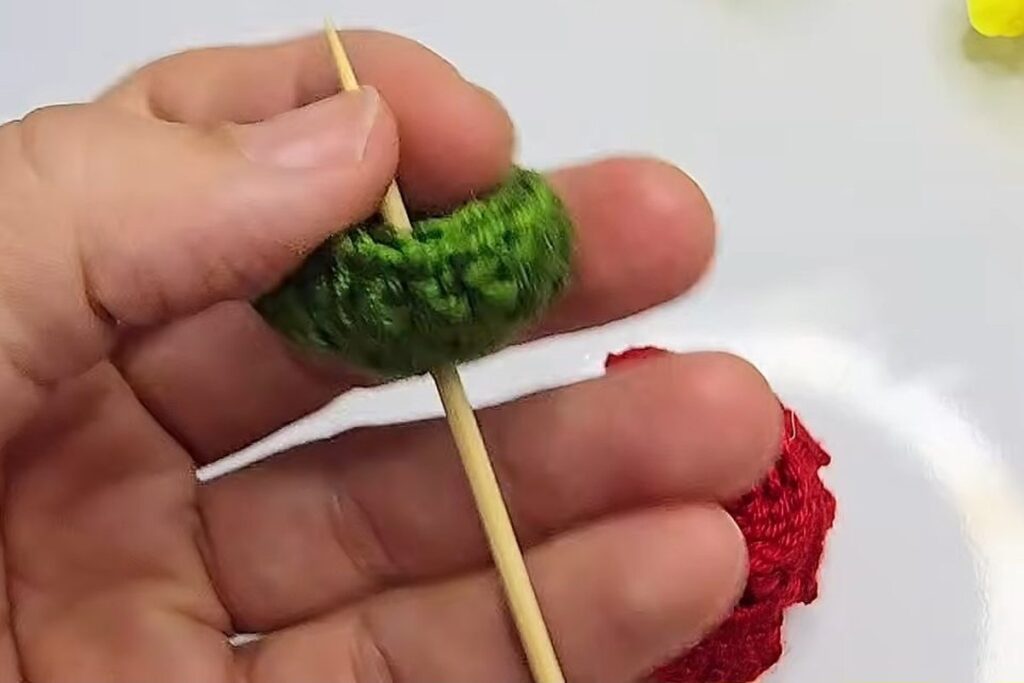
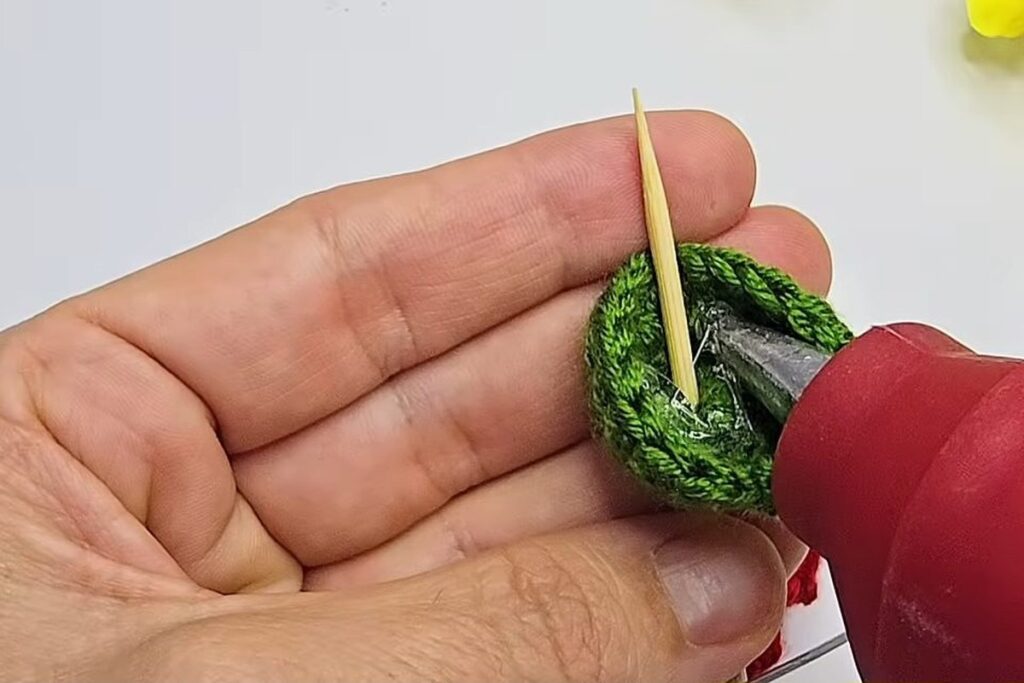
Step 14: Push the skewer through the cup and glue it
Push the pointed end of the wooden skewer through the centre of the green cup from the inside, then run hot glue around the skewer inside the cup. The glue locks the cup in place so it cannot slide down the stem.
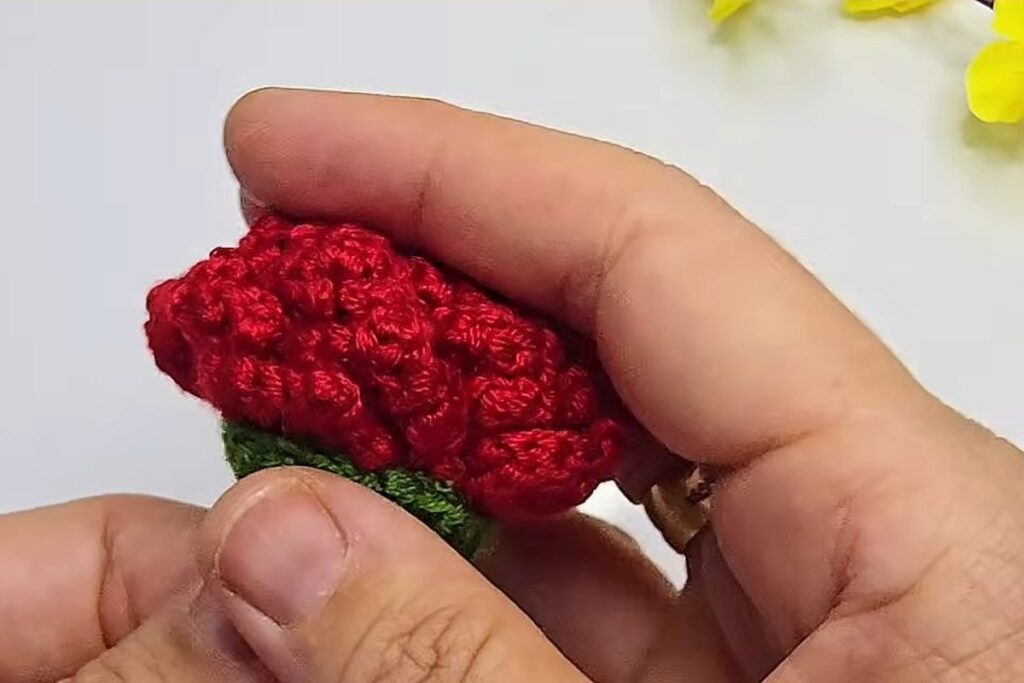
Step 15: Seat the rose in the cup
Add more glue inside the cup and press the base of the rose into it. Hold it for a few seconds while the glue sets.
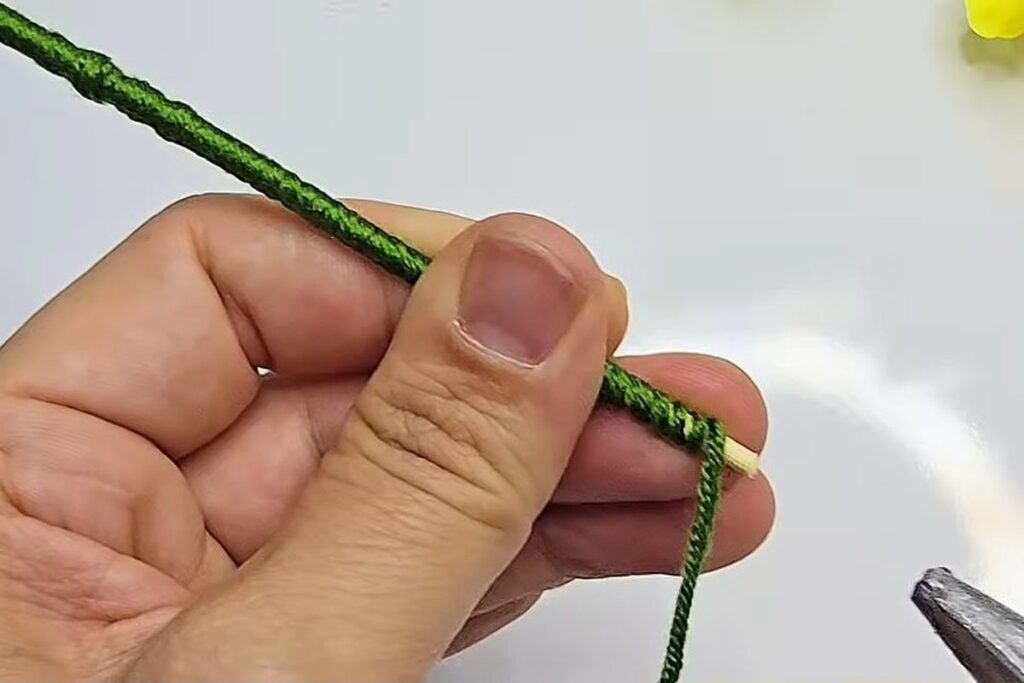
Step 16: Wrap the stem in green yarn
Dab glue just under the cup, press the end of the green yarn on it, and wind the yarn tightly down the skewer so no wood shows. At the bottom, glue the end and trim it. Your crochet flower with stem is finished.

Where this crochet flower with stem goes wrong
Three things spoil a crochet flower with stem, and each is easy to fix.
- The rose unrolls. It was rolled without enough stitches through the base. Sew every turn or two, not just at the end.
- The cup slips down the stem. There is no glue around the skewer inside the cup. Glue it before the rose goes in, as in step 14.
- The wood shows through the wrap. The yarn was wound at an angle. Keep each wrap touching the last one and push them together as you go.
A safety note: the skewer has a sharp point and hot glue burns. This is a decoration, not a toy for small children.
Hook size and yarn for a crochet flower with stem
The video uses a 2.1 mm hook and does not name the yarn weight. According to the Craft Yarn Council’s weight system, the crochet hooks for lace-weight yarn (0) run from steel hooks of about 1.4 to 1.6 mm up to a 2.25 mm regular hook, and super fine yarn (1) takes 2.25 to 3.5 mm. A 2.1 mm hook therefore sits at the fine end, with thread and lace-weight yarn.
That is only guidance. The same crochet flower with stem works in thicker yarn with a bigger hook, and the rose simply comes out larger. Keep the red and the green the same weight so the cup fits the rose. Because no yardage is stated, this page gives none: a single rose uses very little of either colour.
Five more free flower patterns
These five free flower patterns come from designers’ own sites, and each would pair well with a crochet flower with stem. The details are as each page states them.
- Easy Free Crochet Rose Bag Charm Pattern by Crafting Happiness: a single rose with a leaf, stem and sepals, 4.5 mm hook, Aran yarn.
- Crochet A Bellflower Bag Charm by The LILI Path: a bellflower with leaf and stalk, 3.0 mm hook, cotton yarn.
- Crochet Flower Keychain by Celtic Knot Crochet: size 3 cotton with a 3.75 mm hook, with a leaf.
- Crochet Tulip Keychain Pattern by The Caffeinated Snail: a small tulip with leaf and stem, worsted weight, 4.5 mm hook.
- Crochet Flower Keychain by Viv Crochets: a popcorn-stitch flower, medium weight, 5 mm hook.
FAQ
How do you make a crochet flower with stem?
Crochet a mesh strip with petals along one edge, roll it into a rose and sew the base. Then crochet a small green cup, push a wooden skewer through it, glue the rose into the cup and wrap the skewer in green yarn.
What hook size is used for this crochet flower with stem?
The video uses a 2.1 mm hook; the size is stamped on the hook. That suits fine thread or lace-weight yarn, according to the Craft Yarn Council’s hook ranges.
How many chains do I need for the petal strip?
The video labels 46 chains. A longer chain gives more petals and a fuller rose, and a shorter one gives a bud.
What holds the rose on the stem?
Hot glue. It holds the skewer inside the green cup, the rose inside the cup, and both ends of the yarn wrapped around the stem.
Can I make a crochet flower with stem without a glue gun?
The video uses hot glue throughout. Without it, you would need to sew the rose to the cup and tie the stem wrap off firmly, which the video does not show.
Is this crochet flower with stem safe for children?
It is a decoration. The skewer has a sharp point and the glue gun gets hot, so keep it out of reach of small children.
Where to go next
For a rose without a stem, the crochet rose pattern on this site builds a rose from a single strip, without the stem. For something bigger and brighter, try the crochet sunflower pattern, or browse more ideas in crochet flowers free pattern. If you want a flower to wear, the crochet sunflower hair pin is a quick one.
Sources
- Craft Yarn Council, Standard Yarn Weight System: crochet hook ranges for yarn weights 0 to 2.
- Each of the five patterns above, on its designer’s own site.
Video credit. This crochet flower with stem tutorial is based on the video Crochet Flower That Everyone Will Want to Make! Easy & Beautiful DIY by Magic crochet. The steps are retold in our own words, and the step photos are frames from that video.