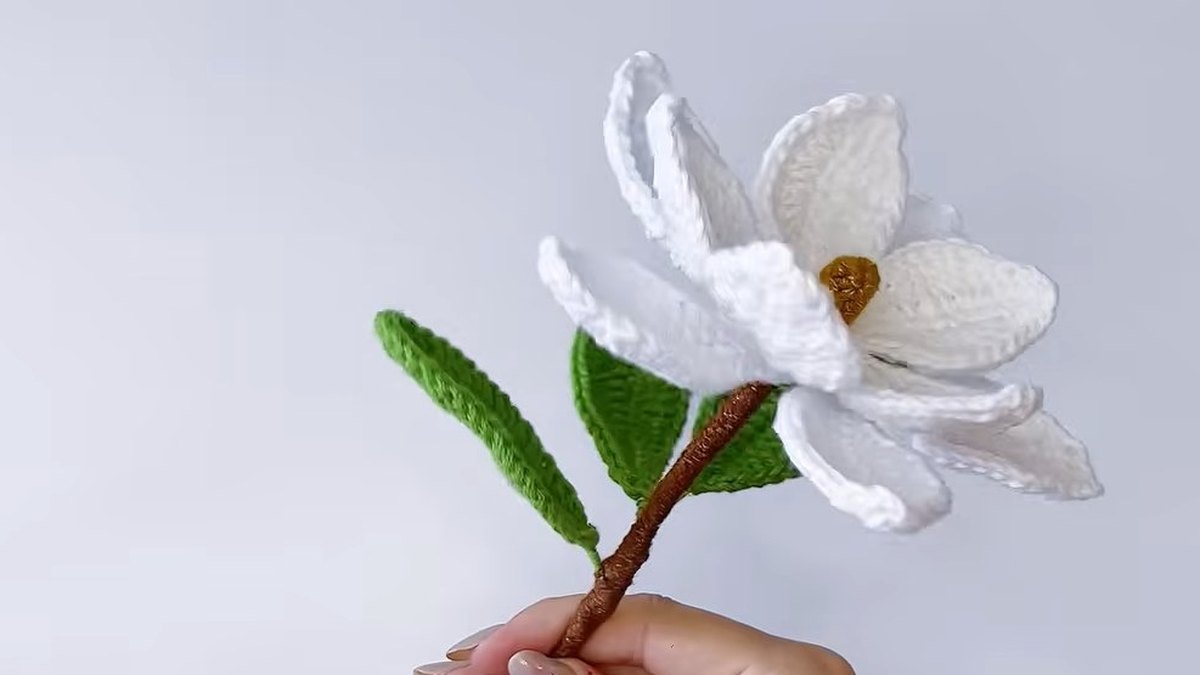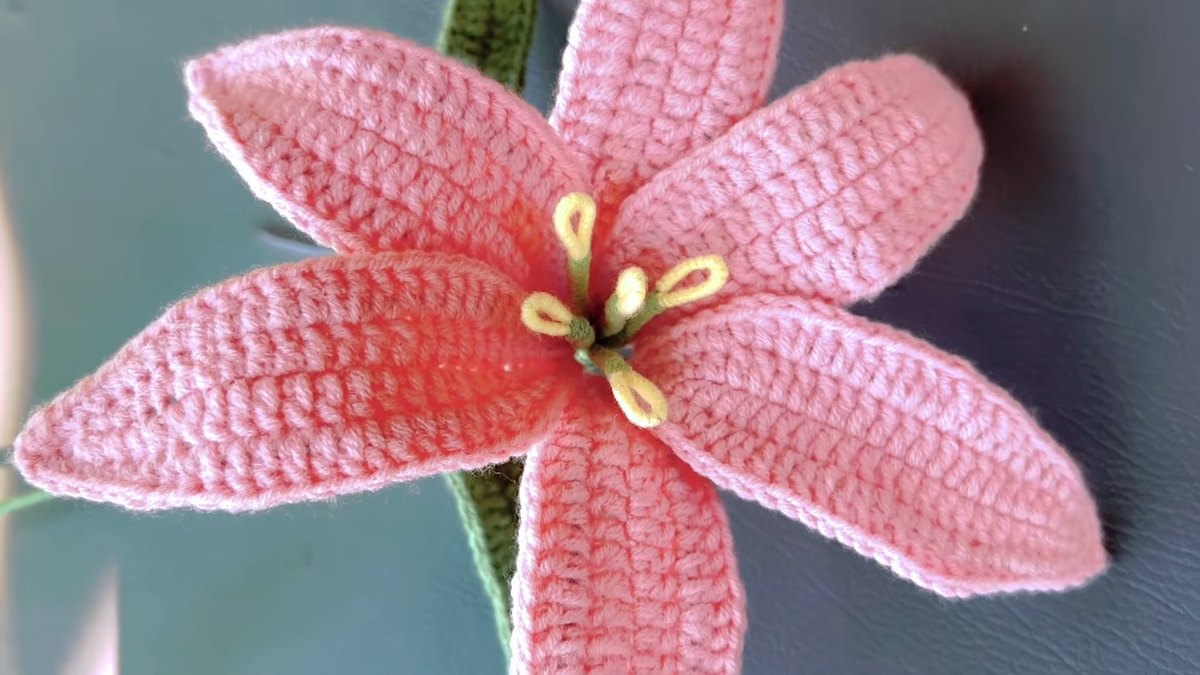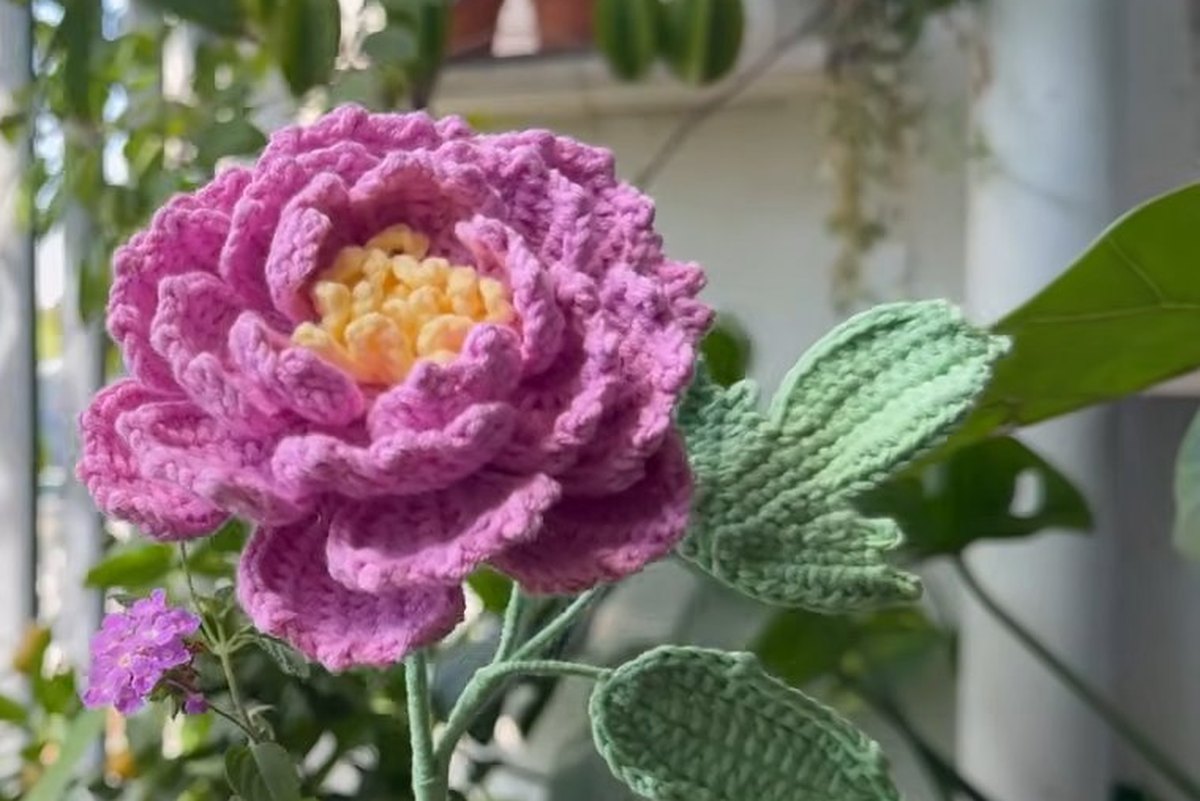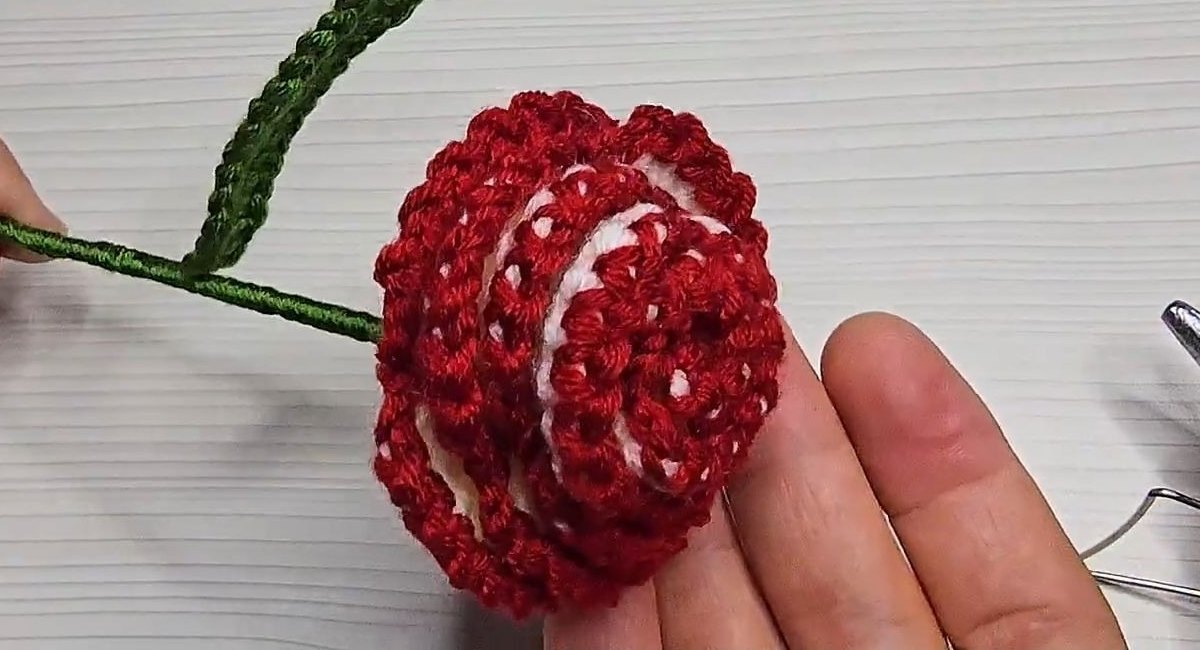
This crochet rose with stem starts life as one long, flat strip: a 70-chain foundation, a row of arches, and a petal of 7 double crochet in every arch. Only at the end is the strip rolled up into a rose, glued, and set on a yarn-wrapped stem with a wired leaf. Nothing is sewn, so the whole flower comes together with a hook and a glue gun.

What follows is a free crochet rose with stem pattern retold step by step from a video tutorial. The stitch counts come from the labels the maker prints on screen, and each of the 16 steps has its own photo taken from that video. The rose uses white yarn for the petals, red for the picot-style edge and green for the leaf and stem, which is what gives it the look of a two-tone garden rose.
Key numbers. 70 chains in the petal strip (stated) · 6 chains per arch (stated) · 7 double crochet per petal (stated) · 20 chains for the leaf (stated) · 3 mm hook (stated) · 5 base stitches used per arch (derived) · 16 steps.
On this page
- What you need to make a crochet rose with stem
- Stitches and abbreviations
- The crochet rose with stem at a glance
- How to crochet the petal strip
- How to add the red edge
- How to crochet the wired leaf
- How to build the stem and finish the crochet rose with stem
- Where a crochet rose with stem goes wrong
- More free crochet rose with stem patterns
- Crochet rose with stem FAQ
- Where to go next
What you need to make a crochet rose with stem
The kit is small, but two items are not crochet supplies at all: a glue gun and a thin stick for the stem.
| Item | What the tutorial uses | Note |
|---|---|---|
| Yarn | Acrylic yarn in white, red and green | Stated in the video description as acrylic. Weight and brand are not given |
| Hook | 3 mm | Stated in the video description |
| Wire | Thin floral wire | Crocheted inside the leaf so it holds its shape |
| Stem | A long wooden skewer or toothpick | Wrapped in green yarn |
| Glue | Hot glue gun | Used for the stem, the leaf joint and the rolled rose |
| Tools | Scissors | For the yarn tails and the wire ends |
The description also lists fiberfill, a yarn needle and keychain rings, but none of them appear in the video, so this crochet rose with stem needs none of them. No finished size, yardage or gauge is given. The rose head in the video fits in the palm of one hand.
A 3 mm hook sits at the top of the range the Craft Yarn Council suggests for super fine yarn (2.25 to 3.5 mm) and below the 3.5 to 4.5 mm range for fine yarn. A thinner acrylic gives the tight, firm petals seen in the photos; a thicker yarn on the same hook makes stiff petals that resist rolling.
Stitches and abbreviations
Crochet has two naming conventions for the same stitches, and this crochet rose with stem pattern gives both. The main names match the labels in the video. If you learned the other convention, shift each name by one step.
| Name used here | Abbreviation | Other convention | Used in |
|---|---|---|---|
| Chain | ch | Chain | Foundation, arches, leaf base |
| Slip stitch | sl st | Slip stitch | Joining the red yarn and the red edge |
| Single crochet | sc | Double crochet (dc) | Base strip, arch anchors, leaf |
| Double crochet | dc | Treble (tr) | The 7-stitch petals |
The stitch multiple for the arch row is 5: one sc, then ch 6 over the next 4 stitches. The on-screen label for the skip reads just “4.”, so treat “skip 4” as the most likely reading rather than a printed instruction. The video never prints how many arches the strip holds; the length of your strip decides it.
The crochet rose with stem at a glance
Every count in this table is printed on screen in the video, apart from the arch count, which is left to the strip.
| Part | Yarn | Instruction | Label on screen |
|---|---|---|---|
| Foundation | White | Chain 70 | 70 ch |
| Base strip | White | Sc in every chain | Sc / All |
| Arch row | White | Sc 1, then (ch 6, skip 4, sc 1) to the end | 6 ch, 4., Sc |
| Petal row | White | Sc 1, ch 2, then 7 dc into each arch | 2 ch, 7 dc |
| Edge | Red | Join, ch 2, sl st, then (ch 1, sl st) around each petal; ch 2 and sc between petals | 1 ch / slip, 2 ch, Sc |
| Leaf | Green | Chain 20, sc along both sides over floral wire | 20 ch, Sc |
| Stem | Green | Yarn wrapped round a skewer with hot glue | None |
How to crochet the petal strip
The white strip is the rose itself. Keep your tension even here, because loose arches make floppy petals later.
Step 1: Make a slip knot and chain 70
Start with a slip knot on the hook and chain 70 in white. This long chain is the full length of the crochet rose with stem, so count it twice before moving on.

Step 2: Single crochet along the whole chain
Work a single crochet into each chain back along the foundation. The label reads “Sc / All”, so no chain is skipped along the way. You end up with a narrow white strip one row tall.

Step 3: Turn and start the arch row
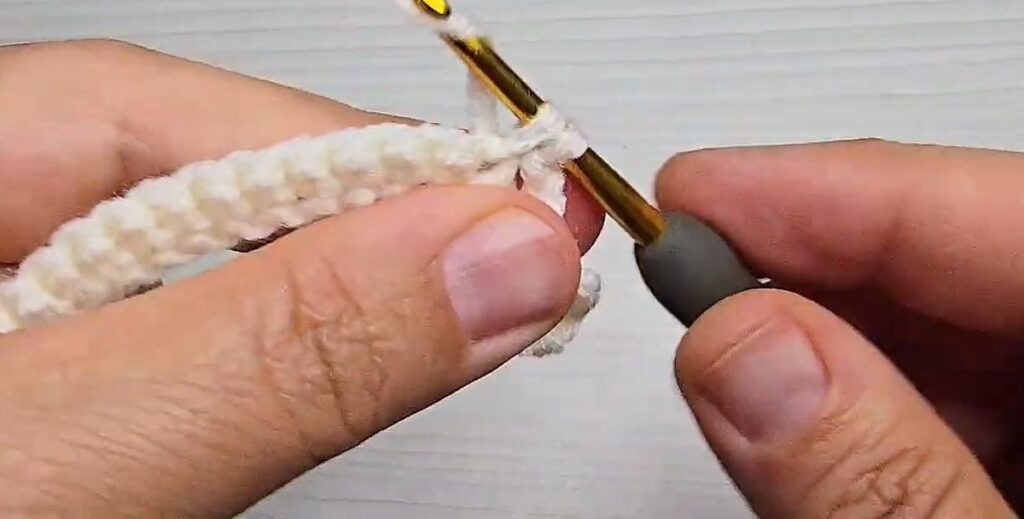
Turn the strip and make 1 sc at the start. Now chain 6, skip the next 4 stitches, and sc into the following stitch. That makes the first arch.
Step 4: Repeat the arches to the end
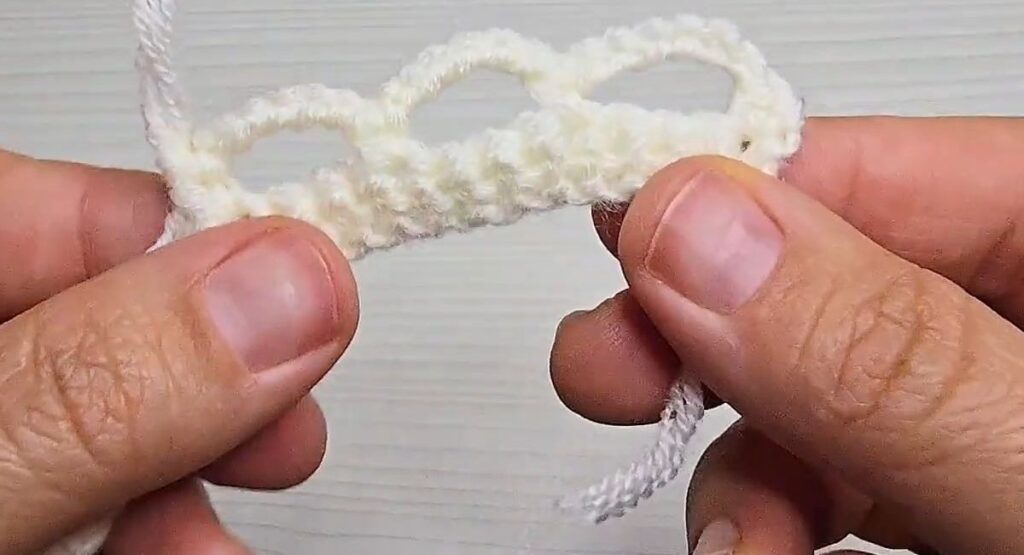
Repeat ch 6, skip 4, sc 1 along the whole strip. The arches stand up along one edge like a row of little windows. These are the frames for the petals.
Step 5: Work 7 double crochet into every arch
Turn again, make sc 1 and ch 2, then work 7 dc into the first arch. Anchor with a sc between arches and repeat, 7 dc into every arch, to the end. Each group of 7 curls into a cupped petal. Fasten off the white yarn.


How to add the red edge
The red edge is what turns a plain white strip into a two-tone crochet rose with stem. It is worked with slip stitches only, so it stays thin and does not stiffen the petals.
Step 6: Join the red yarn
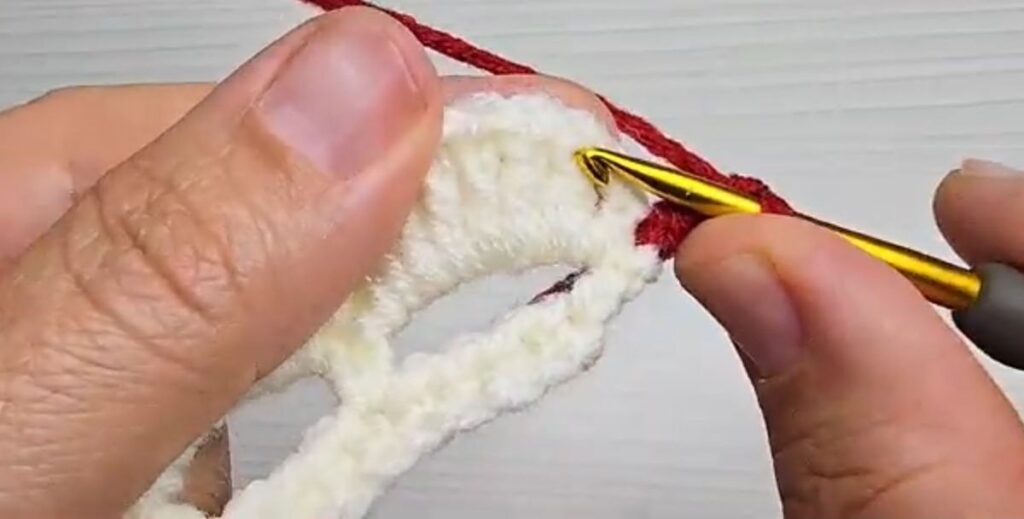
Join red yarn at the end of the petal strip, chain 2, and slip stitch into the first stitch of the first petal.
Step 7: Ch 1, slip stitch around each petal
Work ch 1, then a slip stitch into the next stitch, and repeat around the curve of the petal. The label reads “1 ch / slip”. The little chain between slip stitches gives the edge its beaded look.
Step 8: Chain 2 and sc between petals
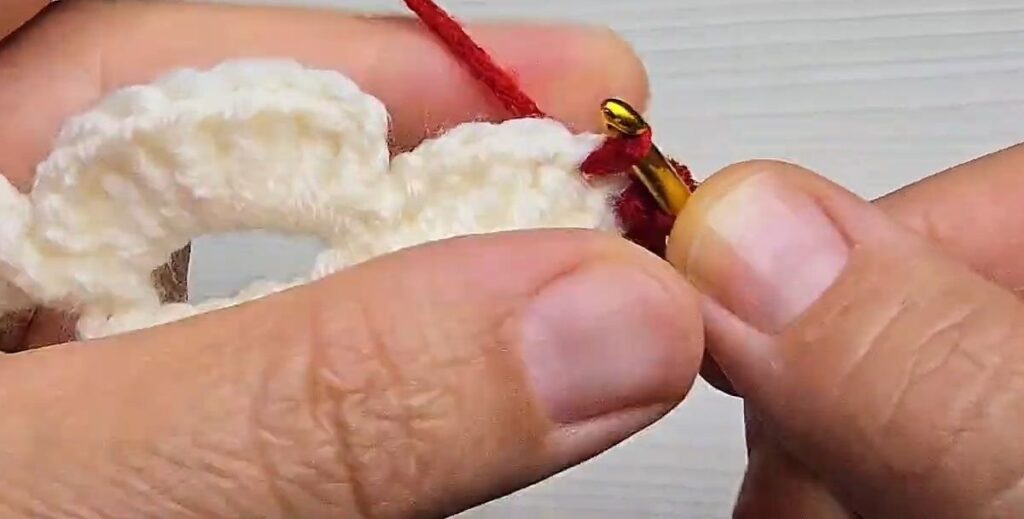
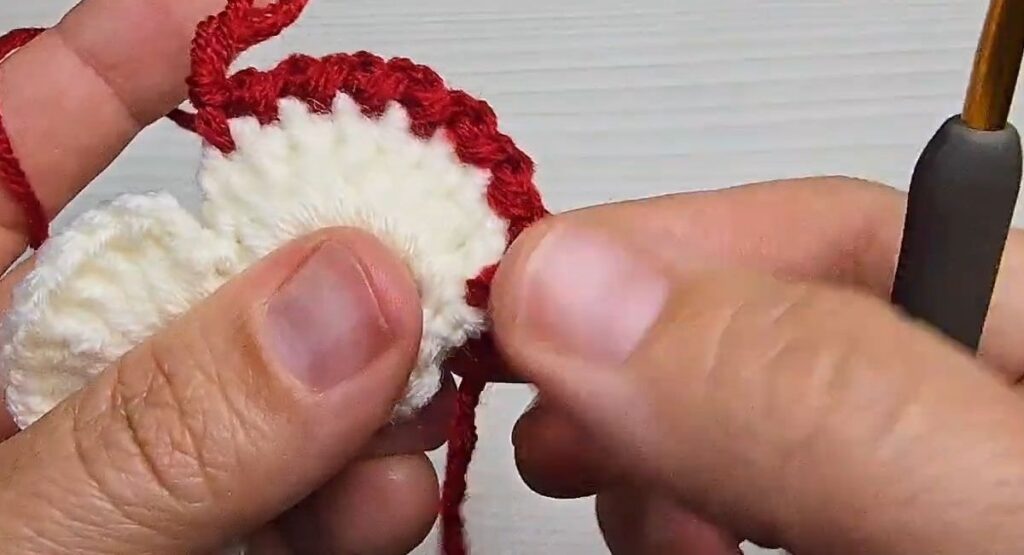
Where two petals meet, chain 2 and sc into the valley between them. This carries the red yarn over the gap without pulling the petals together.

Step 9: Edge every petal and fasten off
Repeat steps 7 and 8 over every petal to the end of the strip, then fasten off and leave a red tail.

How to crochet the wired leaf
The leaf holds its shape because a thin floral wire runs through the middle of the stitches.
Step 10: Chain 20 in green and lay the wire
Chain 20 in green. Lay a length of floral wire along the chain, with a tail left at each end.

Step 11: Single crochet over the wire
Work sc back along the chain, taking each stitch around both the chain and the wire so the wire is trapped inside. Go round the far end and work down the other side of the chain to make a narrow leaf.

Step 12: Finish the leaf
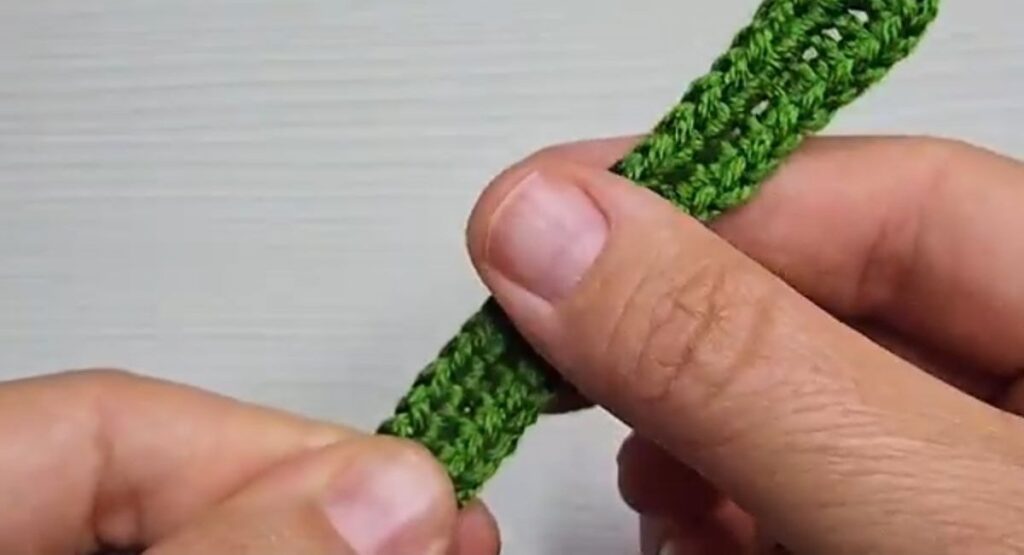
Cut the yarn, twist the two wire ends together and trim them. You now have one long, narrow leaf that bends and stays bent.
How to build the stem and finish the crochet rose with stem
Hot glue does all the joining from here. Work over a heat-safe surface and keep fingers clear of the nozzle.
Step 13: Wrap the skewer in green yarn
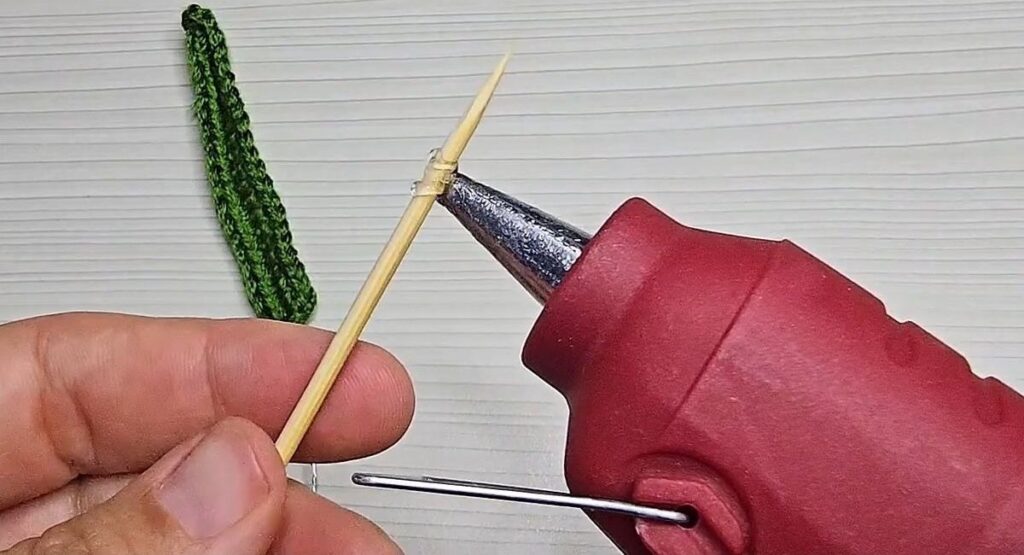
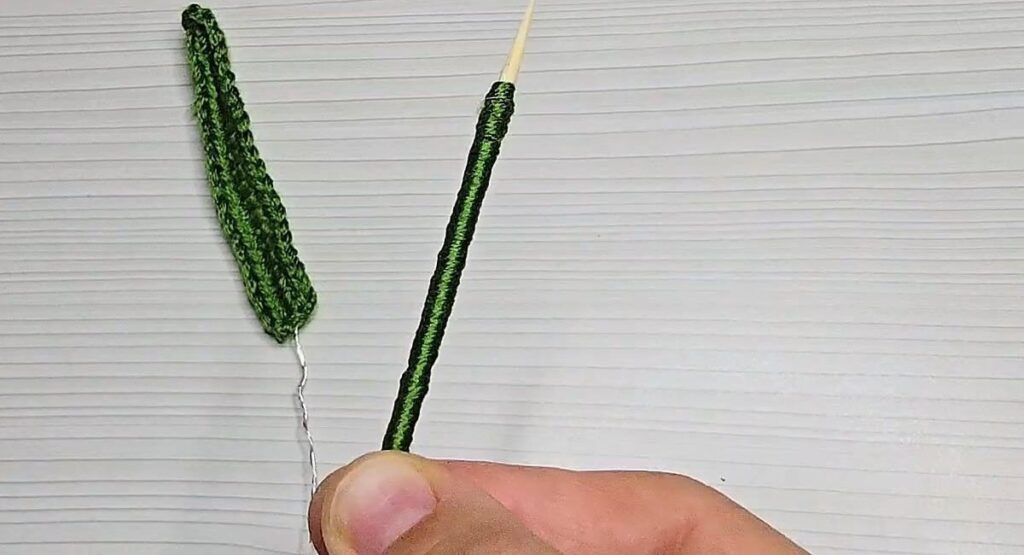
Put a dot of hot glue at the tip of a wooden skewer, press the green yarn into it, and wrap the yarn tightly down the stick so no wood shows.
Step 14: Attach the leaf
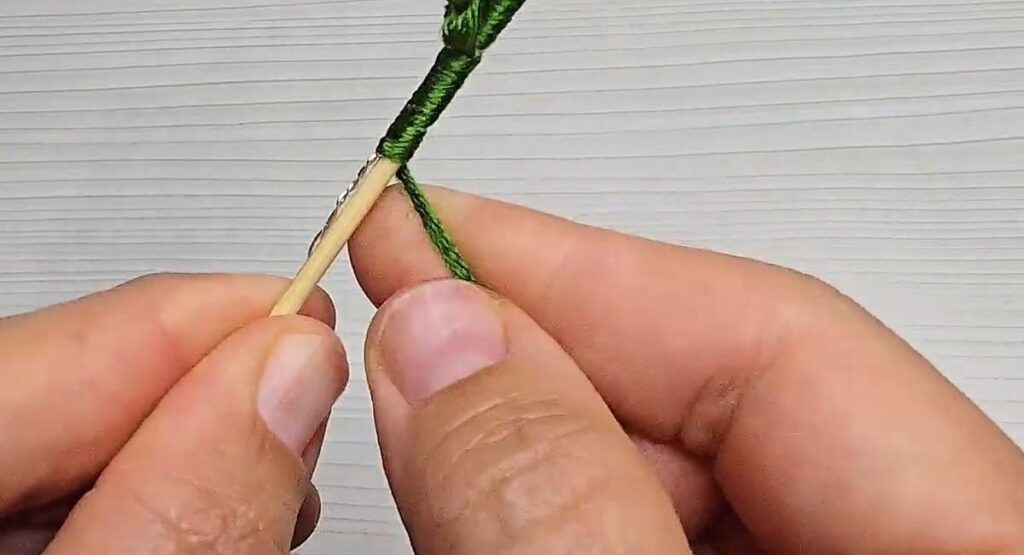
Part way down the stem, twist the leaf’s wire tail around the stick, then keep wrapping the green yarn over the join to hide it. Glue the bottom end and cut the yarn.
Step 15: Roll the petal strip into a rose
Start at one end of the red-edged strip and roll it into a tight spiral, adding a little hot glue to the white base as you go. Let the petals open out in layers as the roll grows.

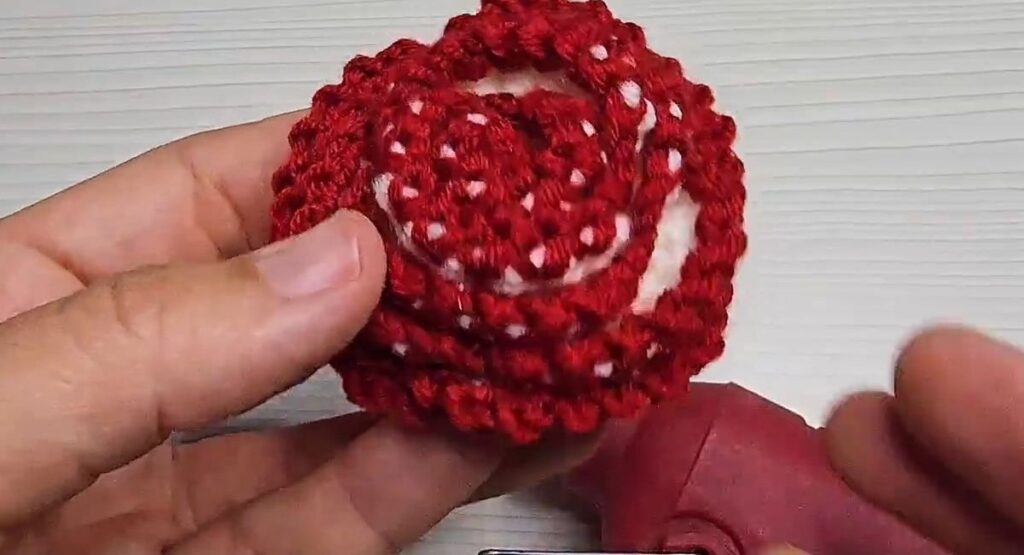
Step 16: Glue the base and push in the stem
Glue the underside so the spiral cannot unroll, then push the top of the stem into the centre of the base with a little more glue. Hold it for a few seconds while the glue sets.


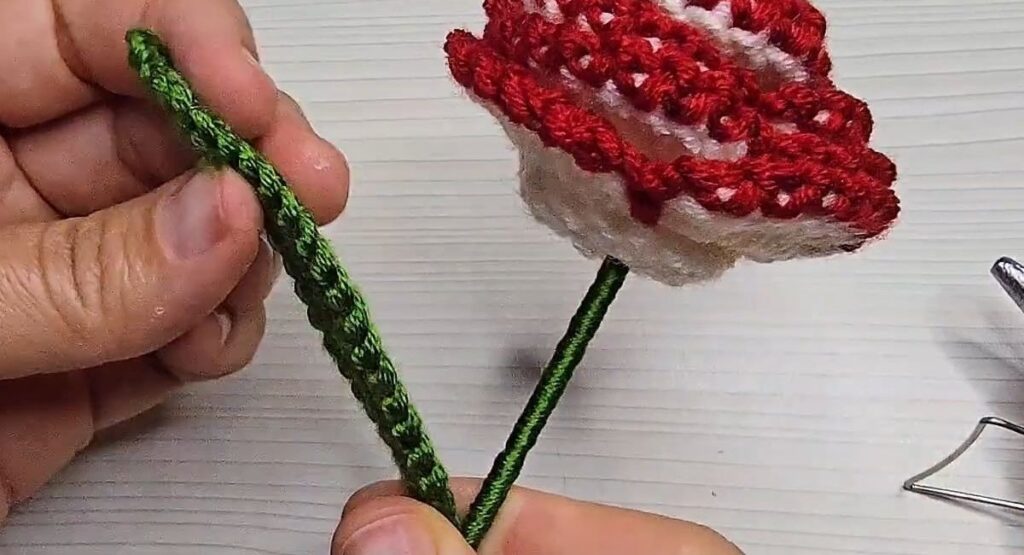
Where a crochet rose with stem goes wrong
Three things spoil this flower, and all three can be fixed before the glue comes out.
- Floppy petals. Loose arches let the 7 dc spread flat, so the rose opens like a plate instead of a cup. Keep the ch 6 tight, or go down a hook size for the arch row only.
- A ruffled, twisting strip. A foundation worked too tight curls and twists, which makes the roll lumpy. Relax your chain tension, or chain with a hook one size larger and switch back for the sc.
- A rose that unrolls. Too little glue at the base lets the spiral loosen. Glue the white base every turn or two while rolling, not only at the end.
The wire ends and the skewer point are sharp, and hot glue can come loose. Treat this crochet rose with stem as a decoration for a vase, not as a toy for small children.
More free crochet rose with stem patterns
Each of these five puts a rose on a stem, and each solves the stem in its own way.
- Basic Rose by PlanetJune: a chain of 46 rolled into a scalloped spiral, on a pipe cleaner or floral wire stem, with a 4 mm hook in worsted weight.
- Crochet Rose With Stems by Crafting With Claudie: a pipe cleaner stem wrapped in yarn, with a five-point calyx, on a 4.25 mm hook.
- Easy Crochet Rose Pattern with Wired Stem and Leaves by Nicki’s Homemade Crafts: rows of double crochet shells rolled up, with wired leaves and floral tape, on a 5 mm hook.
- Crochet Rose with Long Stem by Lisa Auch: 12 separate petals in four sizes on a yarn-wrapped wire, with a 3 mm hook in DK yarn.
- Lovely Long Stem Roses by The Loophole Fox: a bouquet of three larger and three smaller roses on folded craft wire, with a 5 mm hook in worsted weight.
On this site, the crochet rose pattern makes a flat rose without a stem, and the crochet sunflower pattern is a good second flower for the same vase.
Crochet rose with stem FAQ
What hook size is used for this crochet rose with stem?
The video description gives a 3 mm hook with acrylic yarn. Keep the stitches firm so the petals stand up.
How many chains do I need for the petals?
Chain 70 for the petal strip. A longer chain makes more arches, more petals and a fuller rose.
What does the “4.” label in the video mean?
It most likely means skip 4 stitches before the next sc, which gives a repeat of 5 stitches per arch. The video does not spell it out.
How is the leaf made to stand up?
A thin floral wire is laid along a green chain of 20 and enclosed by single crochet on both sides, so the leaf bends and holds its shape.
Can I sew the rose instead of gluing it?
Yes. A yarn needle and matching thread will hold the spiral, though the video uses hot glue for every join.
Is a crochet rose with stem safe for children?
It is a decoration. The skewer point, wire ends and glued parts make it unsuitable as a toy for small children.
Where to go next
Make three or five of these and you have a crochet rose bouquet for a vase. For more flower ideas, browse the crochet flowers free pattern roundup, the beginner-friendly crochet flower pattern, or the crochet sunflower hair pin for something to wear.
Sources
- Basic Rose, PlanetJune
- Crochet Rose With Stems, Crafting With Claudie
- Easy Crochet Rose Pattern with Wired Stem and Leaves, Nicki’s Homemade Crafts
- Crochet Rose with Long Stem, crochet-patterns-free.com
- Crochet Rose Pattern – Lovely Long Stem Roses (Assorted Rose Bouquet), The Loophole Fox
- Standard Yarn Weight System, Craft Yarn Council
- Video tutorial, Magic crochet
Video credit. This crochet rose with stem is retold in our own words from the video Amazing! Let’s make a wonderful crocheted flowers! by Magic crochet. The step photos are frames from that video.