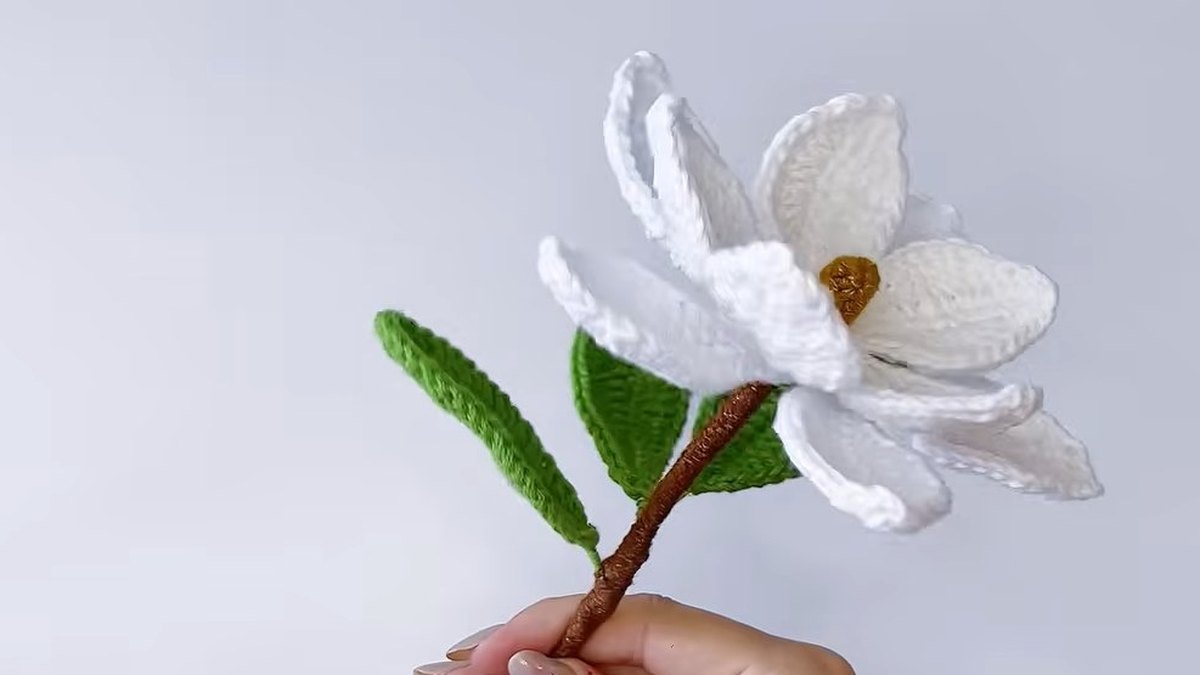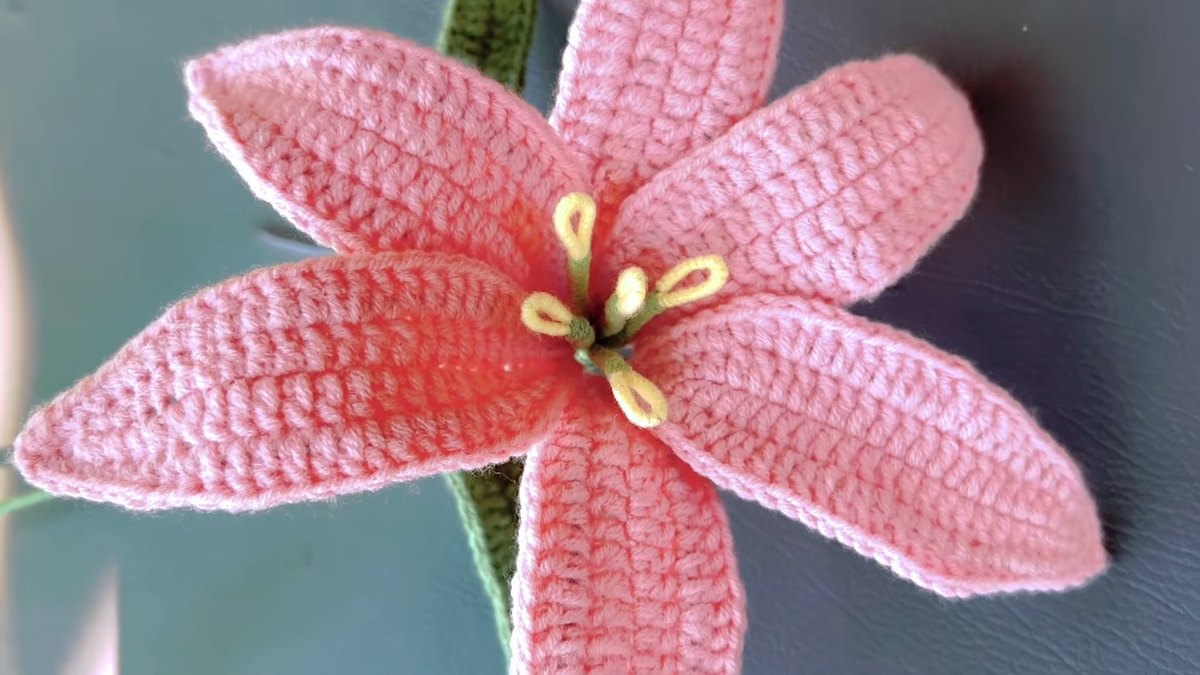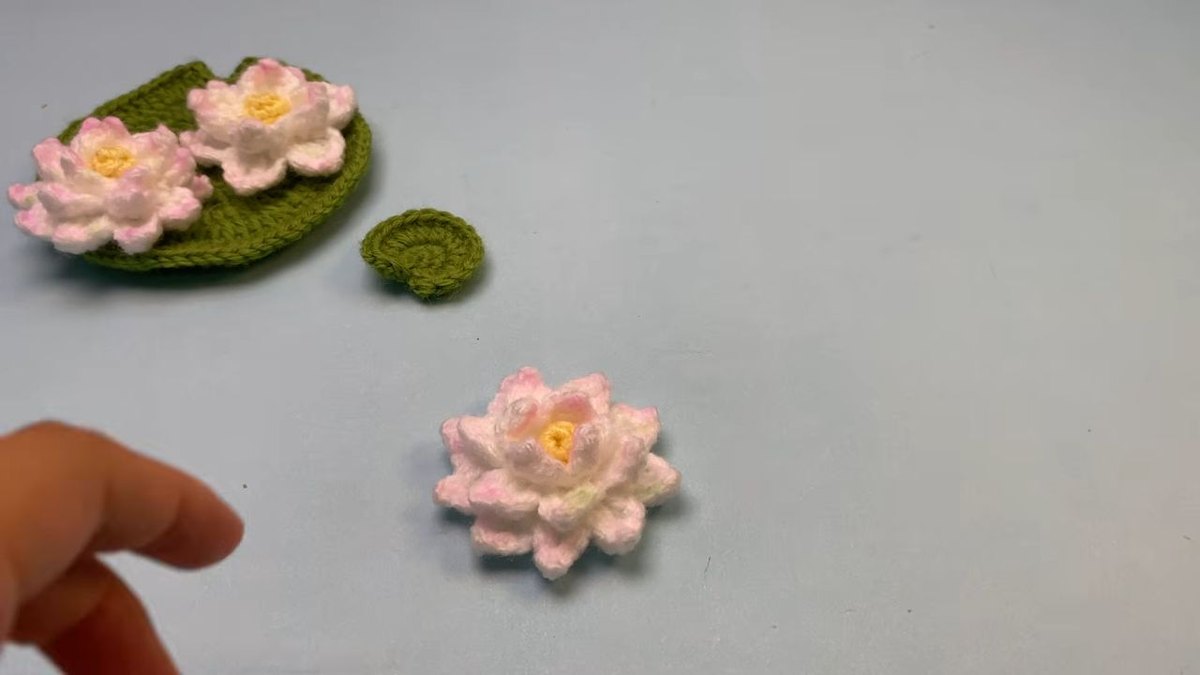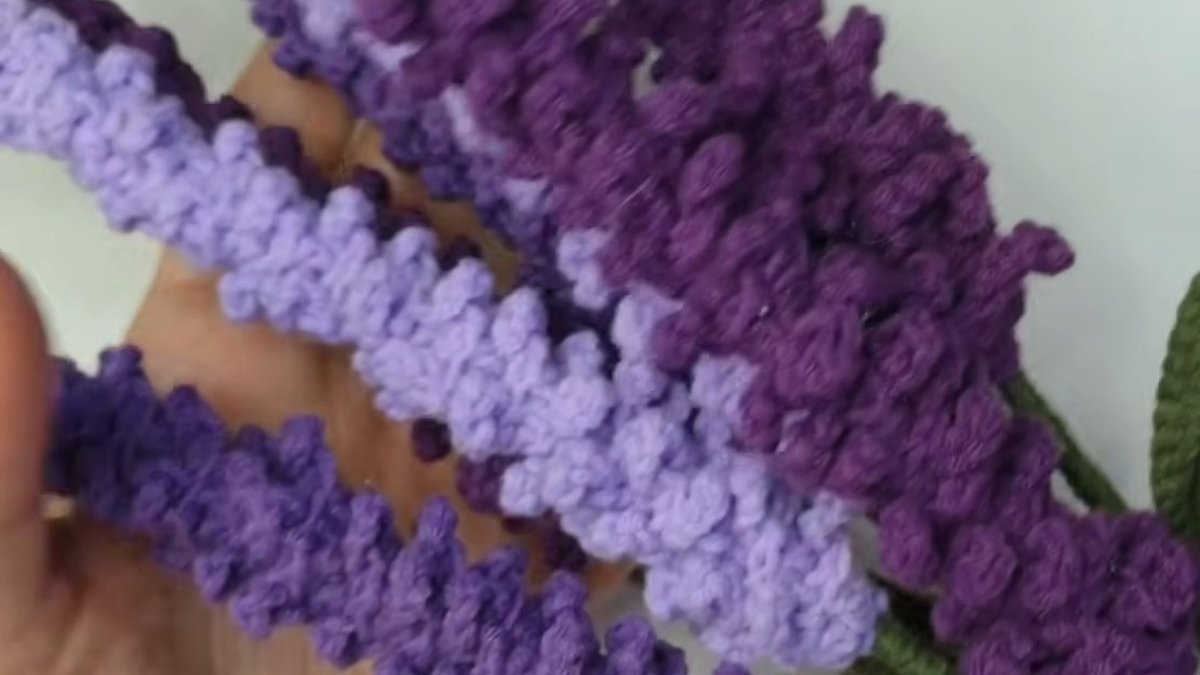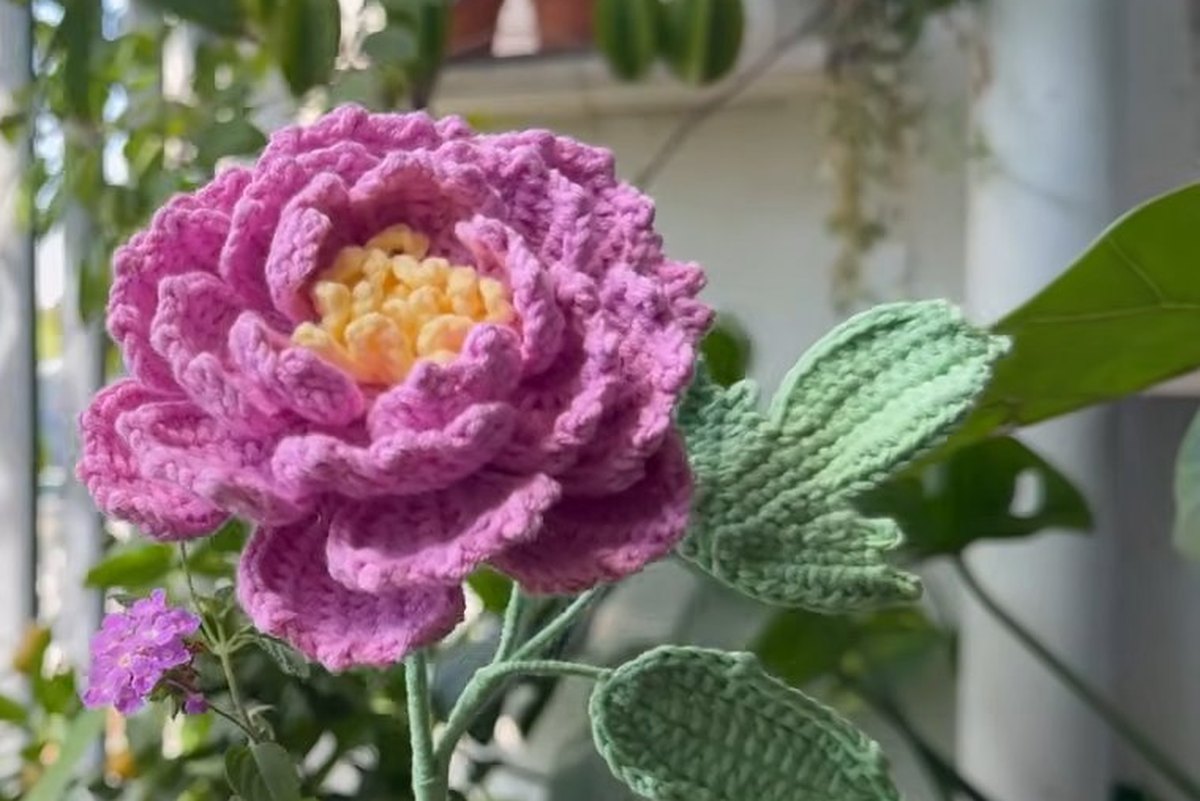
Most crochet flower patterns build a bloom the slow way. Five petals, worked one at a time, then pinned and sewn onto a centre that never quite sits flat. This crochet flower has no petals to sew, and no centre to sew them to. It has 324 double crochets in its final round, and the petals appear on their own because of what that number does to the fabric.
The stitch counts run 12, then 36, then 108, then 324. That is a tripling every round. Every figure below is either taken straight from the pattern or worked out in front of you, so you can check the arithmetic before you cast on.
In this article: why nothing gets sewn on · the stitch counts in full · the ratio that makes it ruffle · yarn and hook · the wire stem · the pattern, round by round · how to make this crochet flower · five things that go wrong · frequently asked questions · how to make this crochet flower · sources
The numbers before you start
The crochet flower head is five rounds. Nothing is sewn on, and the green cup is not a separate piece.
Stitch counts: 12, 12, 36, 108, 324. Rounds three, four and five each triple the round below.
Round five alone is 324 double crochets. That is 27 times the 12 stitches you started from (derived: 324 divided by 12).
The whole crochet flower head totals 492 stitches (derived: 12 plus 12 plus 36 plus 108 plus 324). Round five is 65.9 per cent of the entire flower (derived: 324 divided by 492).
Budget your evening accordingly. Rounds one and two take minutes. Round five takes longer than the other four put together.
Why this crochet flower has nothing sewn on
Start with a small green disc worked in the round. Somewhere in that disc there is a round of 12 stitches, and each of those stitches has two loops at its top: a front loop and a back loop.
The trick is to split them. The green carries on into the front loops only and builds a cup that stands up. That leaves 12 back loops sitting there, unused, in a neat ring. When the disc is finished you join the flower colour into those free back loops and work the bloom straight out of the same piece.
That single decision removes the weakest part of almost every other crochet flower. There is no seam between the petals and the calyx, so there is nothing to come loose, nothing to sit crooked, and no sewing at the end beyond weaving in two tails.
The crochet flower stitch counts, and the one nobody warns about
Here is the whole flower head laid out. Read the last row twice before you begin.
| Round | What you work | Stitches | Change |
|---|---|---|---|
| R1 | sc into the free back loops | 12 | base |
| R2 | dc in each stitch | 12 | no change |
| R3 | 3 dc in each stitch | 36 | 3 times |
| R4 | 3 dc in each stitch | 108 | 3 times |
| R5 | 3 dc in each stitch | 324 | 3 times |
Two rounds of tripling gets you to 108, which already looks like a full flower on the hook. This is where most people stop, and the result is a pretty rosette rather than the deep ruffled bloom in the photographs.
The third tripling is the one that does the work. Round five adds 216 stitches on its own (derived: 324 minus 108), which is more than every earlier round of the crochet flower added together.
The ruffle is a ratio, not a stitch
Nothing in this crochet flower pattern tells the fabric to curl. There is no special petal stitch, no picot, no post stitch. The curling is geometry, and it has a name.
In 1997 a mathematician at Cornell, Daina Taimina, worked out that a crocheted surface takes on negative curvature if you increase at a constant ratio on every row. The more often you increase, the faster it ruffles. For teaching models she settled on a ratio of 12 to 13, meaning one extra stitch after every 12. A deliberately ruffly model uses one extra in every four.
Now compare. Three dc into every stitch is not one extra in twelve or one extra in four. It is a growth factor of 3 on every single round, and it runs for three rounds.
| Increase rule | Growth per round | After three rounds |
|---|---|---|
| Teaching model, 1 in 12 | 1.083 | 1.27 times |
| Ruffled model, 1 in 4 | 1.25 | 1.95 times |
| This crochet flower, 3 dc in each | 3.0 | 27 times |
Derived, and easy to check: 1.083 cubed is 1.27, 1.25 cubed is 1.95, and 3 cubed is 27. This flower puts on 27 times its stitch count in the same three rounds that a teaching model uses to gain a quarter.
That is the entire explanation for the shape. All 324 stitches of round five have to live on the same circumference as the 12 stitches underneath them, so the fabric has nowhere to go but up and over on itself. It folds into petals while it is still on your hook.
Yarn and hook for a crochet flower that holds its shape

The Craft Yarn Council chart recommends a 5.5 to 6.5 mm hook for medium weight worsted or aran yarn, and 4.5 to 5.5 mm for light DK. Those numbers are set for garments, where you want drape.
A crochet flower wants the opposite. Go one or two sizes below the chart, so 4 mm with worsted or 3.5 mm with DK. The fabric comes out firm, the calyx keeps its cup shape without stuffing, and the petals hold the fold instead of relaxing out of it after a week on a shelf.
Fibre matters more here than in most projects, for the same reason. Mercerised cotton has very little stretch, which is exactly what 324 crowded stitches need. Acrylic will work the pattern happily and then sag under its own weight. If you are choosing between the two, the trade offs are the same ones set out in our note on cotton or acrylic for toys.
The stem, and which floral wire to buy
A 492 stitch head in cotton is heavier than it looks, and this is where a good crochet flower goes wrong. Buy wire that is too thin and the bloom nods forward within a day.
| Gauge | Diameter | Florists use it for | For this flower |
|---|---|---|---|
| 18 | 1.0 mm | Heavy single stems such as a full rose or a chrysanthemum | Yes, the safe choice |
| 22 | 0.6 mm | Medium blooms, foliage and corsage work | Only for a small DK version |
Remember that the higher number is the thinner wire. An 18 gauge stem at 1.0 mm is roughly 1.67 times the diameter of a 22 gauge at 0.6 mm (derived: 1.0 divided by 0.6), and stiffness rises much faster than diameter, so the difference in practice is not subtle.
Bend a small hook into the top of the wire before you push it through the calyx. The hook catches the inside of the green cup and stops the whole stem sliding back out. Then wrap the length in florist tape, stretching it as you go, because that tape only becomes sticky when it is pulled.

The crochet flower pattern, round by round
Terms are US. ch is chain, sc is single crochet, dc is double crochet, slst is slip stitch, BLO is back loops only and FLO is front loops only.
Part one, the green calyx
- R1: 6 sc into a magic ring (6 sts). If the ring keeps loosening on you, see why your magic ring comes undone.
- R2: 2 sc in each stitch around (12 sts).
- R3: sc in each stitch around (12 sts). This is the round you will split later, so mark it.
- R4: FLO sc in each stitch around (12 sts). Working the front loops only leaves all 12 back loops of R3 free and standing in a ring.
- R5 to R7: sc in each stitch around (12 sts each round). The wall climbs and forms the cup.
- Fasten off and leave a short tail. Do not stuff it.
Part two, the flower head
Change to the flower colour and join it to any one of the 12 free back loops from R3.
- R1: ch 1, which does not count as a stitch. BLO sc around. slst to the beginning ch 1 to close (12 sts).
- R2: ch 2, which does not count as a stitch. dc around. slst to the top of the first dc to close (12 sts).
- R3: ch 2. Work 3 dc into each stitch of the round below. slst to the top of the first dc (36 sts).
- R4: as R3 (108 sts).
- R5: as R3 (324 sts). The fabric will already be folding over itself. Let it.
- Fasten off, leaving a long tail. Weave in the starting tail if you did not crochet over it.
Count at the end of R3 and R4 and nowhere else. Counting 324 individual stitches will cost you half an hour and tell you nothing you can act on, because a miscount that far in is not worth ripping back.
Five things that go wrong, and the fix
- The crochet flower looks flat, not ruffled. You stopped at 108. The rosette shape is what two triplings give you. The third round is what turns it into a flower.
- The crochet flower head separates from the green cup. The green was worked through both loops somewhere in R4, so there were no free back loops left to build on. Rip back to R3 and redo it as FLO.
- The ruffle curls into a tight ball. Hook too small for the yarn, or you worked 3 dc into the chain space rather than the stitch. Each of the 108 stitches gets three, and none of the gaps get any.
- The head nods forward on the stem. Wire too thin. Move up to 18 gauge, or double a 22 gauge wire back on itself and twist the pair.
- Round five runs out of yarn. It is 324 double crochets, two thirds of the whole flower. Start it with a full ball rather than the end of one.
Once the first one is off the hook the second takes noticeably less time, because the only slow round is the last one and you now know exactly how long it lasts. For a flatter motif to sew onto a hat or a bag instead, our five petal crochet flower worked in one round is the faster route, and there are more shapes in the crochet flowers section.
How to make this crochet flower, step by step
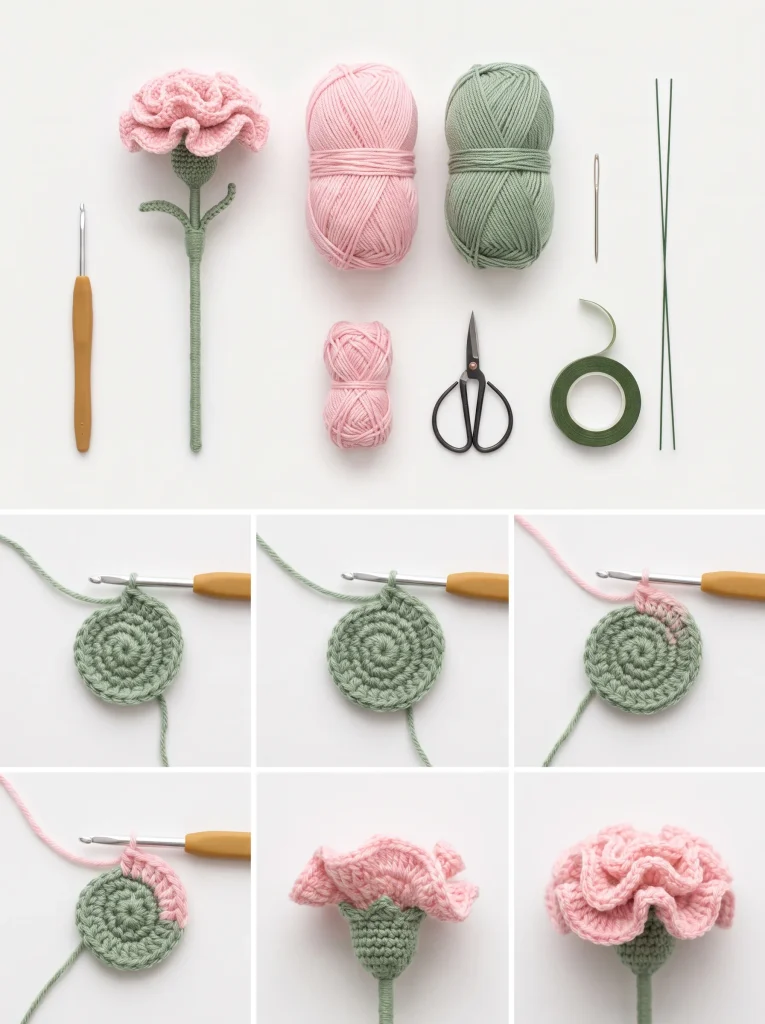
The photographs below run through the whole make, from the split round to a finished stem on the table. The stage that decides whether the crochet flower works is stage one, not the ruffle.
You need two yarn colours, a hook, a yarn needle, scissors, 18 gauge floral wire and a roll of green florist tape. Nothing else.
Stage one: the green base and the split round
- Work the green disc flat, in a spiral, until you have the 12 stitch round. Keep it flat on the table. If it is already cupping, your tension is too tight and the calyx will pucker.
- Find the round of 12 and look at the top of each stitch. You are looking at two loops sitting side by side, a front and a back.
- Work the next round into the front loops only. The back loops drop away and stay behind as a visible ridge. That ridge is where the whole crochet flower will grow from, so check it runs all the way round with no stitch worked through both loops.
- Carry on for three more rounds. The wall lifts on its own and the flat disc becomes a shallow cup. Fasten off the green here.
The last photo of this stage is the one to compare yours against. You should see a green cup with a clear free ridge of loops circling it, not a smooth dome.
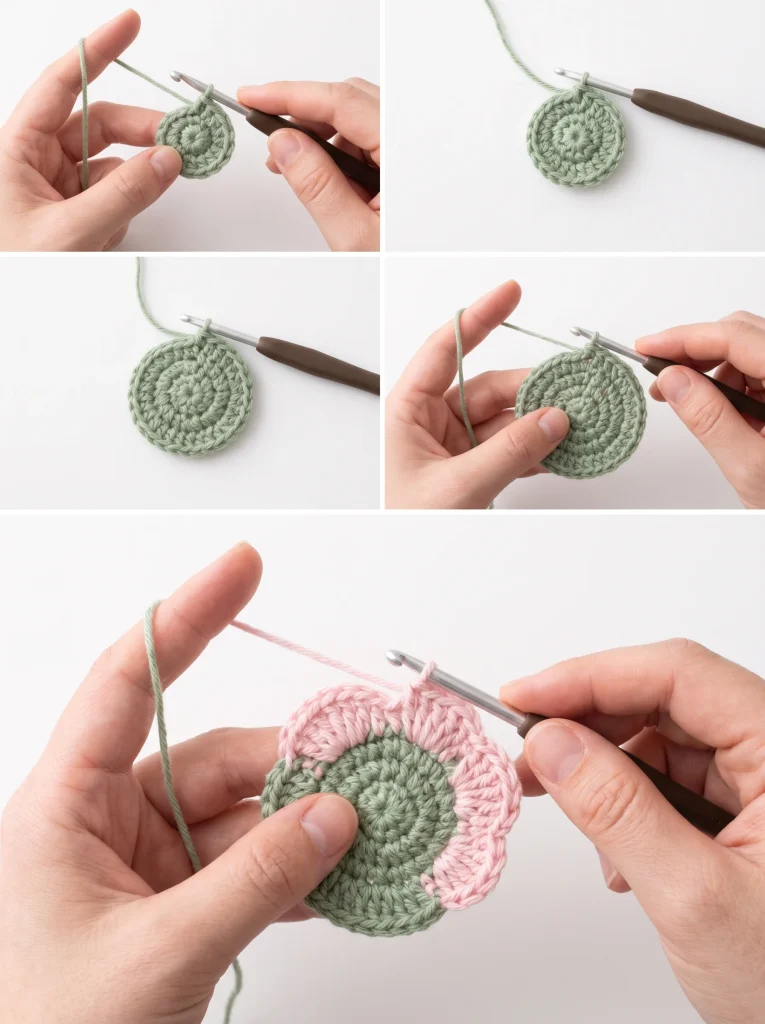
Stage two: joining the flower colour
- Lay the new colour behind the work and pull a loop through any one of the free back loops. Any of the 12 will do, so pick the one that sits at the back of the finished crochet flower.
- Chain 1, then single crochet once into each of the 12 free loops. This round looks tiny and slightly untidy. It is meant to.
- Slip stitch to close, chain 2, and work one double crochet into each stitch. Still 12. Nothing has widened yet.
- Stop and check the join. The flower colour should be sitting on top of the green with no gap between the two, because they share one round of stitches rather than a seam.
Stage three: the three rounds that build the ruffle
- Round three: 3 double crochets into every stitch, giving 36. The fabric is still obedient at this point and lies more or less flat.
- Round four: 3 double crochets into every one of those 36, giving 108. Halfway through this round the edge starts to wave. Do not try to flatten it.
- Round five: 3 double crochets into every one of the 108, giving 324. The crochet flower folds itself into petals while you work, and the piece becomes hard to hold flat at all.
- Fasten off and let go of it. The crochet flower opens into its own shape without blocking, pinning or steaming.
Nothing is shaped by hand in this stage. Every fold you can see in the photographs was put there by the stitch count alone.

Stage four: the wire stem
- Work the small green sepal star separately, a flat disc finished with five or six points, and sew it flat to the underside of the bloom so it covers the join. From the side this is the piece that reads as sepals.
- Cut a length of 18 gauge floral wire and bend the top 2 cm over into a narrow hook, pressing it almost closed.
- Push the straight end down through the middle of the green cup and out through the centre of the sepal star, until the hook pulls up tight against the base of the crochet flower.
- Twist the wire against itself just below the calyx. This is what stops the head spinning on the stem later.
- Start the florist tape at the very top, at a shallow angle, and stretch it firmly as you wind down. The tape is not sticky in the roll and only becomes sticky when it is pulled.
- Wind all the way to the bottom, overlapping by about half the tape width, then pinch and tear. The finished stem should hold the crochet flower upright with no nod forward.
Frequently asked questions
How many stitches are in this crochet flower pattern?
492 in the crochet flower head, across five rounds of 12, 12, 36, 108 and 324. The green calyx adds another 66 on top of that. Round five alone is 65.9 per cent of the head.
Is this crochet flower suitable for a beginner?
Yes, as long as you can work a magic ring and a double crochet. There is no shaping to judge and no sewing. The only demand it makes is patience on the last round.
What yarn is best for a crochet flower with a stem?
Mercerised cotton in DK or worsted, worked one or two hook sizes below the Craft Yarn Council recommendation. Cotton has almost no stretch, so the petals keep the fold and the calyx stays cupped.
How do you make a crochet flower stand up straight?
Use 18 gauge floral wire at 1.0 mm, hook the top of it over before pushing it into the calyx, twist the tail against itself, then wrap the stem in stretched florist tape.
Can I make this crochet flower without wire?
Yes, but only as a brooch, a bag charm or an applique. Without a wire core the head is too heavy for a crocheted cord to hold upright, so it will hang rather than stand.
Why does the crochet flower ruffle by itself?
Because tripling the stitch count on every round forces far more fabric onto the same circumference than a flat circle can hold. The surface takes on negative curvature and folds, which is the same principle behind hyperbolic crochet.
Sources
- Craft Yarn Council, Standard Yarn Weight System. Hook sizes of 5.5 to 6.5 mm for medium weight yarn and 4.5 to 5.5 mm for light DK.
- American Mathematical Society, Mathematical Imagery: Daina Taimina. Crocheted hyperbolic planes made by increasing at a constant ratio, from 1997.
- How to Crochet Hyperbolic Corals. The 12 to 13 teaching ratio and the faster ratios that ruffle more quickly.
- Southern Charm Wreaths, Florist Wire Gauge Explained. 18 gauge at 1.0 mm, 22 gauge at 0.6 mm, and what each is used for.
Opening photographs from Pexels, free for commercial use. Step by step photographs are our own.