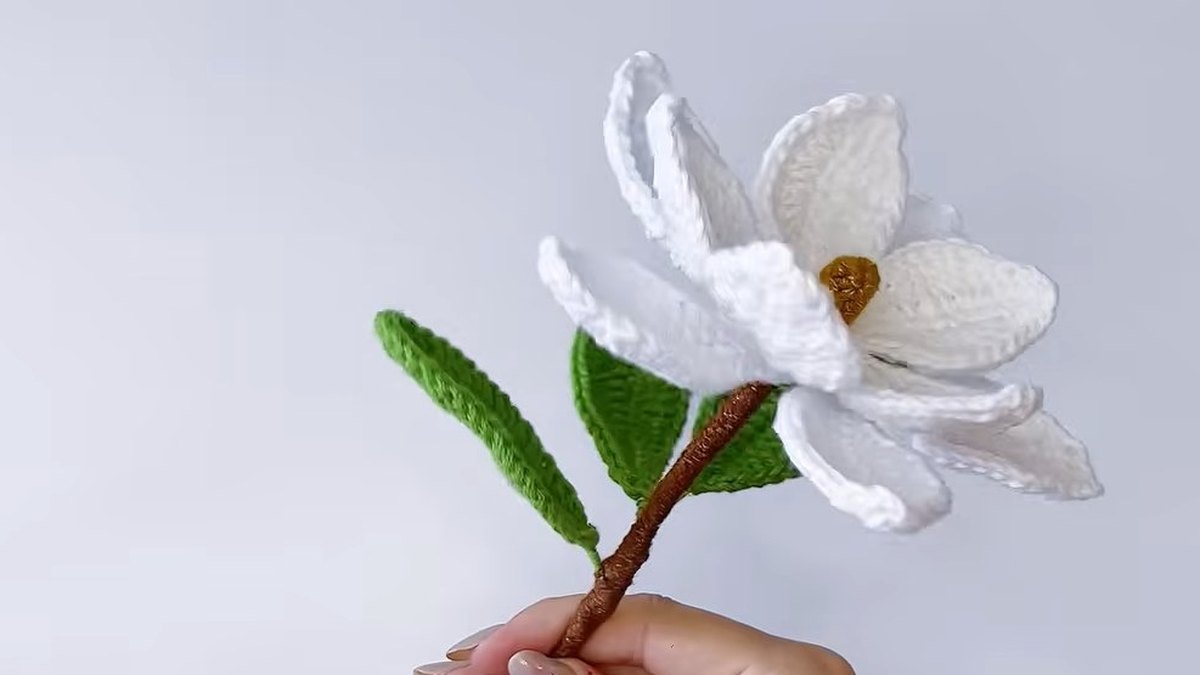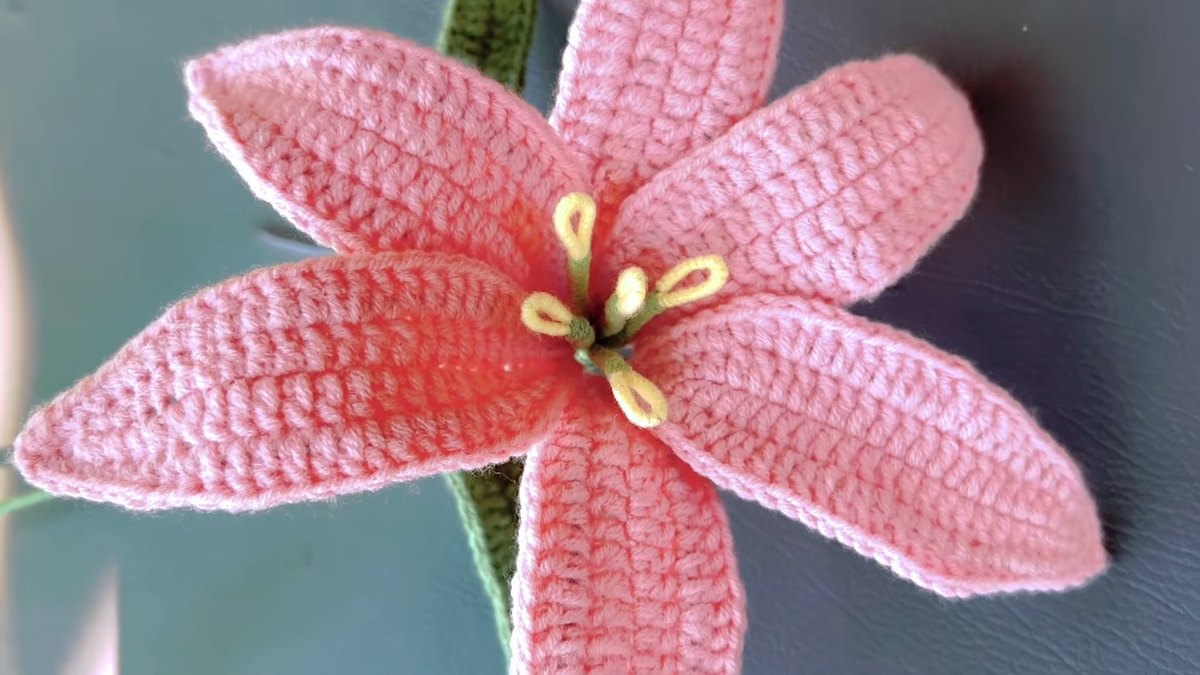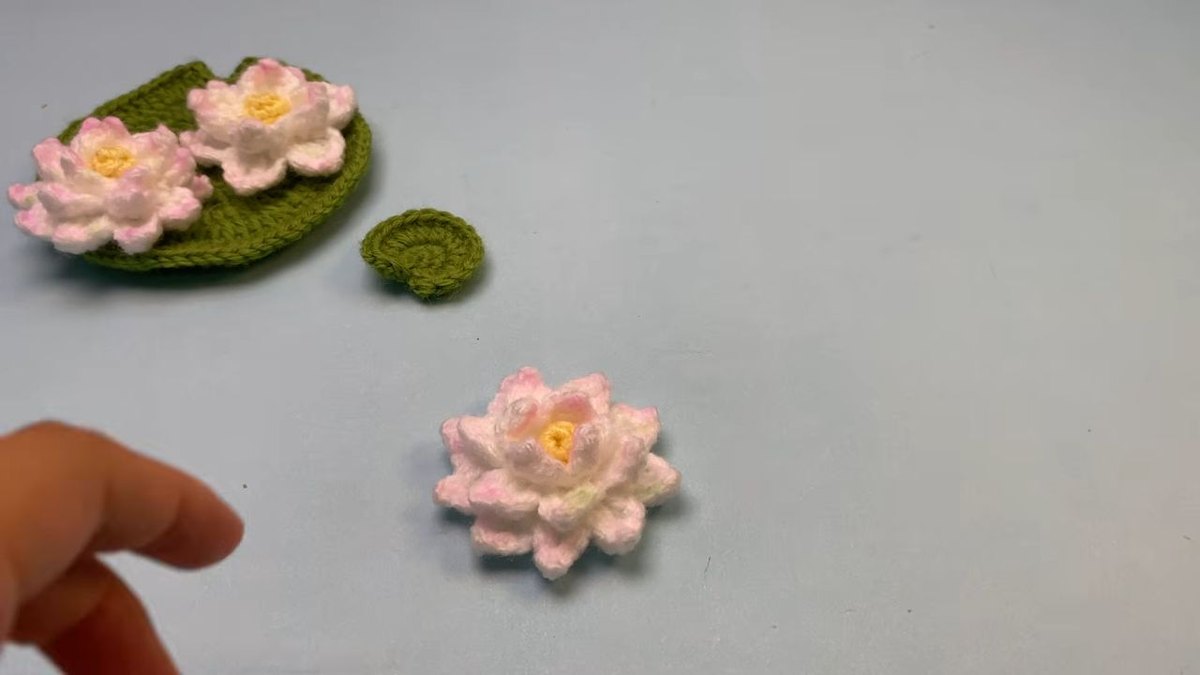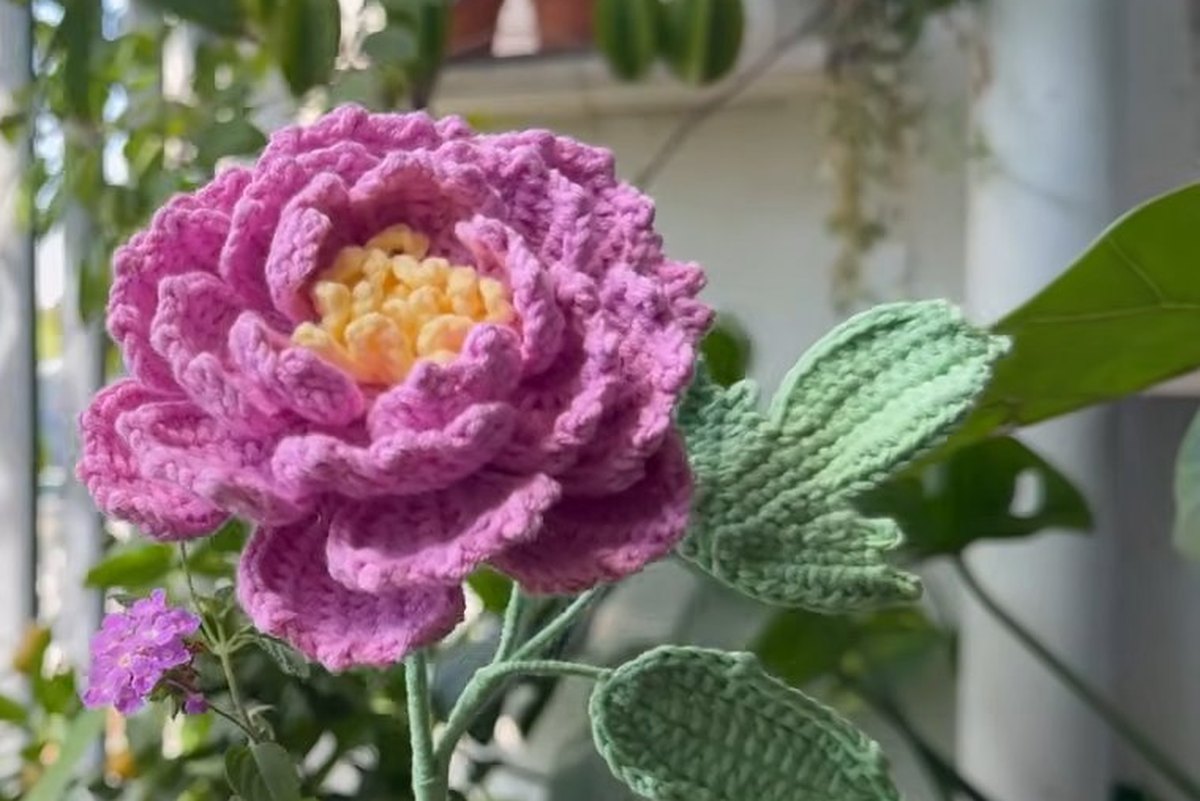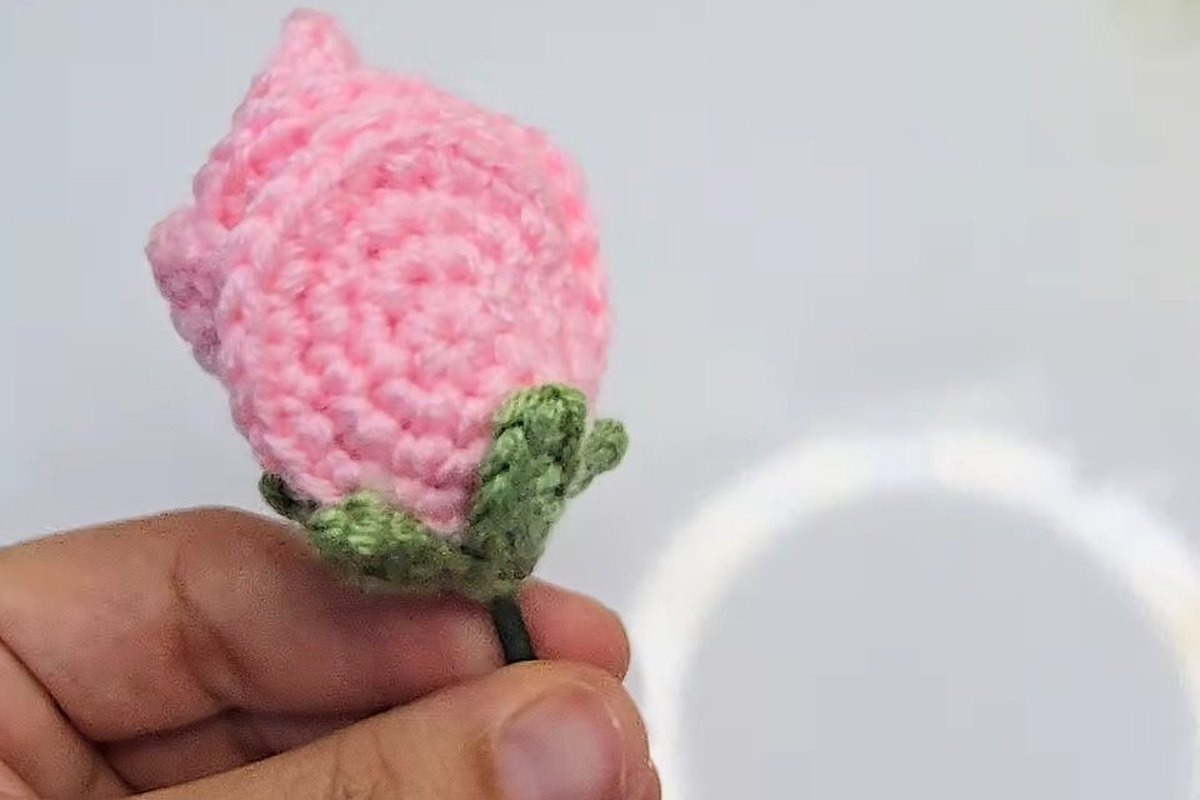
A crochet rosebud like the pink one on this page starts as six flat circles, not as a long strip of petals. Each circle is only four rounds of single crochet. Glued one around the next on a taped stem, they close into a tight, rounded bud, and a small green star finishes it from below. The crochet is easy. The part that decides how it looks is the order of the glue and the angle of each circle, and this page walks through both one photo at a time.
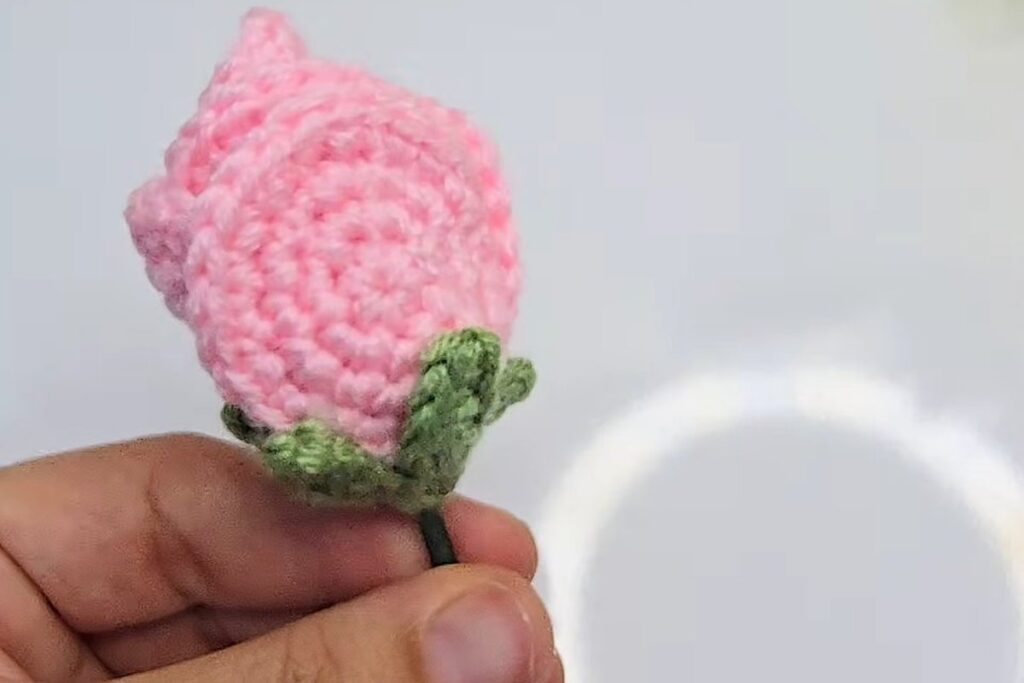
This is a free crochet rosebud pattern written out from a video tutorial. The video has no speech, only music and short labels on screen, so every stitch count below is read from those labels and marked as stated. Where a number is our own arithmetic, it is marked as derived. Where the video shows a move without a label, this page says so instead of guessing. Every step has its own photo from the tutorial.
Key numbers. Circle round 1: 6 sc into a magic ring (stated) · round 2: 2 sc in every stitch, 12 stitches (derived) · round 3: 2 sc, 1 sc, 18 stitches (derived) · round 4: 2 sc, 1 sc, 1 sc, 24 stitches (derived) · 6 circles (stated, “6 pieces”) · calyx points: ch 5, then sc, sc, hdc (stated), 5 points (counted from the video).
On this page
- What you need for this crochet rosebud
- Stitches used
- The crochet rosebud pattern at a glance
- How to make a crochet rosebud, step by step
- Where this crochet rosebud goes wrong
- Hook size and yarn for a crochet rosebud
- Five more free rosebud patterns
- FAQ
- Where to go next
- Sources
What you need for this crochet rosebud
Two items on the list are not yarn: a hot glue gun and a thin bamboo skewer. Have both ready before you start the stem, because the circles go straight onto it.
| Item | What the tutorial uses | Note |
|---|---|---|
| Pink yarn | A smooth pink yarn | Colour only is shown. Weight and brand are not given |
| Green yarn | A fine green yarn | Used for the calyx only |
| Hook | A gold crochet hook | The size is not printed on screen |
| Stem | One thin bamboo skewer | Wrapped in green tape before the bud goes on |
| Stem wrap | Dark green tape | Looks like florist’s stem tape; the video does not name it |
| Glue | Hot glue gun | Holds every circle and the calyx |
| Tools | Yarn needle, scissors | The needle weaves in the circle tails |
| Finished size | Not stated | It depends on your yarn and hook |
The video never names a yarn weight, a yardage or a gauge, so this page gives none. The hook section below explains how to choose one.
Stitches used
Crochet has two naming conventions for the same stitches. This crochet rosebud uses the names printed in the video. If you learned the other convention, shift each name up by one step.
| Name used here | Abbreviation | Other convention | Where it appears |
|---|---|---|---|
| Magic ring | MR | Magic ring | Centre of every circle and of the calyx |
| Chain | ch | Chain | The five calyx points |
| Single crochet | sc | Double crochet (dc) | All four circle rounds, calyx points |
| Half double crochet | hdc | Half treble (htr) | The base of each calyx point |
“Sc 2” in the video means two single crochet into the same stitch, which is an increase. “Sc 1” means one single crochet into the next stitch. Each circle grows by 6 stitches a round, so the stitch multiple is 6.
The crochet rosebud pattern at a glance
This chart lists every label that appears on screen, in order. The right-hand column says what is stated and what is our reading of it.
| Part | Label on screen | Stated or derived |
|---|---|---|
| Circle, start | magic ring | Stated |
| Circle, round 1 | 6 sc | Stated: 6 stitches |
| Circle, round 2 | Sc x 2 | Stated. 2 sc in each stitch: 6 x 2 = 12 (derived) |
| Circle, round 3 | Sc 2, Sc 1 | Stated. Repeated 6 times: 6 x 3 = 18 (derived) |
| Circle, round 4 | Sc 2, Sc 1, Sc 1 | Stated. Repeated 6 times: 6 x 4 = 24 (derived) |
| Circles needed | 6 pieces | Stated |
| Calyx, start | magic ring | Stated, in green |
| Calyx, each point | Ch 5, Sc, Sc, Hdc, then Sc | Stated. The last Sc goes into the ring |
| Calyx points | No label | 5, counted on the finished calyx (derived) |
| Assembly | No labels | Shown: tape the skewer, glue and wrap six circles, glue the calyx |
The round counts check out: each round adds exactly 6 stitches (6, 12, 18, 24), which is what a flat circle needs to stay flat.
How to make a crochet rosebud, step by step
The steps run in the same order as the video: the six pink circles first, then the green calyx, then the stem and the assembly.
Step 1: Make a pink magic ring
Wrap the pink yarn round your finger to make a magic ring for the first crochet rosebud circle. Insert the hook, pull up a loop and chain 1 to lock it.

Step 2: Round 1, 6 single crochet
Work 6 single crochet into the ring, then pull the tail to close the centre. The label reads “6 sc”. Join the round with a slip stitch or keep working in a spiral; the video does not label the join, and both give the same flat circle.
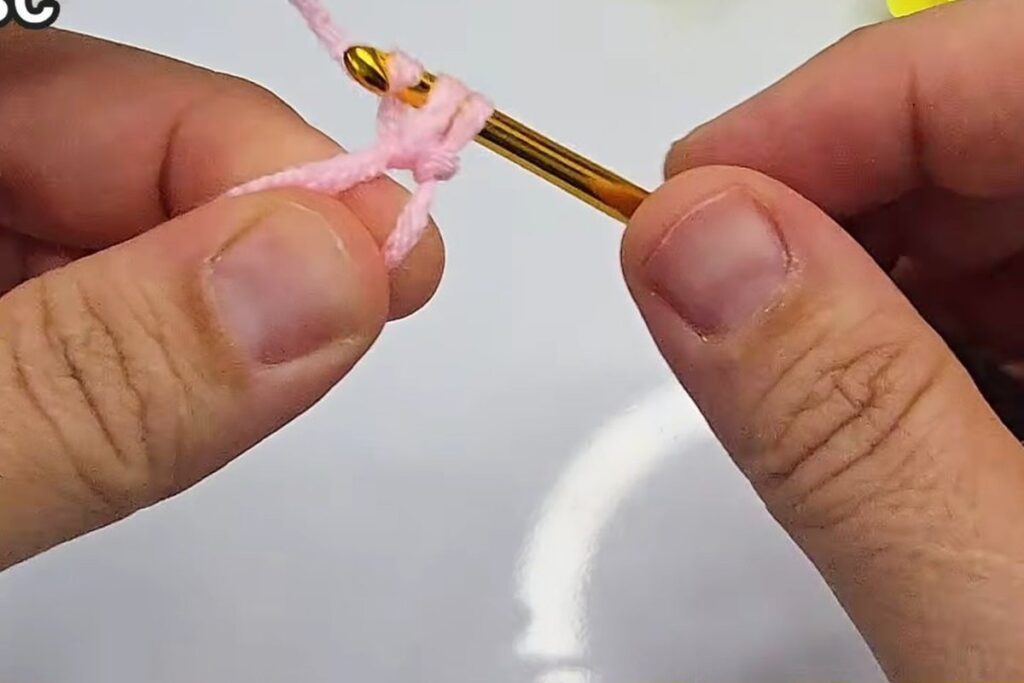
Step 3: Round 2, two stitches in every stitch
Work 2 single crochet into each stitch all the way round. The label is “Sc x 2”. Six stitches, each doubled, gives 12.
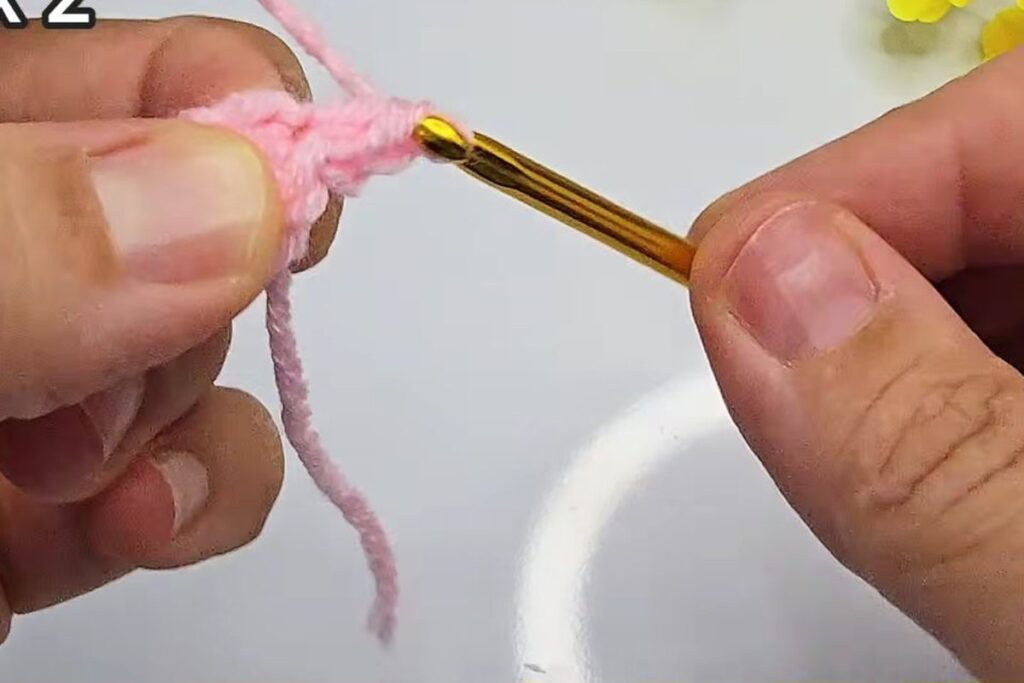
Step 4: Round 3, increase in every second stitch
Work 2 sc in the next stitch, then 1 sc in the stitch after it. The labels read “Sc 2” and “Sc 1”. Repeat that pair round the circle 6 times for 18 stitches.
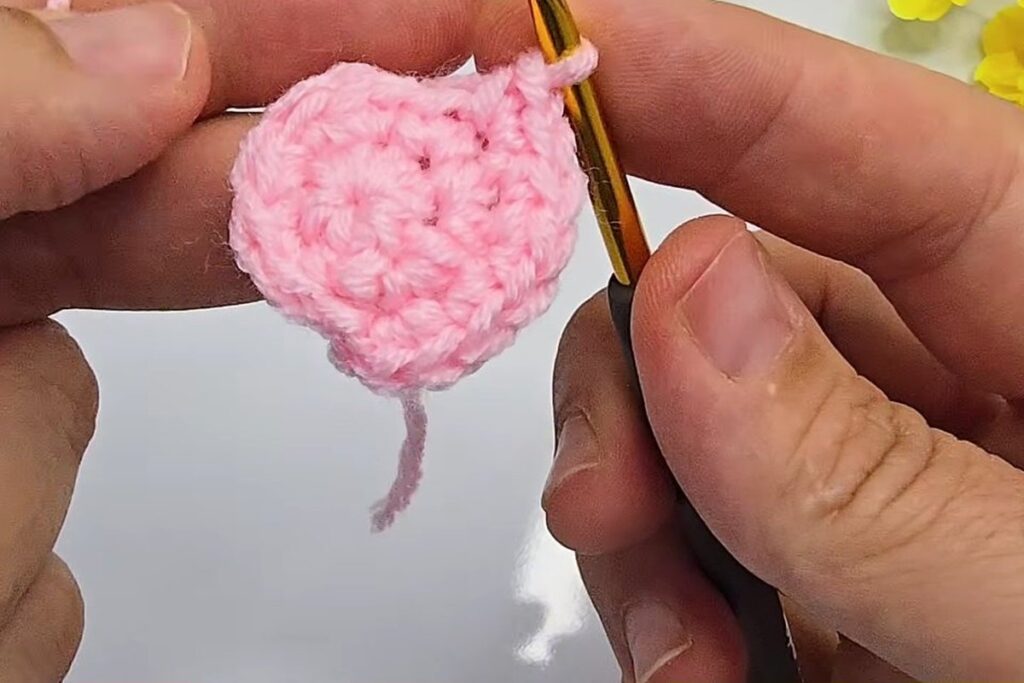
Step 5: Round 4, increase in every third stitch
Work 2 sc in the next stitch, then 1 sc in each of the next two. The labels read “Sc 2”, “Sc 1”, “Sc 1”. Six repeats bring the circle to 24 stitches. Join, fasten off and weave in the tail with the yarn needle.
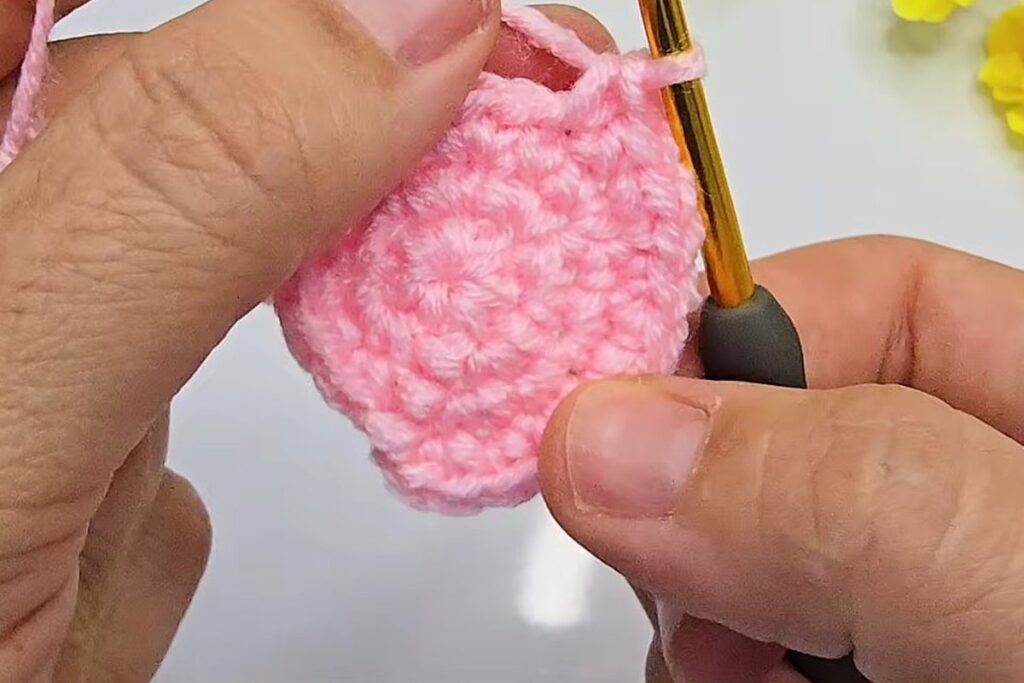

Step 6: Make six circles
Repeat steps 1 to 5 until you have six circles. The on-screen label reads “6 pieces”. Keep them the same size, since a circle that is tighter or looser than the rest will stand out once the crochet rosebud is layered.

Step 7: Start the calyx with a green magic ring
Switch to the green yarn and make another magic ring. This becomes the centre of the calyx, the green star that sits under the bud.

Step 8: Chain 5 for the first point
Chain 5 from the ring. The label reads “Ch 5”. This chain is the spine of the first point.

Step 9: Work back down the chain
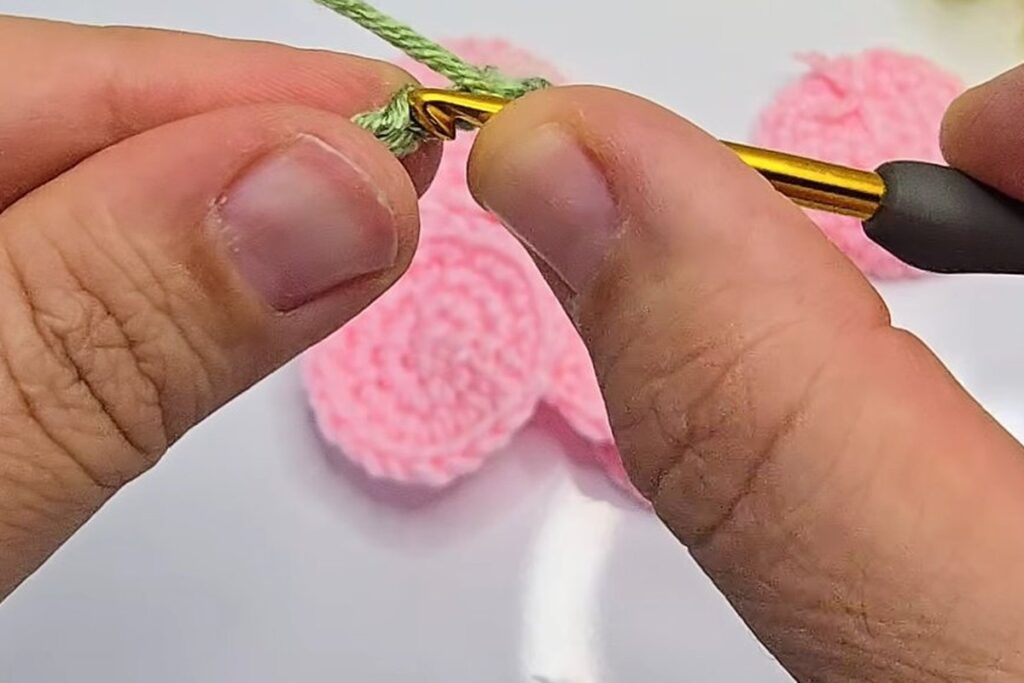
Working back toward the ring, make a single crochet, another single crochet, then a half double crochet into the chains. The labels read “Sc”, “Sc”, “Hdc”. The taller stitch sits nearest the ring, which makes the point wide at the base and narrow at the tip.
Step 10: Anchor the point and repeat to five points
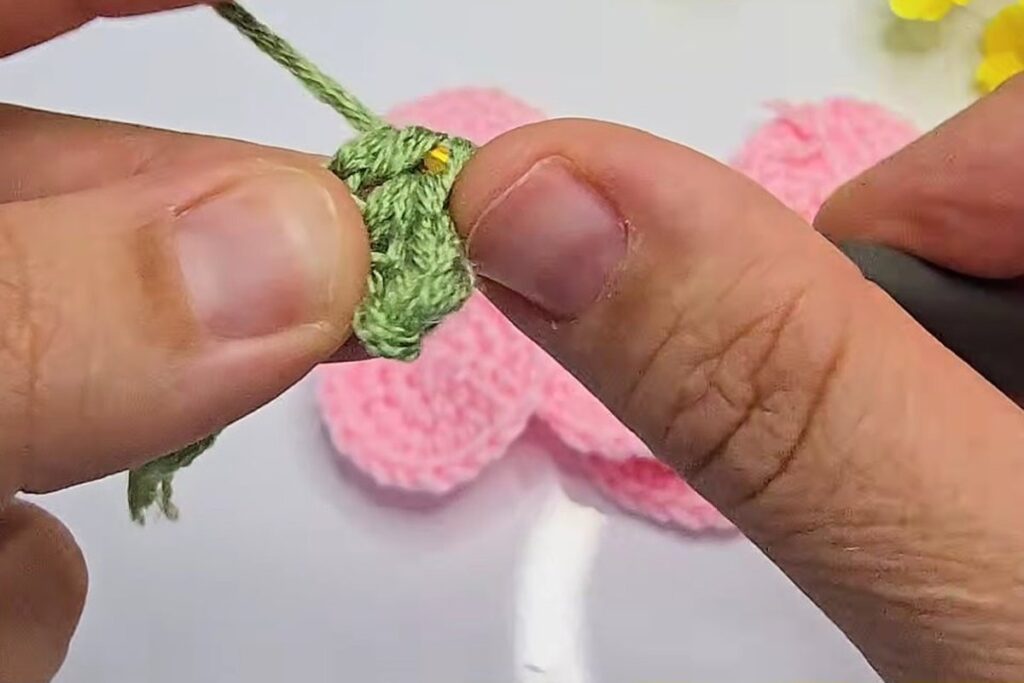
Work a single crochet into the magic ring to anchor the point. The label reads “Sc”. Then chain 5 again and repeat the point. The finished calyx in the video has 5 points. Pull the ring closed, but leave a hole just wide enough for the skewer, then fasten off.

Step 11: Tape the skewer
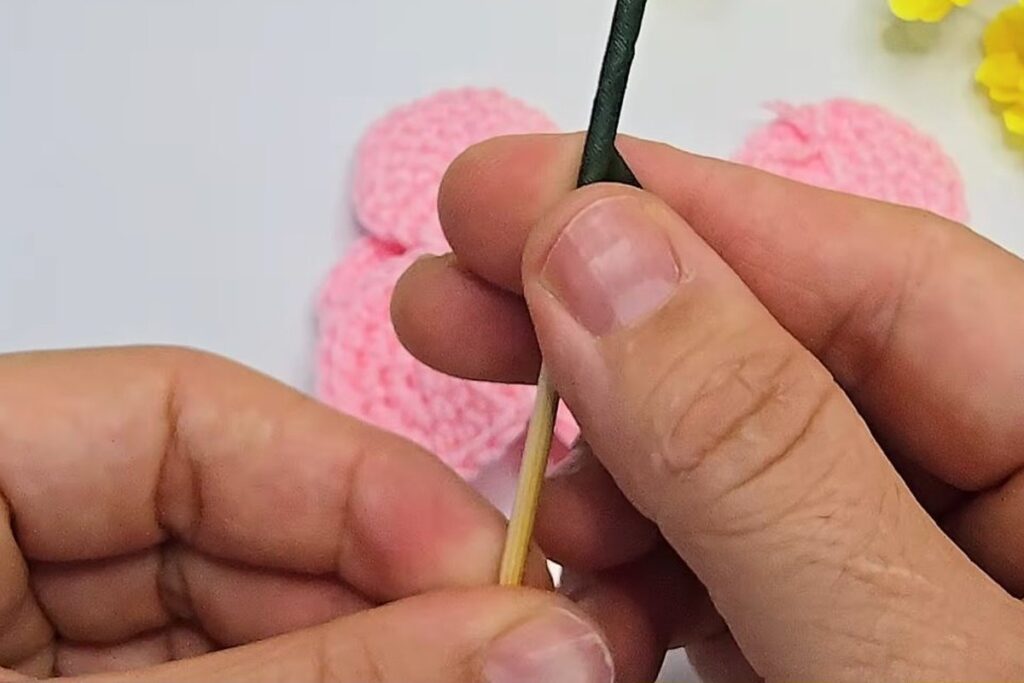
Take a thin bamboo skewer. Stretch the green tape and wind it at a slant from the top down, overlapping each turn, so no wood shows. The video starts at the tip, which will sit inside the bud.

Step 12: Glue the first circle and roll it round the tip
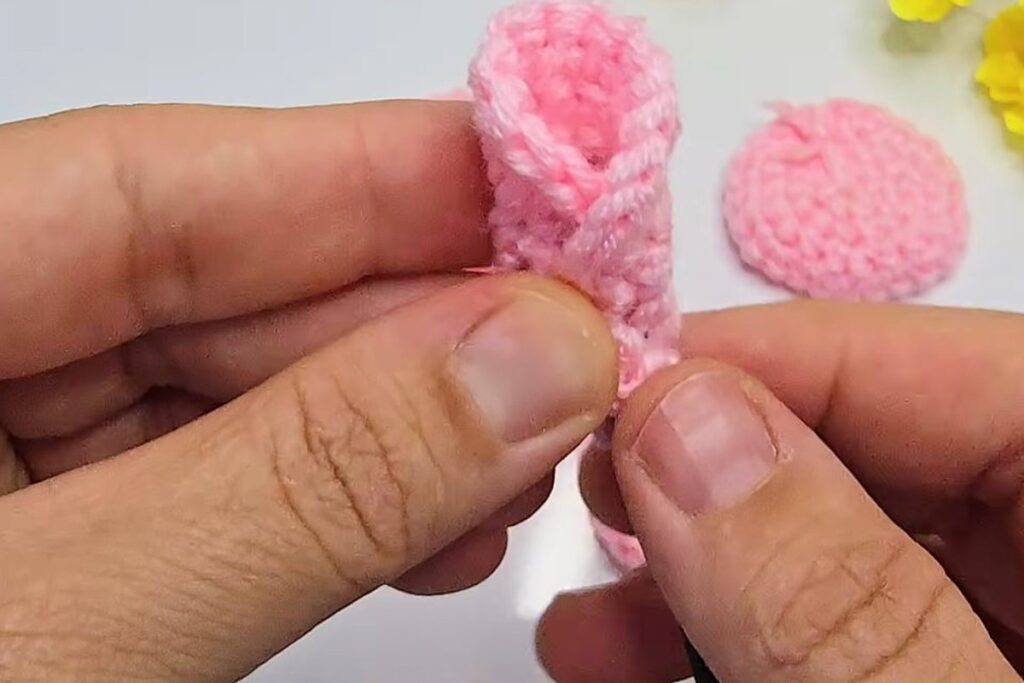
Put a line of hot glue on the first circle, set the tip of the stem on it, and roll the circle tightly round the stem. This first roll is the closed centre of the crochet rosebud, so keep it narrow and firm.

Step 13: Add the second circle
Glue the second circle and wrap it round the first, so it covers the seam of the first roll. Keep its top edge level with the centre or a little lower. Hold each circle for a few seconds while the glue sets.

Step 14: Layer circles three to five
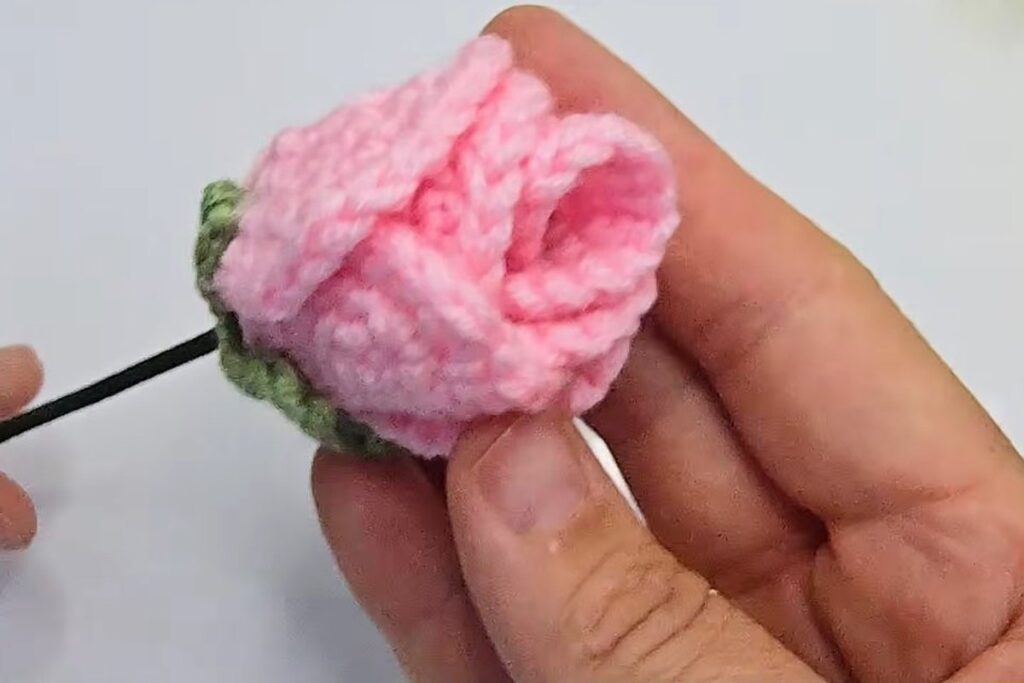
Glue each remaining circle the same way, turning the bud a little each time so the joins do not line up. Let the top edges of the outer circles curl out slightly. That small flare is what makes the crochet rosebud read as petals and not as a tube.


Step 15: Close the bud with the sixth circle
The last circle wraps round the lower part of the bud and covers the glue underneath. Press it round the base so the bud looks rounded from below.


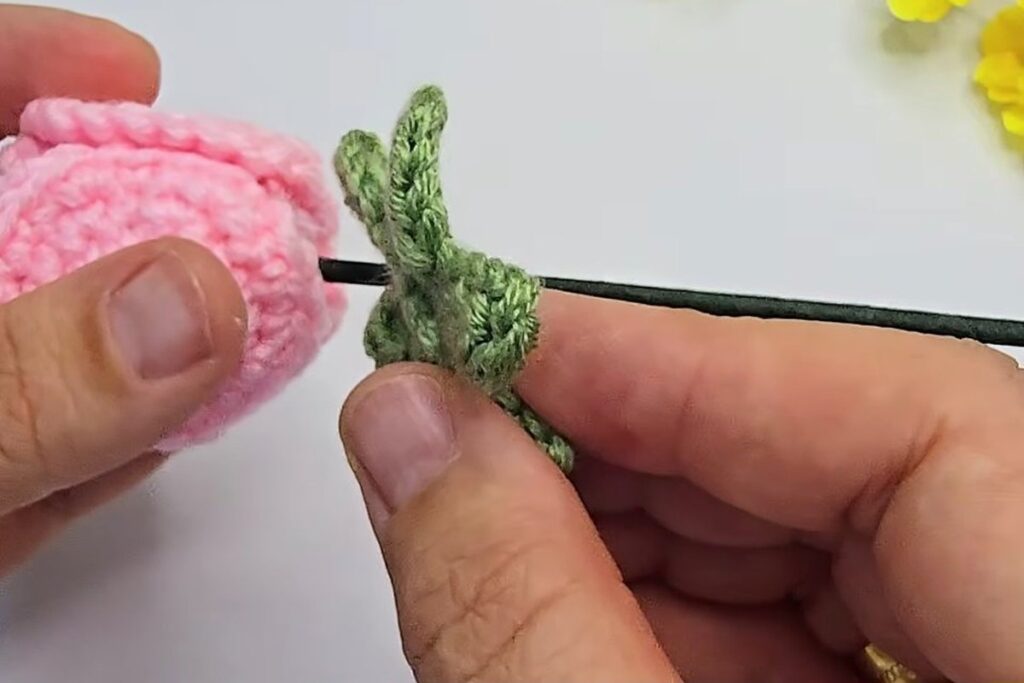
Step 16: Slide the calyx up the stem and glue it
Thread the green calyx onto the stem from the bottom, points facing up, and slide it up under the bud. Add glue between the calyx and the base of the bud and press the points up against the pink. Your crochet rosebud is finished.

Where this crochet rosebud goes wrong
Three things spoil a crochet rosebud, and each is easy to fix.
- The bud looks like a tube. Every circle was set at the same height. Let the outer circles sit a little lower and flare at the top.
- The circles are different sizes. Tension changed between them. Crochet all six in one sitting, and compare each new circle against the first.
- The calyx slides down the stem. Its centre hole is too big or it has no glue. Pull the magic ring tighter and glue it under the bud, as in step 16.
A safety note: the skewer has a sharp point and hot glue burns. A crochet rosebud on a stem is a decoration, not a toy for small children.
Hook size and yarn for a crochet rosebud
The video does not print its hook size or yarn weight. According to the Craft Yarn Council’s weight system, super fine yarn (category 1) takes a 2.25 to 3.5 mm crochet hook, fine yarn (category 2) takes 3.5 to 4.5 mm, and light yarn (category 3) takes 4.5 to 5.5 mm. For a small, firm crochet rosebud, pick the smaller end of the range your yarn suggests, so the single crochet stays tight and the circles hold their shape once glued.
That is only guidance. A thicker yarn gives a bigger bud with the same four rounds. Keep all six circles in the same yarn so they layer evenly. Because no yardage is stated, this page gives none: six small circles use very little yarn.
Five more free rosebud patterns
These five free patterns come from designers’ own sites. Each one builds a rosebud a different way from this crochet rosebud, which uses circles. The details are as each page states them.
- Rosebud Crochet Applique or Bookmark Pattern by Kerri’s Crochet: petals, a sepal, a stem and leaves in fine cotton, 1.25 mm hook.
- Basic Rose by PlanetJune: a rolled rose in worsted weight with a 4 mm hook, with an optional star-shaped calyx and wire stem.
- Crochet Rosebud and Leaf Pattern by Petals to Picots: a large and a small rosebud plus a leaf, worsted weight, 5 mm hook.
- Make a Rose Bud by Little Treasures: a rolled bud with a picot edge in sport weight yarn, 1.9 mm hook.
- Crochet Rose Bud Tutorial by Sweet Creek Patterns: a single row of petals wrapped into a bud, chenille yarn, 4.5 mm hook.
FAQ
How do you make a crochet rosebud?
Crochet six flat circles of four rounds each, wrap a skewer in green tape, and glue the circles one around the next on the tip of the stem. Finish with a small green five-point calyx glued under the bud.
How many stitches are in each circle?
Round 1 has 6, round 2 has 12, round 3 has 18 and round 4 has 24. Each round adds 6 stitches, so the circle stays flat.
How many circles do I need for one crochet rosebud?
The video labels “6 pieces”. Fewer circles give a slimmer bud; more give a fuller one, closer to an opening rose.
What holds the crochet rosebud together?
Hot glue. It holds each circle to the one before, the first circle to the stem, and the calyx under the bud.
Can I make a crochet rosebud without a glue gun?
The video uses hot glue throughout. Without it, you would need to sew each circle through the layers below it, which the video does not show.
Is a crochet rosebud on a stem safe for children?
It is a decoration. The skewer has a sharp point and the glue gun gets hot, so keep it away from small children.
Where to go next
For a full, open rose instead of a closed bud, the crochet rose pattern on this site rolls a single petal strip. For a flower with a different shape, try the crochet flower pattern or the crochet sunflower pattern, and browse more ideas in crochet flowers free pattern.
Sources
- Craft Yarn Council, Standard Yarn Weight System: crochet hook ranges for yarn weights 1 to 3.
- Each of the five patterns above, on its designer’s own site.
Video credit. This crochet rosebud tutorial is based on the video Amazing! Let’s make a wonderful crocheted flowers! by Magic crochet. The steps are retold in our own words, and the step photos are frames from that video.