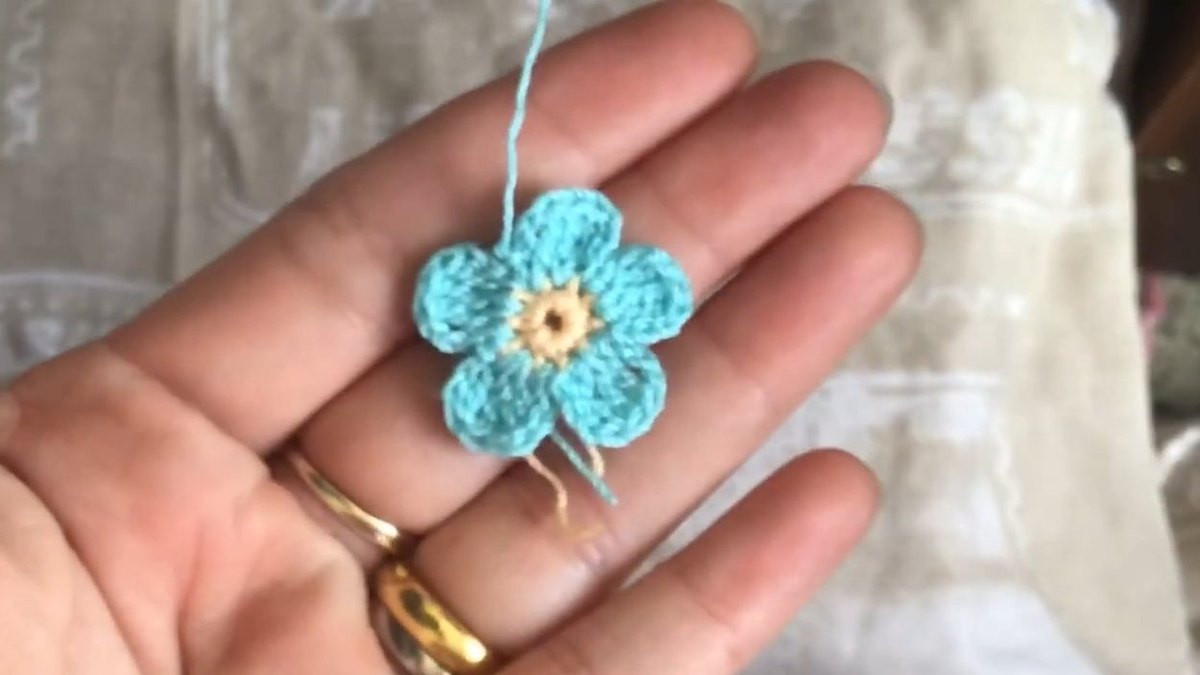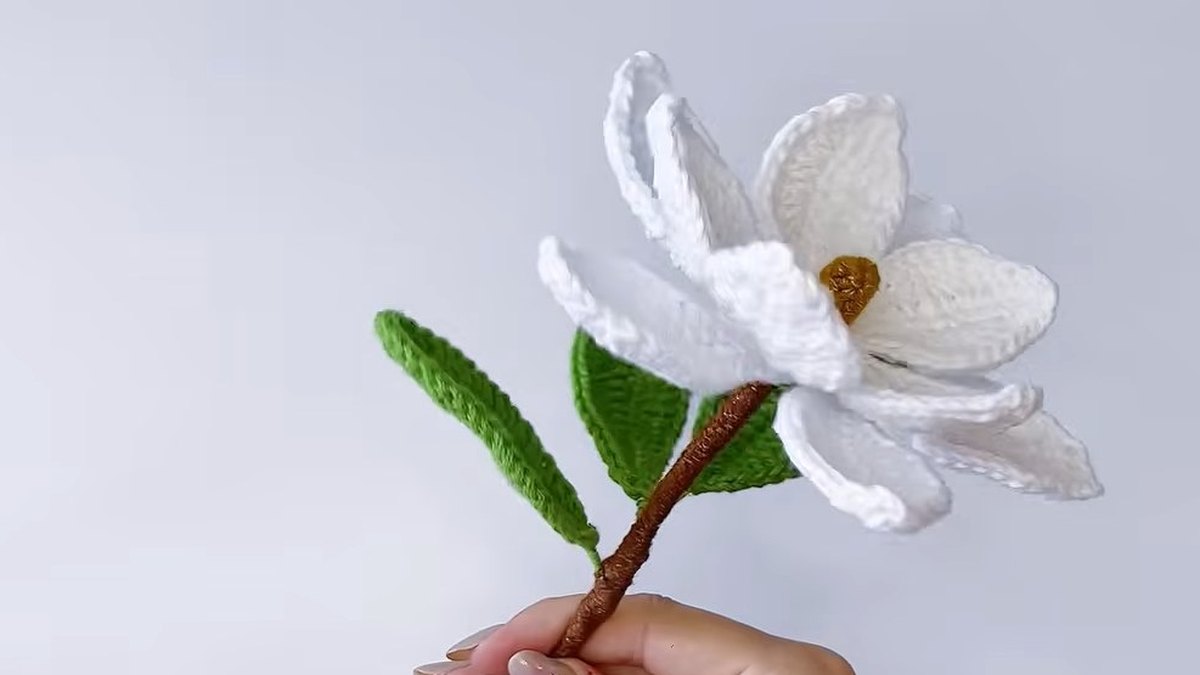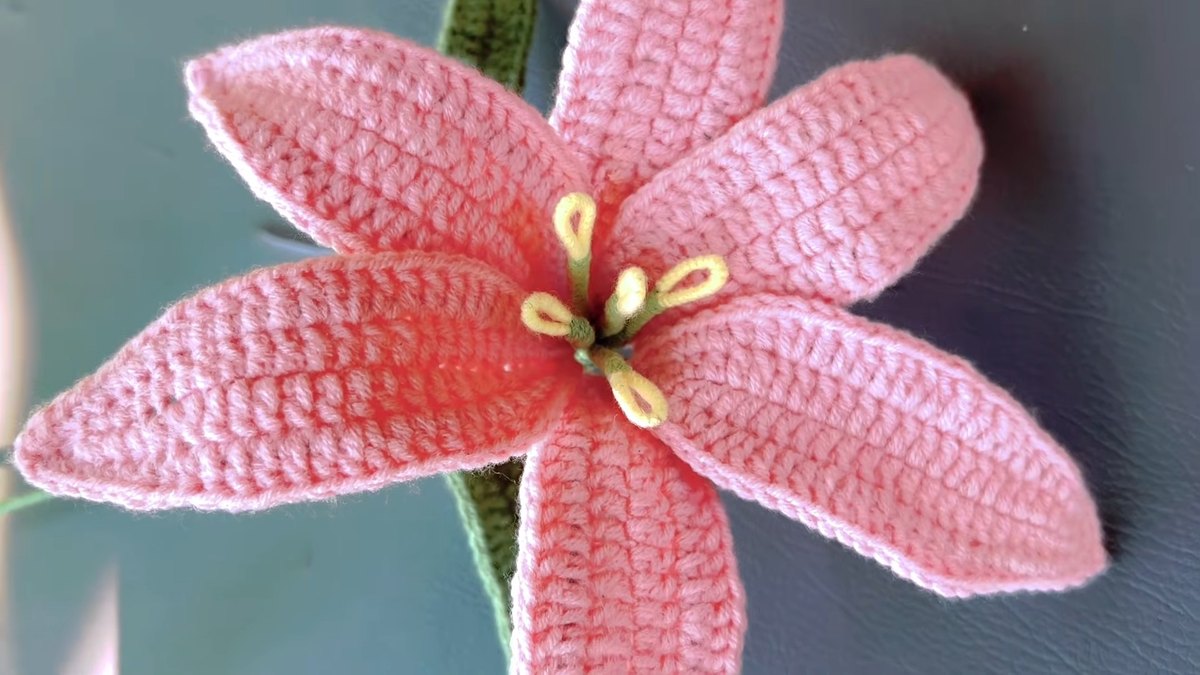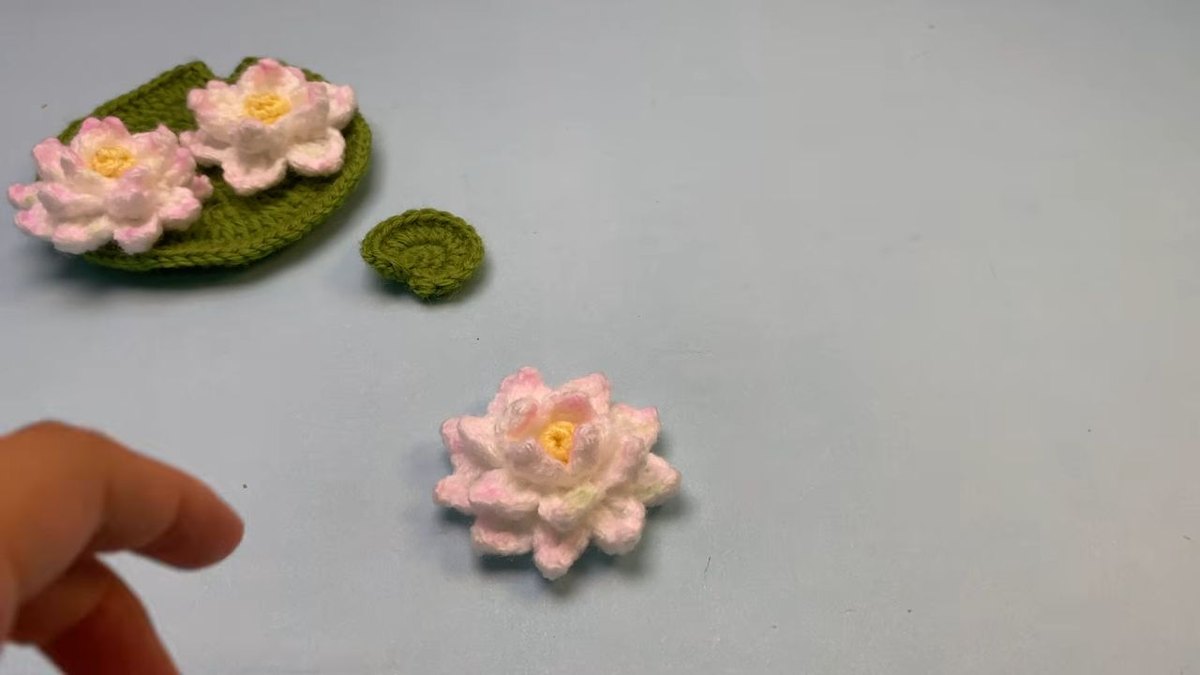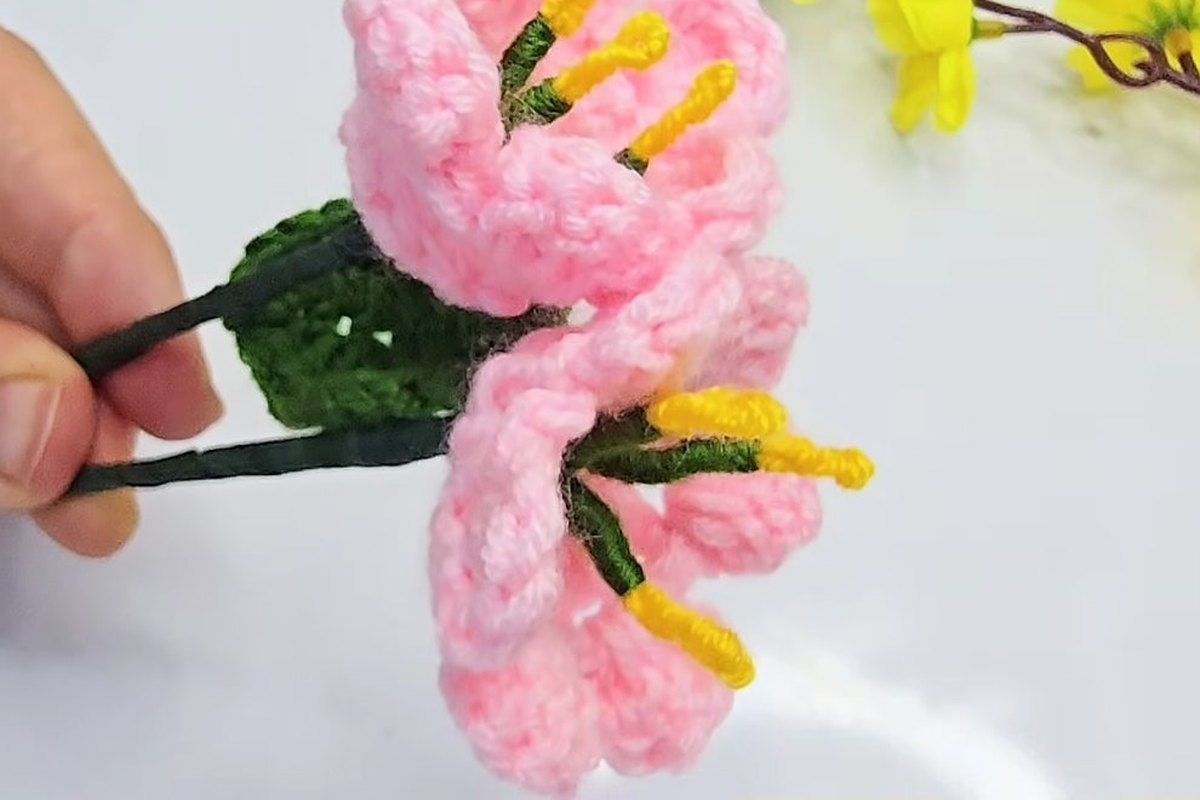

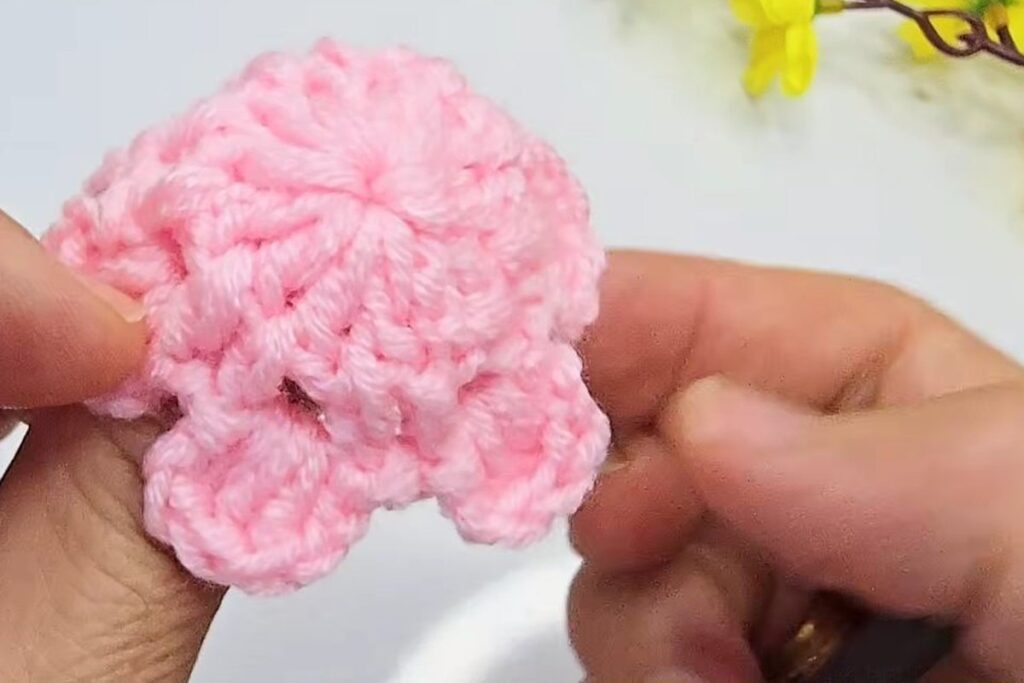
A mini crochet flower bouquet is built from one small pink blossom repeated: a 12-stitch circle, a second round with no increases that curls up into a cup, two tiers of petals, and three wire stamens tipped in yellow. Two blossoms on a taped stem already look like a spring branch, and the whole thing fits in the palm of your hand.
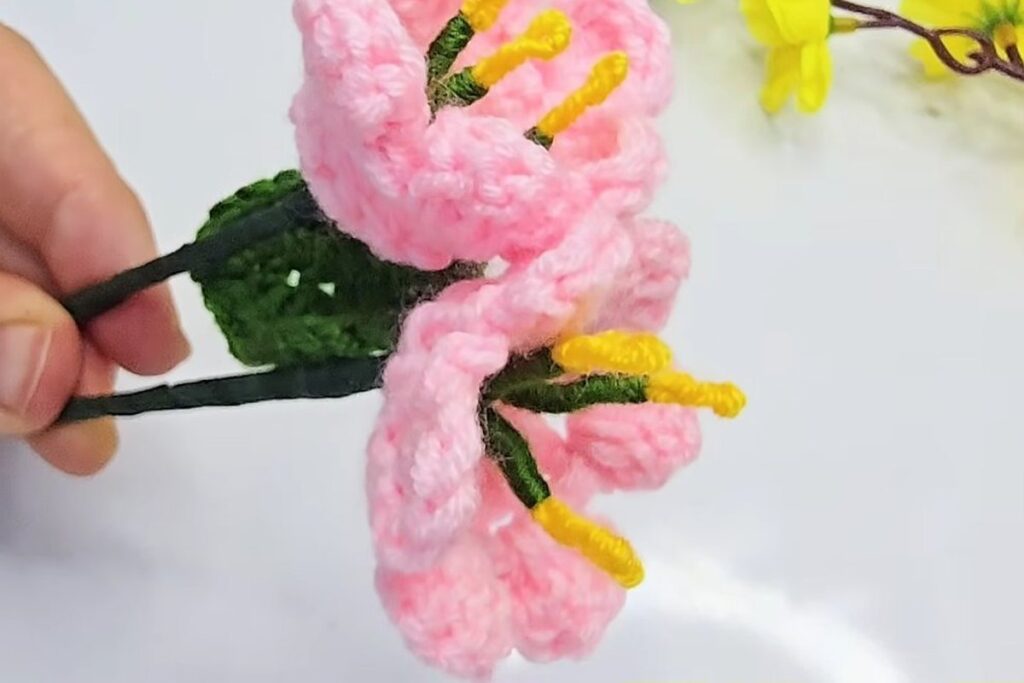
This is a free mini crochet flower bouquet pattern retold step by step from a video tutorial. The stitch counts come from the labels the maker prints on screen, and each of the 20 steps has its own photo taken from that video. Where the video shows something without labelling it, we say so rather than guess.
Key numbers. 3 ch + 11 dc in the first round (stated) · 3 ch + 11 dc again in round 2, no increases (stated) · 12 stitches per round (derived) · 3 dc in each petal (stated) · 6 petals per tier (derived) · 2 petal tiers, so 12 petals per blossom (derived) · 3 stamens per blossom · 20 steps.
On this page
- What you need to make a mini crochet flower bouquet
- Stitches and abbreviations
- The mini crochet flower bouquet at a glance
- How to crochet the blossom cup
- How to crochet the two petal tiers
- How to make the wire stamens
- How to assemble the mini crochet flower bouquet
- Where a mini crochet flower bouquet goes wrong
- More free mini crochet flower bouquet patterns
- Mini crochet flower bouquet FAQ
- Where to go next
What you need to make a mini crochet flower bouquet
The crochet part needs only one colour. The stamens and the stem use a few craft supplies you may already have in a drawer.
| Item | What the tutorial uses | Note |
|---|---|---|
| Petal yarn | Pink yarn | Weight and fibre are not stated in the video |
| Stamen yarn | Yellow yarn | A short length per stamen |
| Thread | Green thread | Wrapped over the stamen wire; it looks like embroidery floss |
| Wire | Thin craft wire | One piece per stamen |
| Stem | A wooden toothpick | Pushed into the base of the blossom |
| Tape | Green stem tape | Wraps the toothpick and the wires into one stem |
| Hook | Not stated | Choose one that suits your yarn |
| Tools | Scissors | For yarn tails and wire |
No finished size, gauge or yardage is given. Each blossom in the video is about the size of a fingertip to a thumb joint, so a mini crochet flower bouquet of several flowers uses very little yarn.
Pick the hook from your yarn label. The Craft Yarn Council suggests 2.25 to 3.5 mm for super fine yarn, 3.5 to 4.5 mm for fine and 4.5 to 5.5 mm for light yarn. Go to the small end of your range: a tight fabric is what lets the cup stand up and the petals hold their shape.
Stitches and abbreviations
Crochet has two naming conventions for the same stitches, and this mini crochet flower bouquet pattern gives both. The main names match the labels in the video. If you learned the other convention, shift each name by one step.
| Name used here | Abbreviation | Other convention | Used in |
|---|---|---|---|
| Magic ring | MR | Magic ring | Start of the blossom |
| Chain | ch | Chain | Round starts, petals |
| Slip stitch | sl st | Slip stitch | Joins, petal bases |
| Double crochet | dc | Treble crochet | Rounds 1 and 2, petals |
The video labels read “Slst” for slip stitch, which is the same stitch. There is no stitch multiple to worry about: every round has 12 stitches, and each petal uses 2 of them.
The mini crochet flower bouquet at a glance
Here is the whole blossom in one table. The labels in the second column are the words printed on screen in the video.
| Part | Video label | What you do | Result |
|---|---|---|---|
| Round 1 | magic ring, 3 ch, 11 dc | 11 dc into the ring after the chain 3 | Flat circle of 12 stitches |
| Round 2 | 3 ch, Dc 11 | 1 dc in each stitch, no increases | The edge rises into a cup |
| Petal tier 1 | Slst, Ch 2, Dc 3, Ch 2, Slst | One petal every 2 stitches around the rim | 6 petals |
| Petal tier 2 | Same repeat, no new label | Worked around the outside, below tier 1 | 6 more petals |
| Stamens | No label | Yellow yarn folded over wire, wrapped in green thread | 3 stamens |
| Stem | No label | Toothpick plus green stem tape | One stem per blossom |
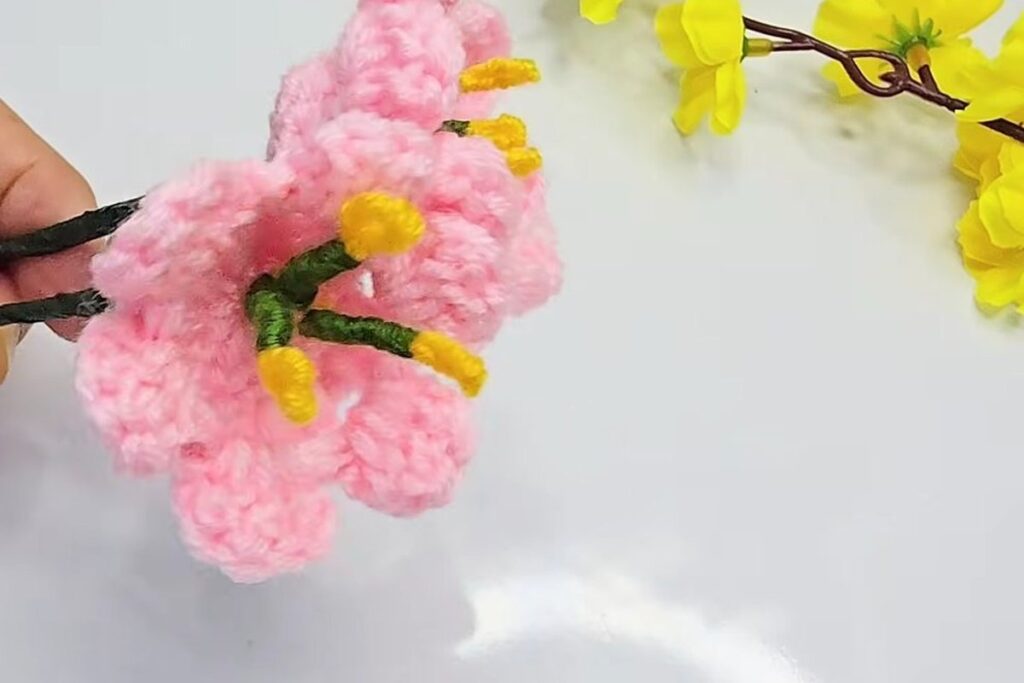
The two tiers are what make this mini crochet flower bouquet look layered rather than flat. The count of 6 petals per tier is our arithmetic (12 stitches, 2 per petal), and it matches the finished blossom in the video.
How to crochet the blossom cup
The cup is two rounds of double crochet. The only trick is round 2: you do not increase, and that is what makes the circle curl upward.
Step 1: Make a magic ring
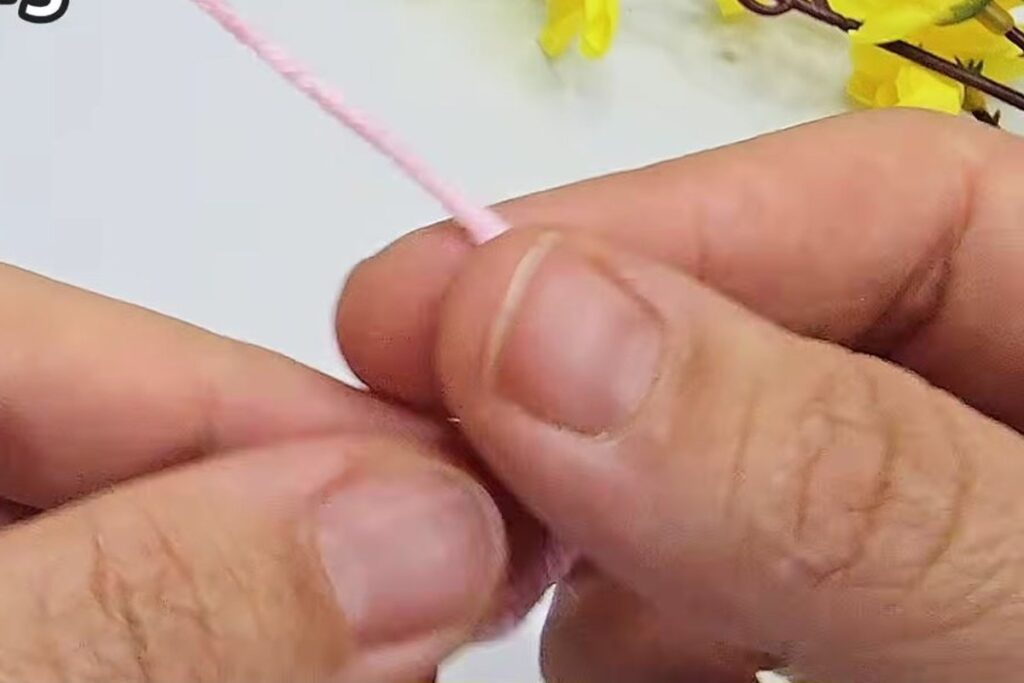
Wrap the pink yarn around two fingers and pull up a loop to make a magic ring. Leave a tail you can pull later to close the centre.
Step 2: Chain 3
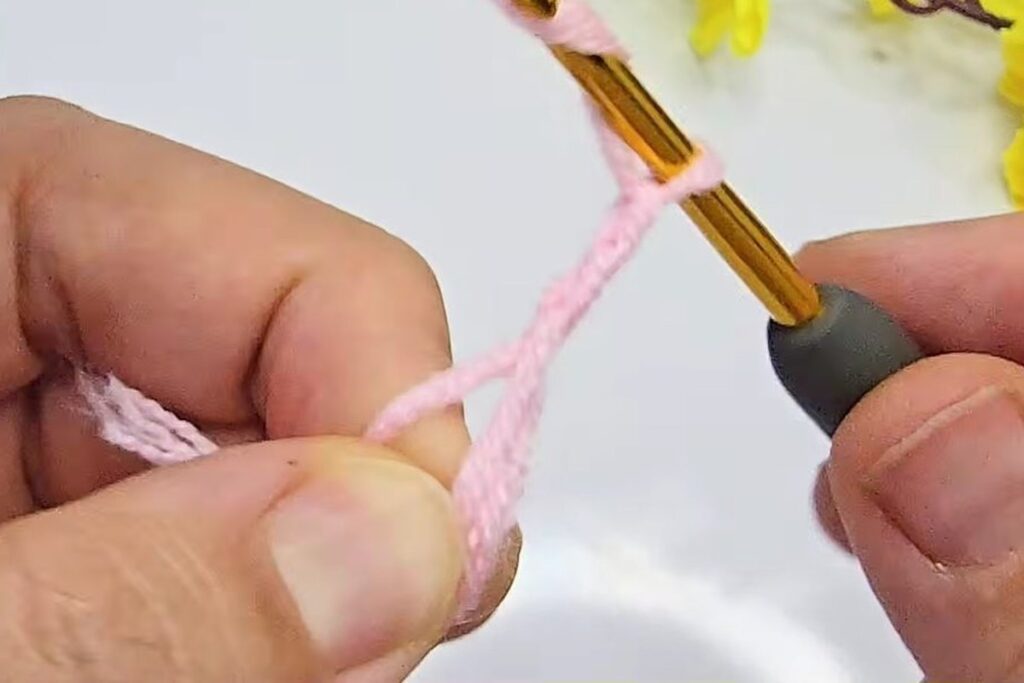
Chain 3. It counts as the first double crochet, which is the usual reading and matches the 12-stitch total you need for round 2.
Step 3: Work 11 dc into the ring
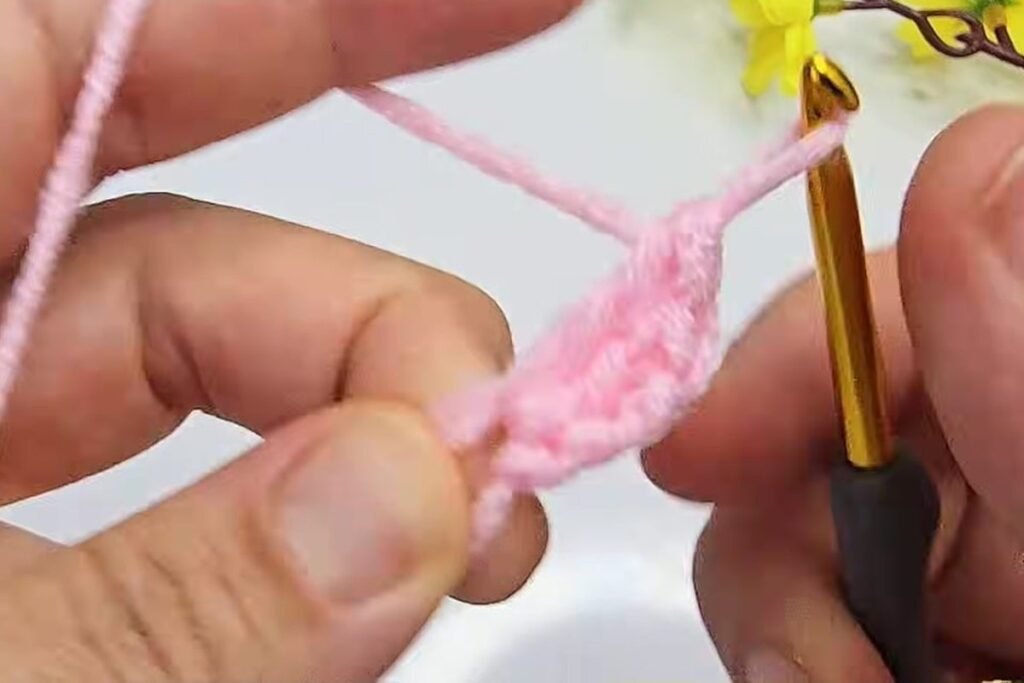
Work 11 dc into the ring, keeping the stitches snug against each other. With the chain 3 you now have 12 stitches.
Step 4: Close the ring and join
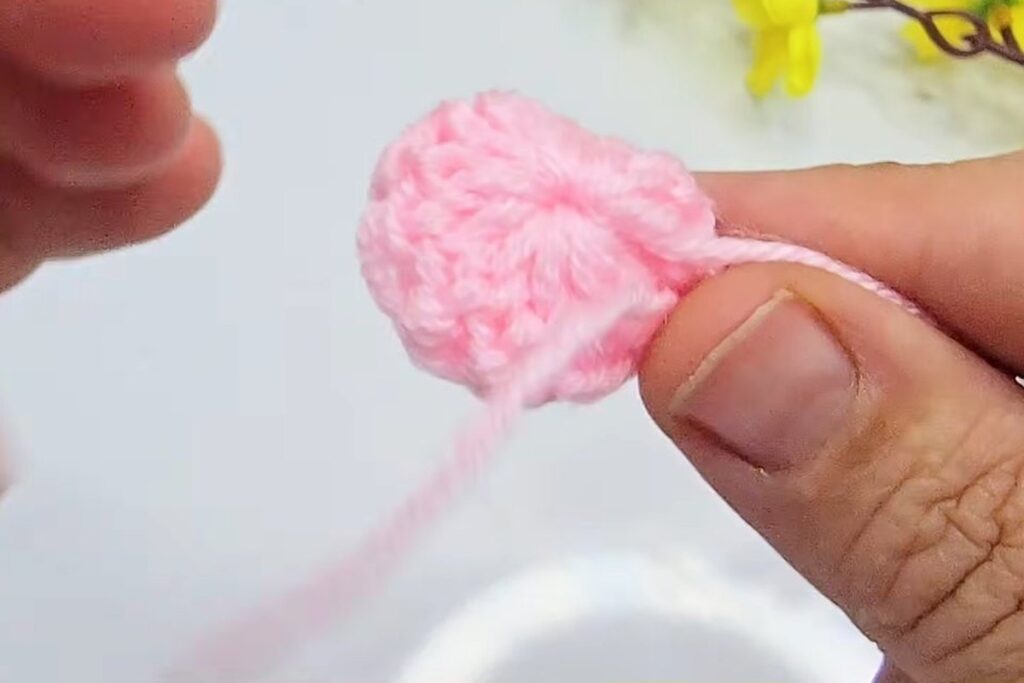
Pull the starting tail until the hole disappears, then join with a sl st to the top of the chain 3. You should have a small flat circle.
Step 5: Chain 3 to start round 2
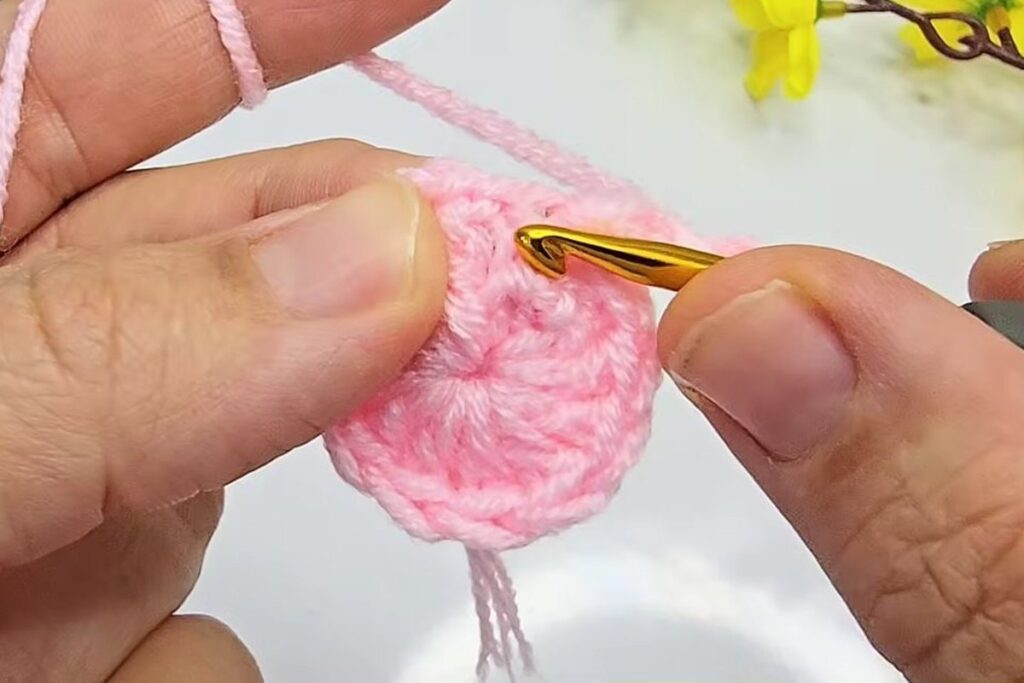
Chain 3 again. This round uses the same count as round 1.
Step 6: Dc 11 with no increases
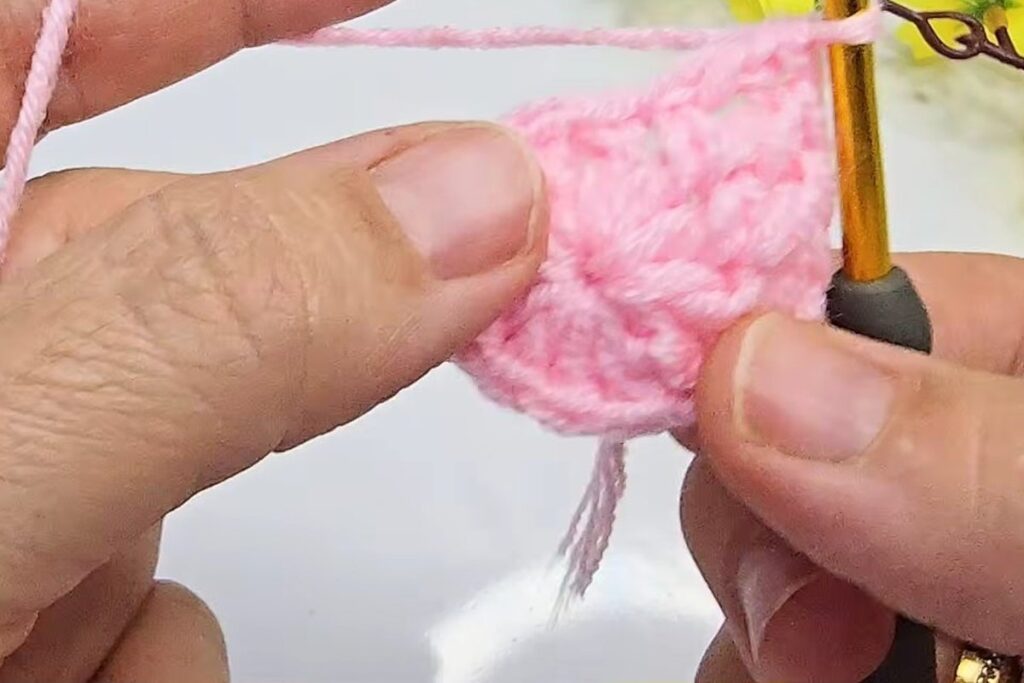
Work 1 dc in each stitch around, 11 in all, and join with a sl st. Because round 2 has the same 12 stitches as round 1, the fabric cannot lie flat and turns up into a shallow cup. The video labels no loop change here; the missing increases do the shaping.
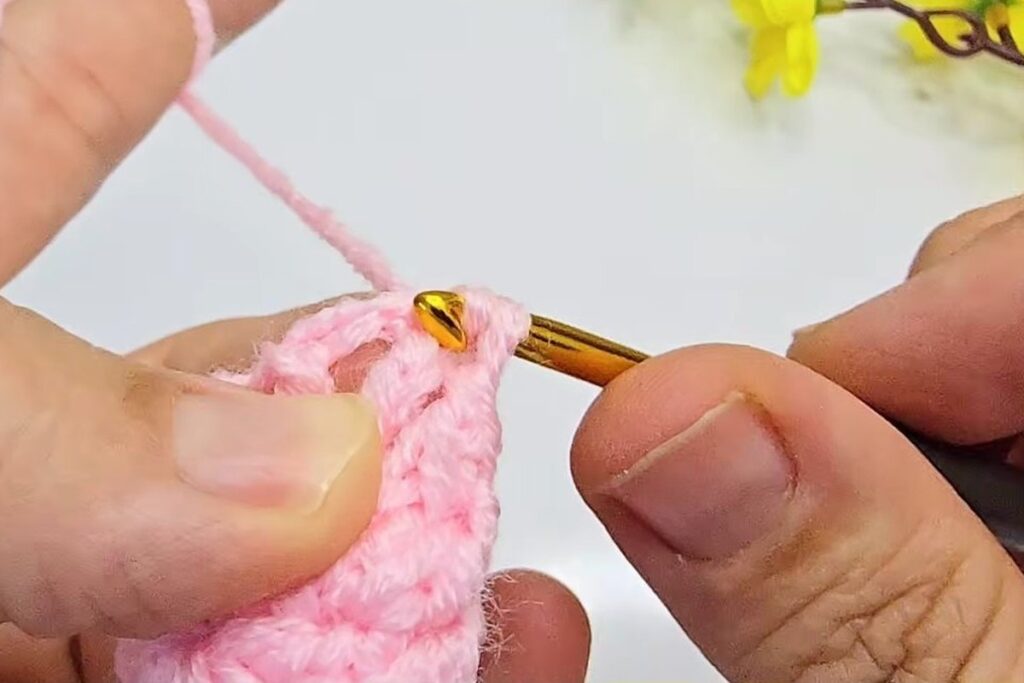
How to crochet the two petal tiers
Each petal is a small fan of 3 dc between two chain 2s, anchored by slip stitches. You work one ring of 6 petals on the rim, then a second ring lower down.
Step 7: Slip stitch and chain 2
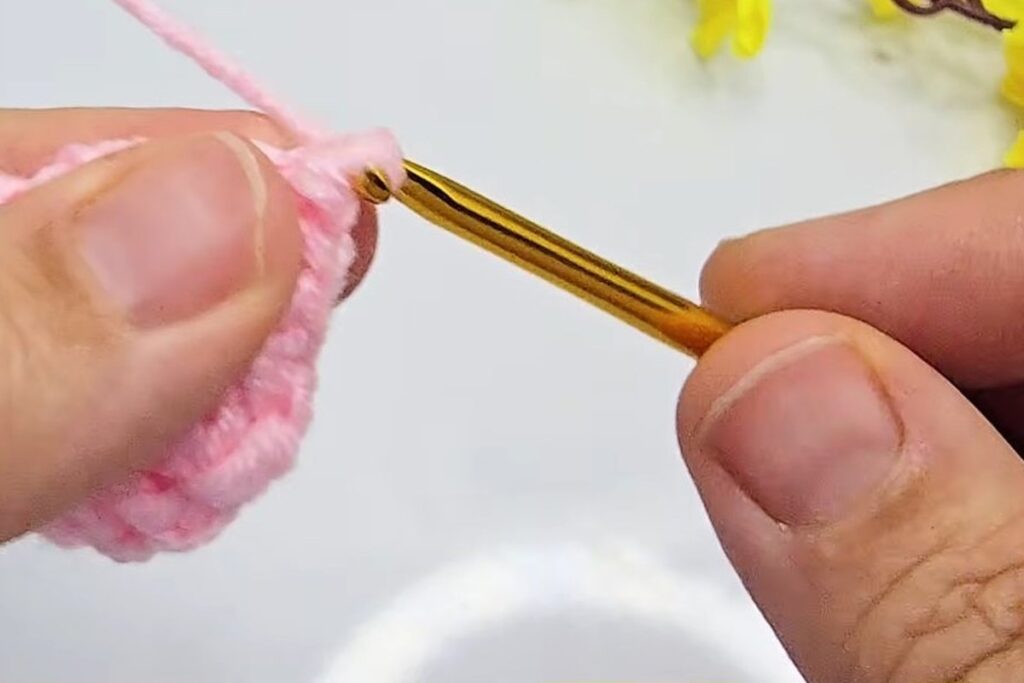
Sl st into the next stitch on the rim, then chain 2. This short chain lifts the petal away from the cup.
Step 8: Work 3 dc into the next stitch
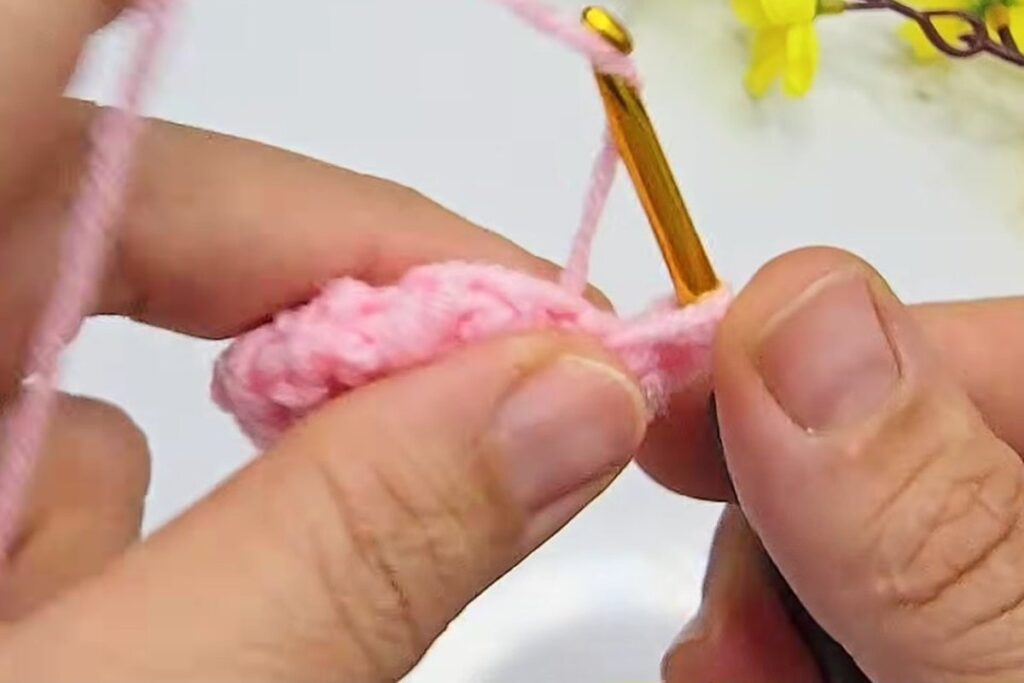
Work 3 dc into the next stitch. Putting all three in one stitch fans them out into a rounded petal.
Step 9: Chain 2 and slip stitch
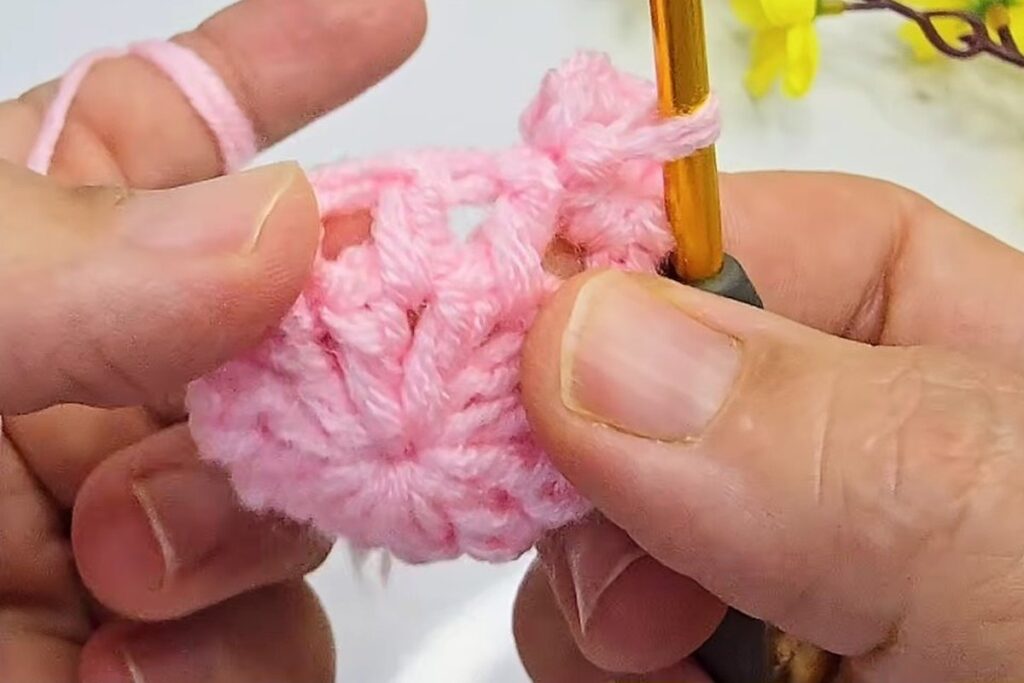
Chain 2, then sl st into the following stitch. That closes one petal and uses 2 stitches of the rim.
Step 10: Repeat around the rim
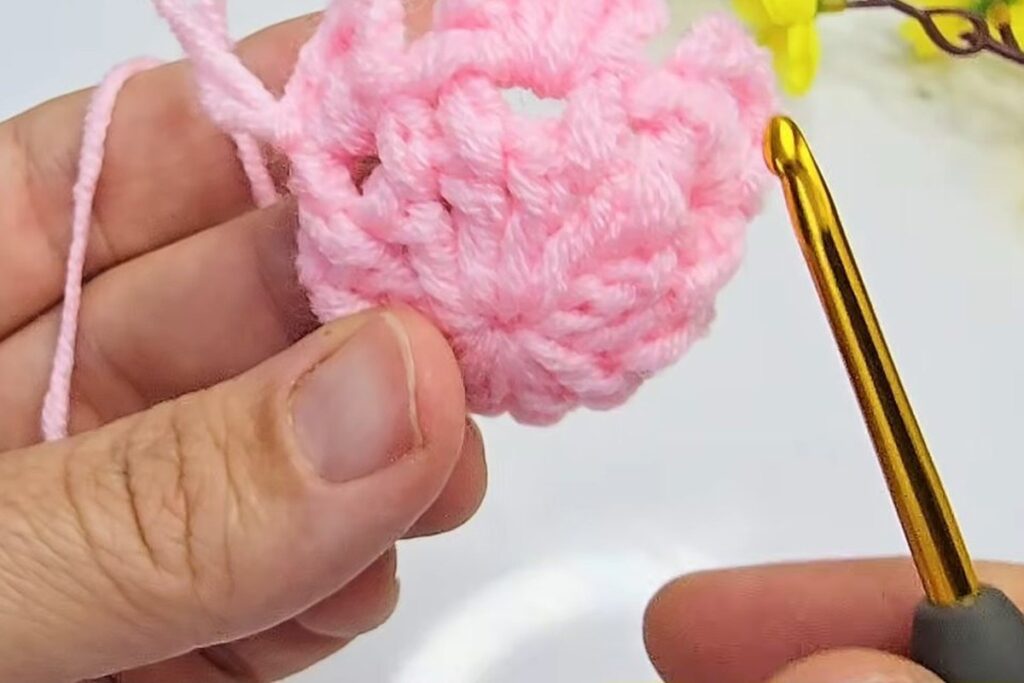
Repeat steps 7 to 9 around the rim. With 12 stitches and 2 per petal, you get 6 petals. Join to the first sl st. The video moves straight on to the second tier.
Step 11: Work the second tier below the first
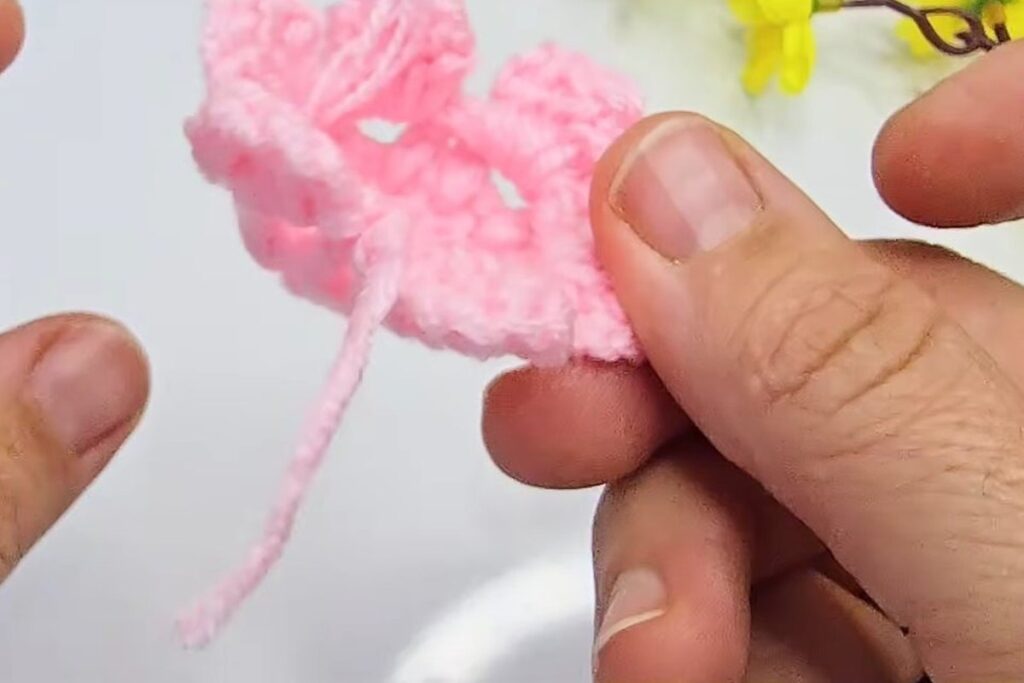
Work the same petal repeat again around the outside of the cup, below the first tier, so the new petals sit behind and between the first ones. The video does not name which loops it uses here, so work into the round 2 stitches from the outside wherever the petals sit evenly. Fasten off and weave in the ends.
How to make the wire stamens
The stamens turn a plain crochet cup into something that looks like a real flower. Each one is yellow yarn on thin wire, with a green thread stalk.
Step 12: Lay yellow yarn along the wire
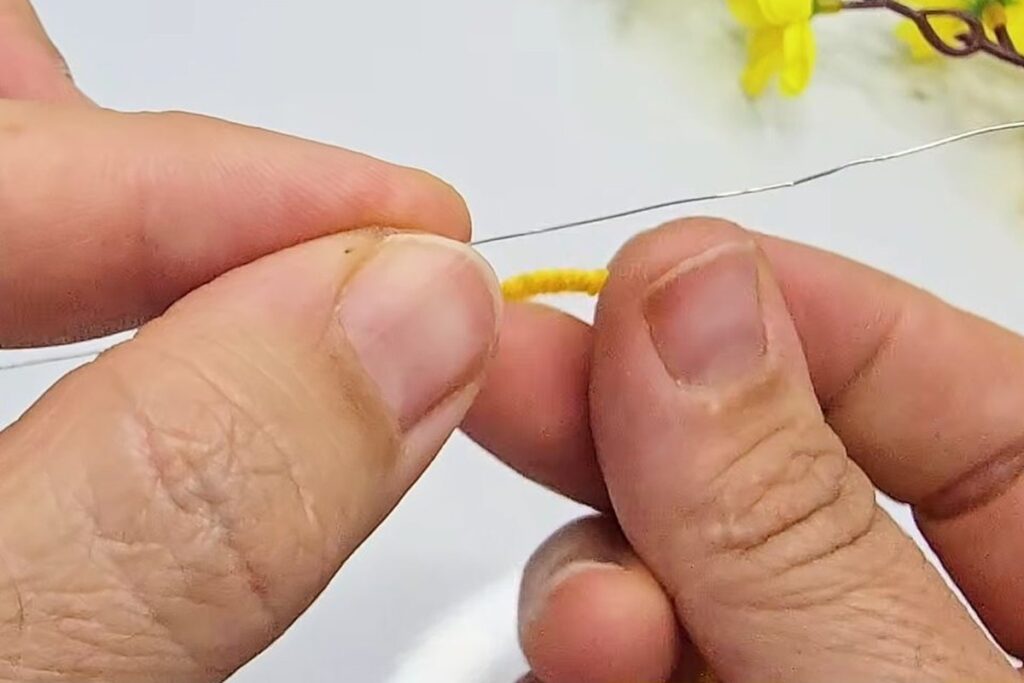
Cut a piece of thin wire a little longer than the finished stem you want. Lay a short length of yellow yarn along one end.
Step 13: Fold the yellow into a small tip
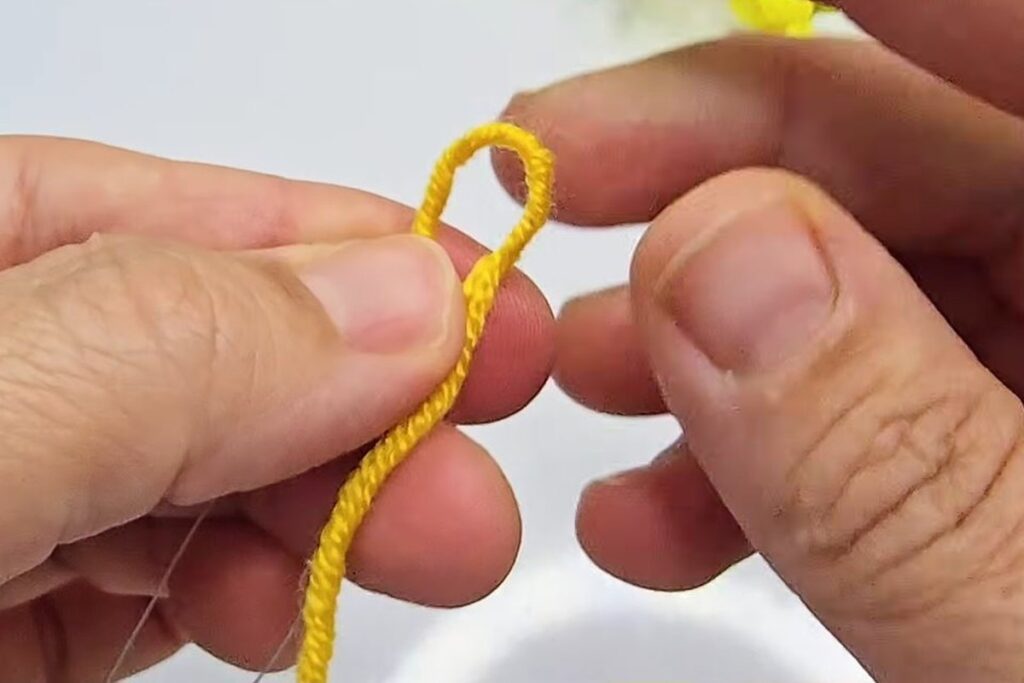
Fold the yellow yarn over the end of the wire so it forms a small loop or knob. This is the pollen tip of the stamen.
Step 14: Wrap green thread below the tip
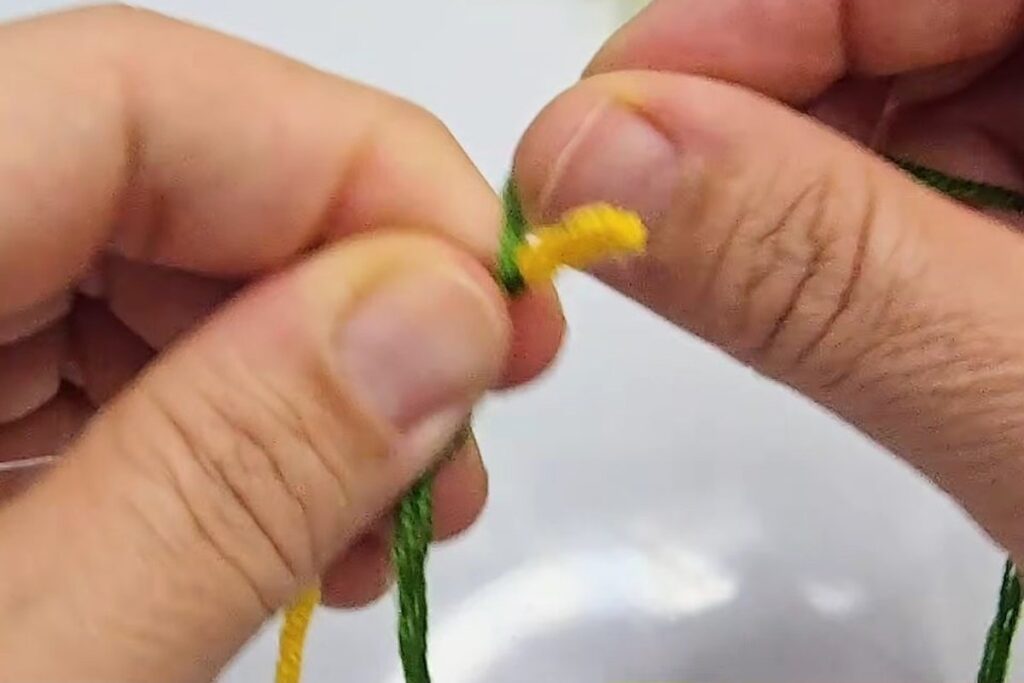
Hold the yellow tip and wrap green thread tightly around the wire, starting just under the yellow and working down. The wraps lock the yellow in place and cover the silver wire.
Step 15: Make three stamens and twist them together
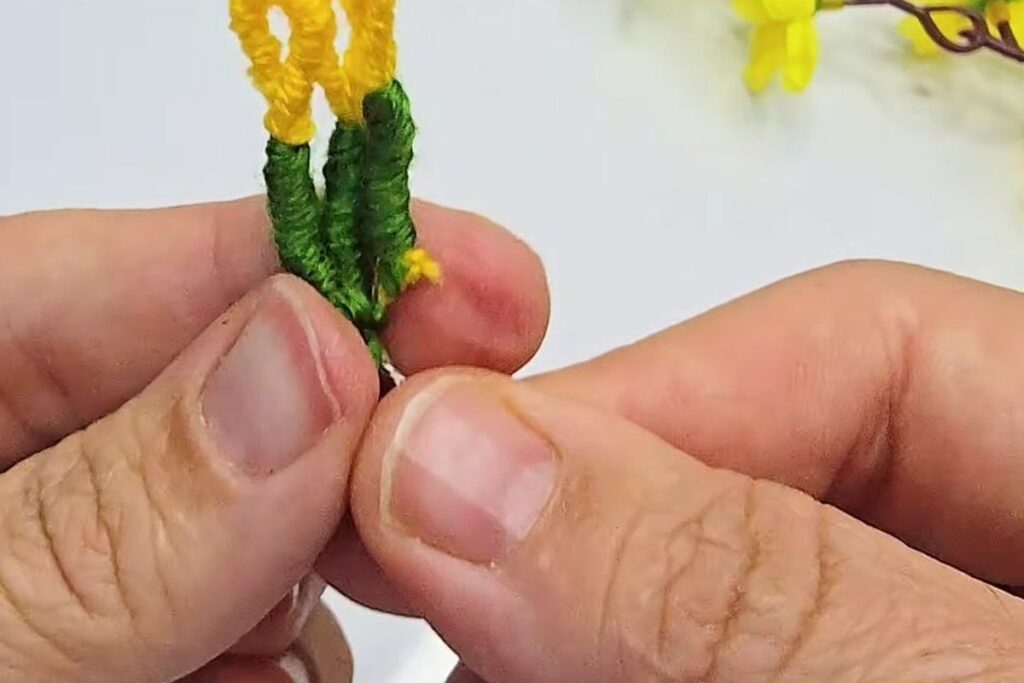
Repeat steps 12 to 14 until you have 3 stamens, then twist their wires together below the green wraps.
How to assemble the mini crochet flower bouquet
Assembly is where the mini crochet flower bouquet comes together. There is no sewing and no glue in the video: the wire, toothpick and tape do all the holding.
Step 16: Thread the stamens through the centre
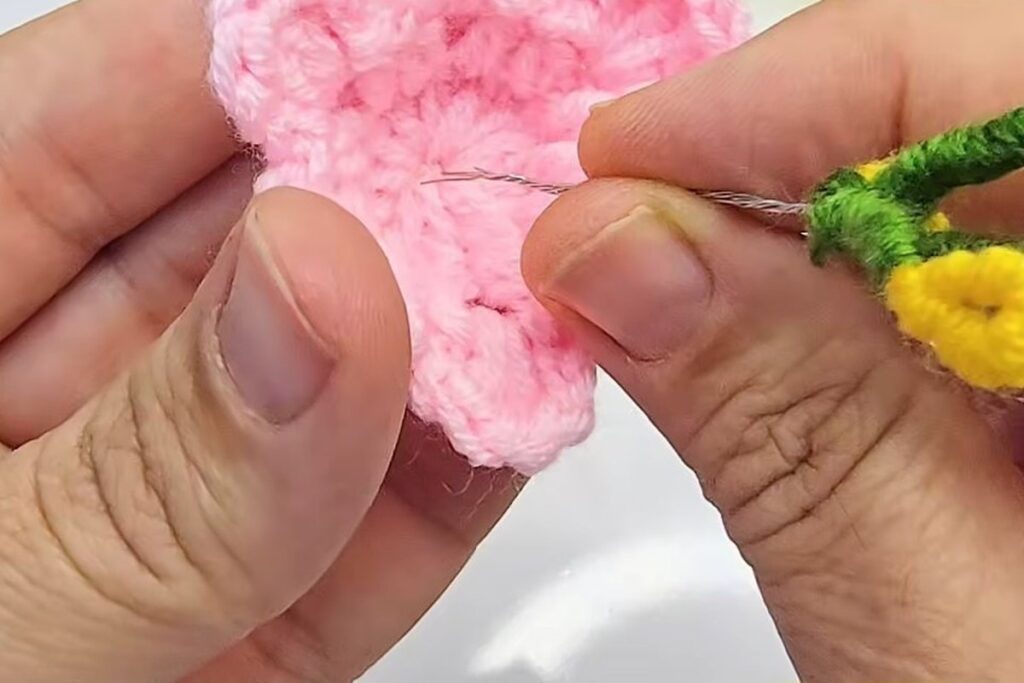
Push the twisted wires down through the centre of the blossom, from the inside of the cup out through the base.
Step 17: Settle the stamens in the cup
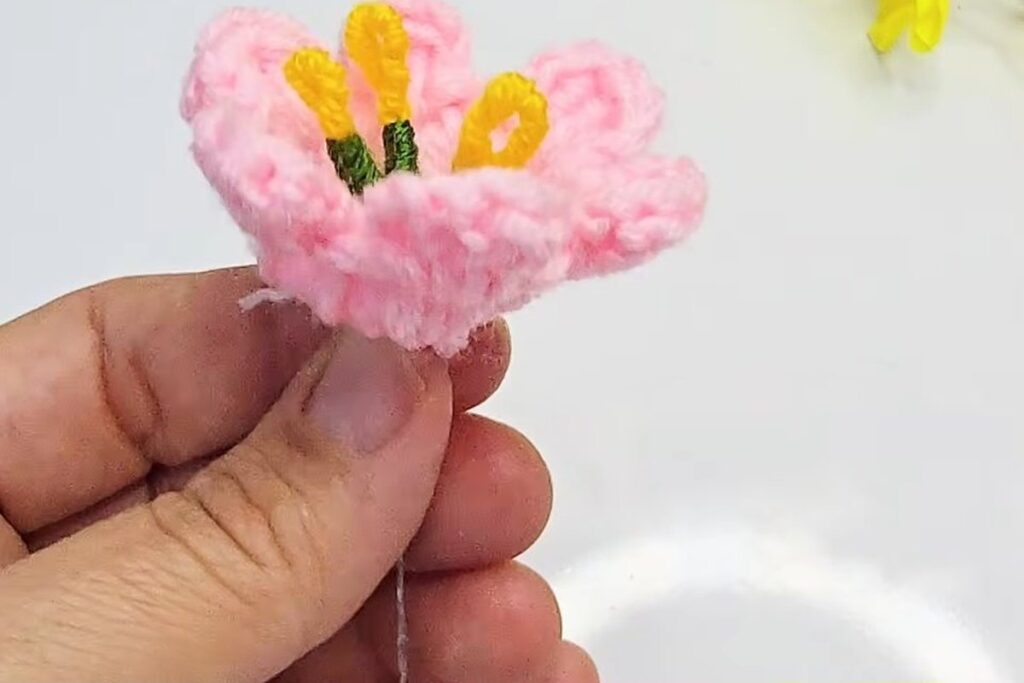
Pull the wires from underneath until only the yellow tips and a little green show above the petals. Spread the three stamens slightly apart.
Step 18: Add the toothpick stem
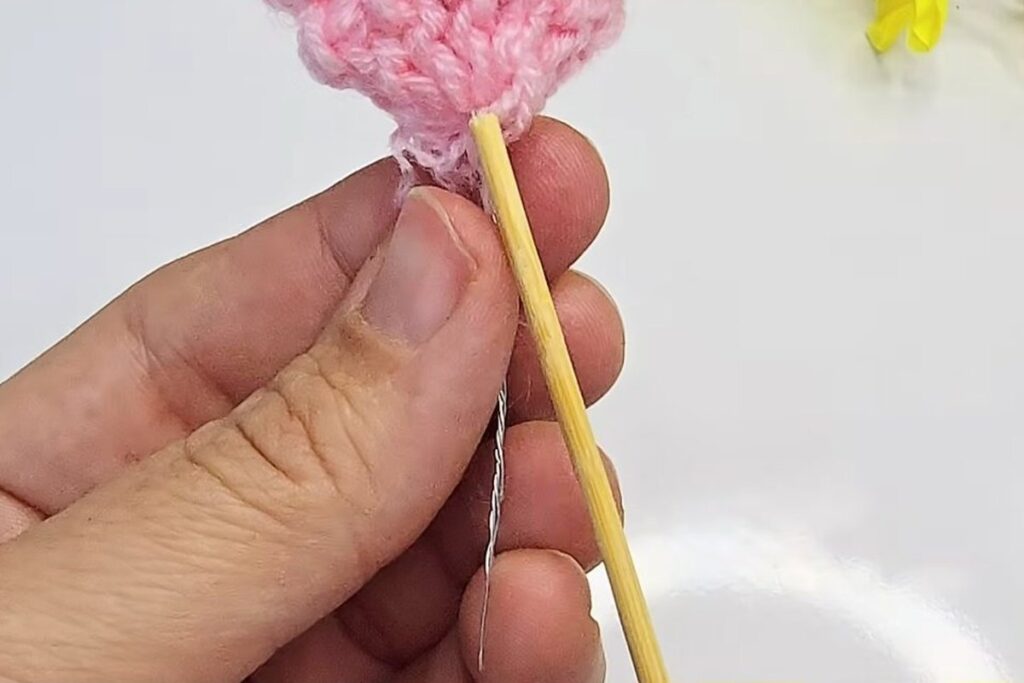
Push a wooden toothpick into the base of the blossom, alongside the wires. It stiffens the stem so the flower does not droop.
Step 19: Start the green stem tape
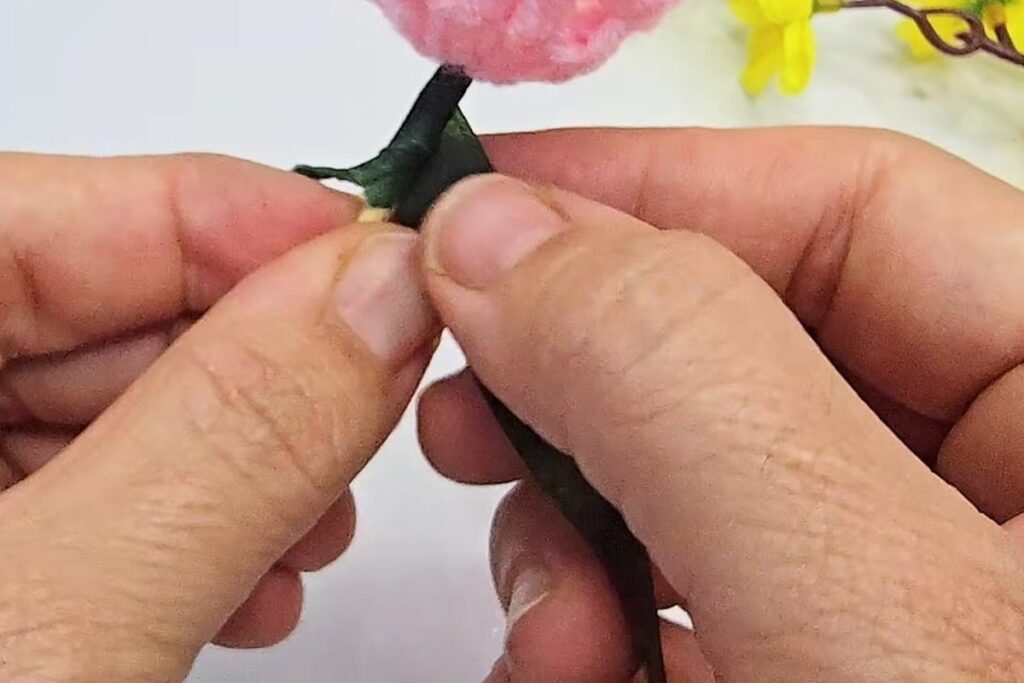
Start the green stem tape right under the blossom and wrap it around the base a few times, so it grips the crochet, the wires and the toothpick together.
Step 20: Wrap down the stem and group the flowers
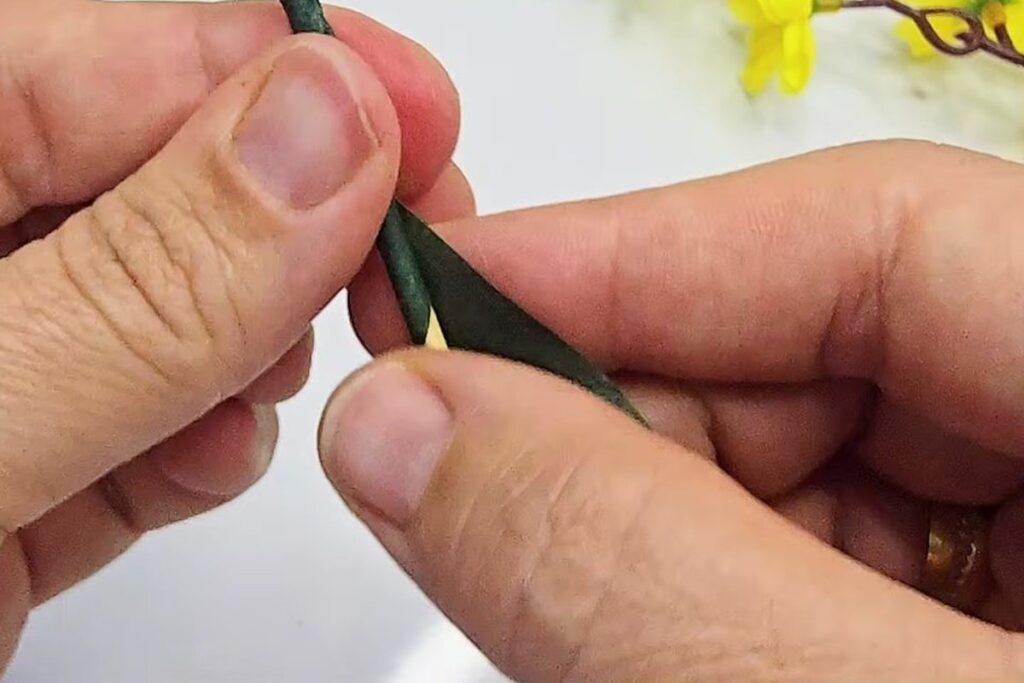
Spiral the tape down the stem at a slight angle, stretching it as you go so it sticks to itself. Make a second blossom the same way and tape the two stems together to finish the mini crochet flower bouquet. The final shot in the video also shows a green crochet leaf on the stem, which the tutorial does not make; any small crochet leaf pattern can fill that gap.
Where a mini crochet flower bouquet goes wrong
Three things go wrong often enough to plan for them.
- The cup stays flat. Round 2 must have exactly 12 stitches. One or two accidental increases and the edge flattens out; a large hook with thin yarn also makes the cup floppy.
- The petals crowd or gap. Each petal needs exactly 2 rim stitches. Skip too few and you get more than 6 cramped petals; skip too many and the tier ends with a gap.
- The stamens slip or scratch. If the green thread is wrapped loosely, the yellow tip slides off the wire. Wrap tightly, and cover cut wire ends with tape so nothing pokes out.
More free mini crochet flower bouquet patterns
These written patterns take the same idea in other directions:
- Easy Free Crochet Mini Flower Bouquet Keychain Pattern by Yarns Craze: a full mini bouquet on a keychain, with a 2.5 mm hook and weight 3 cotton.
- Crochet Flower Keychain by Celtic Knot Crochet: one flower about 2.75 in across, 3.75 mm hook.
- Crochet Flower Keychain Pattern by The Caffeinated Snail: a scrap-yarn flower with a 5.5 mm hook.
- Easy No-Sew Flower Keychain Crochet Pattern by Wonder Crochet: no sewing at all, 4 mm hook.
- Crochet Flower Keychain by A Little Love Everyday: DK cotton with a 3 mm hook and a matching leaf.
Mini crochet flower bouquet FAQ
What hook size do I need for this mini crochet flower bouquet?
The video does not say. Use the small end of the range on your yarn label so the cup is firm enough to stand up.
Why does the blossom turn into a cup?
Round 2 keeps the same 12 stitches as round 1 instead of increasing, so the fabric curls upward into a cup.
How many petals does each blossom have?
Six per tier and two tiers, so 12 petals in total. Each petal is 3 dc between two chain 2s.
Can I make the stamens without wire?
Yes, but they will flop. The wire holds them upright; a stiff pipe cleaner is a softer alternative.
Can I turn the mini crochet flower bouquet into a keychain?
The video description suggests keychains and bag charms but does not show the hardware. Leave out the toothpick, twist the wire ends into a small loop, tape over them, and add a keyring.
Is a mini crochet flower bouquet safe for small children?
It is a decoration. The wire, the toothpick point and the small parts make it unsuitable as a toy for young children.
Where to go next
Once one blossom works, a mini crochet flower bouquet is just repetition: three or five stems taped together fill a small vase. For more flowers, browse the crochet flowers free pattern roundup, try the beginner crochet flower pattern, add a crochet rose pattern to the bunch, or make a crochet sunflower hair pin to wear.
Sources
- Easy Free Crochet Mini Flower Bouquet Keychain Pattern, Yarns Craze
- Crochet Flower Keychain, Celtic Knot Crochet
- Crochet Flower Keychain Pattern, The Caffeinated Snail
- Easy No-Sew Flower Keychain Crochet Pattern, Wonder Crochet
- Crochet Flower Keychain, A Little Love Everyday
- Standard Yarn Weight System, Craft Yarn Council
- Video tutorial, Magic crochet
Video credit. This mini crochet flower bouquet is retold in our own words from the video Amazing! Let’s make a wonderful crocheted flowers! by Magic crochet. The step photos are frames from that video.